Crafts
My Patterned Paper Obsession: Part 2
In the first part of my musing on patterned paper, I talked through two methods I have developed myself for creating patterned paper designs. The first based on layering acrylic inks with resistant mediums, and the second based on mono-printing to create a faux marble effect. You can read all about these in Part I and for studio members you will find video guides on the exact methodology used linked at the bottom. These first two processes are the ones I have experimented with the most, however there are two additional ways I have used to create designs which I wanted to share with you also.
Method III | Paste Paper
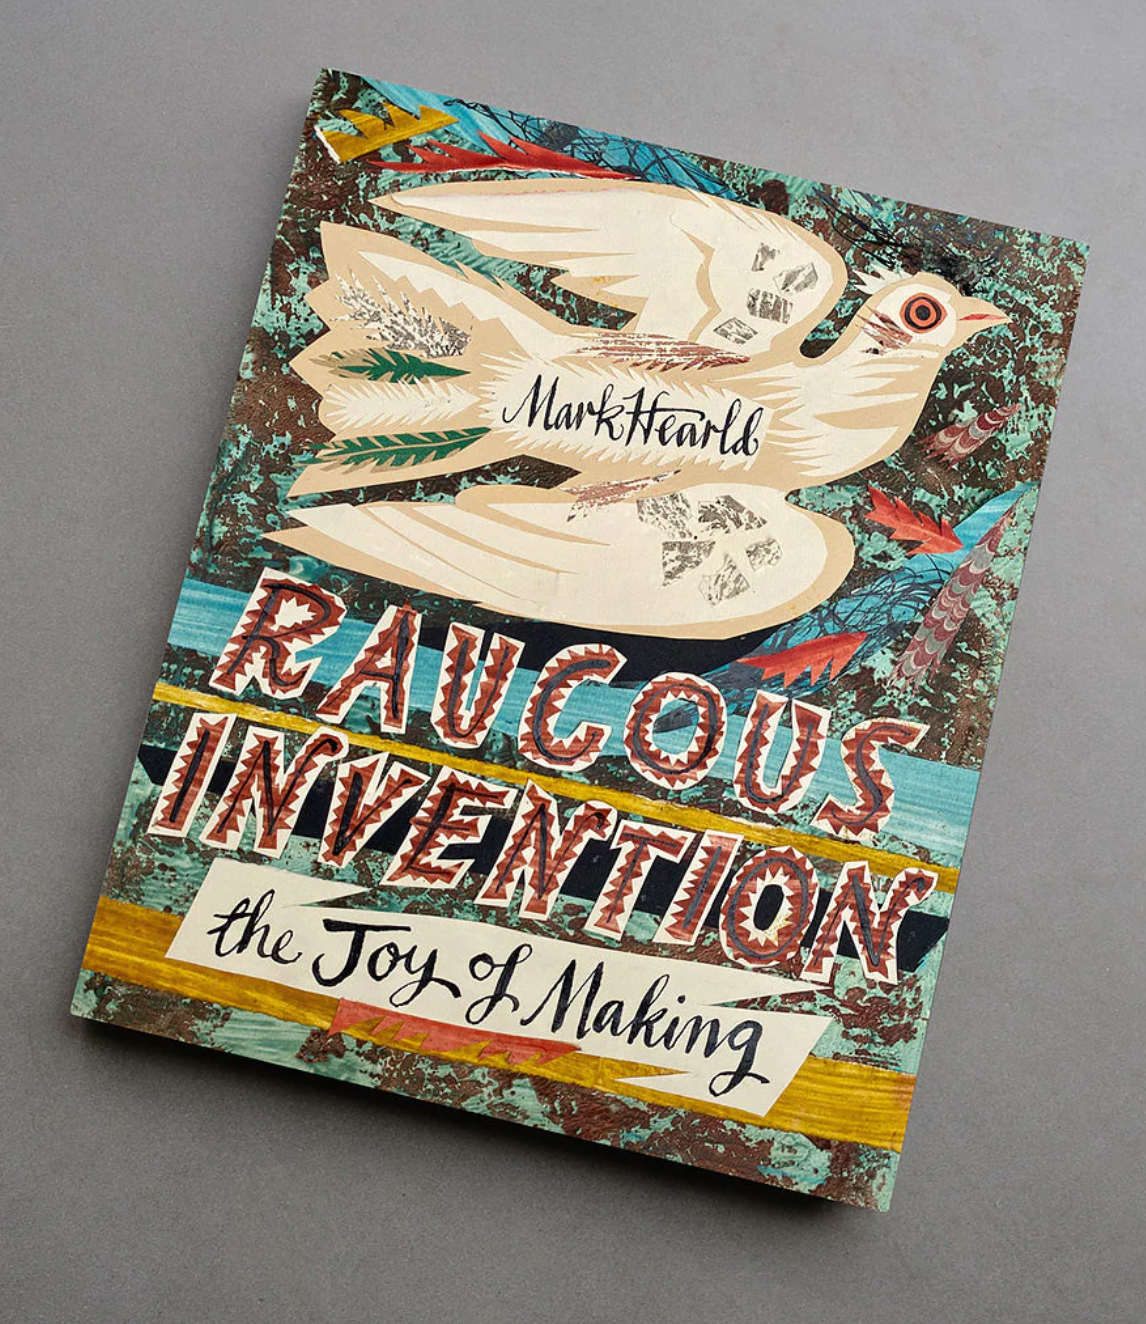
Paste Paper is the area I have experimented the least but a process that I find completely fascinating. I first came across the paste paper process through artist Mark Hearld who details his process for creating paste papers through his magnificent book, Raucous Invention. If you have an interest in pattern, I couldn't recommend this book more - these pages are a glimpse into Marks incredible process and is totally inspirational. You can buy it here through St Judes.
Paste papers were traditionally used in book binding with examples dating back as early as the 16th Century. The simple process involves combining water-based pigments with a starch based paste. The paste has a long drying time enabling the artist to paint the paste onto a sheet of paper and then manipulate it to drag and concentrate the pigment in specific areas. You can read more information on the history of paste paper and the different types here. If you are keen to try your hand at making your own paste paper designs, then The Shop Floor Project produced a wonderful guide with the artist Lisa Sandler, which you can watch here.
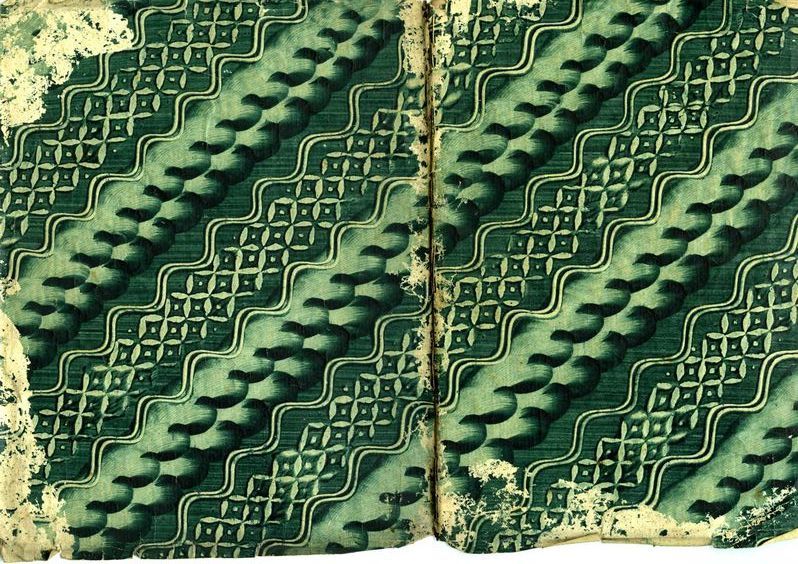
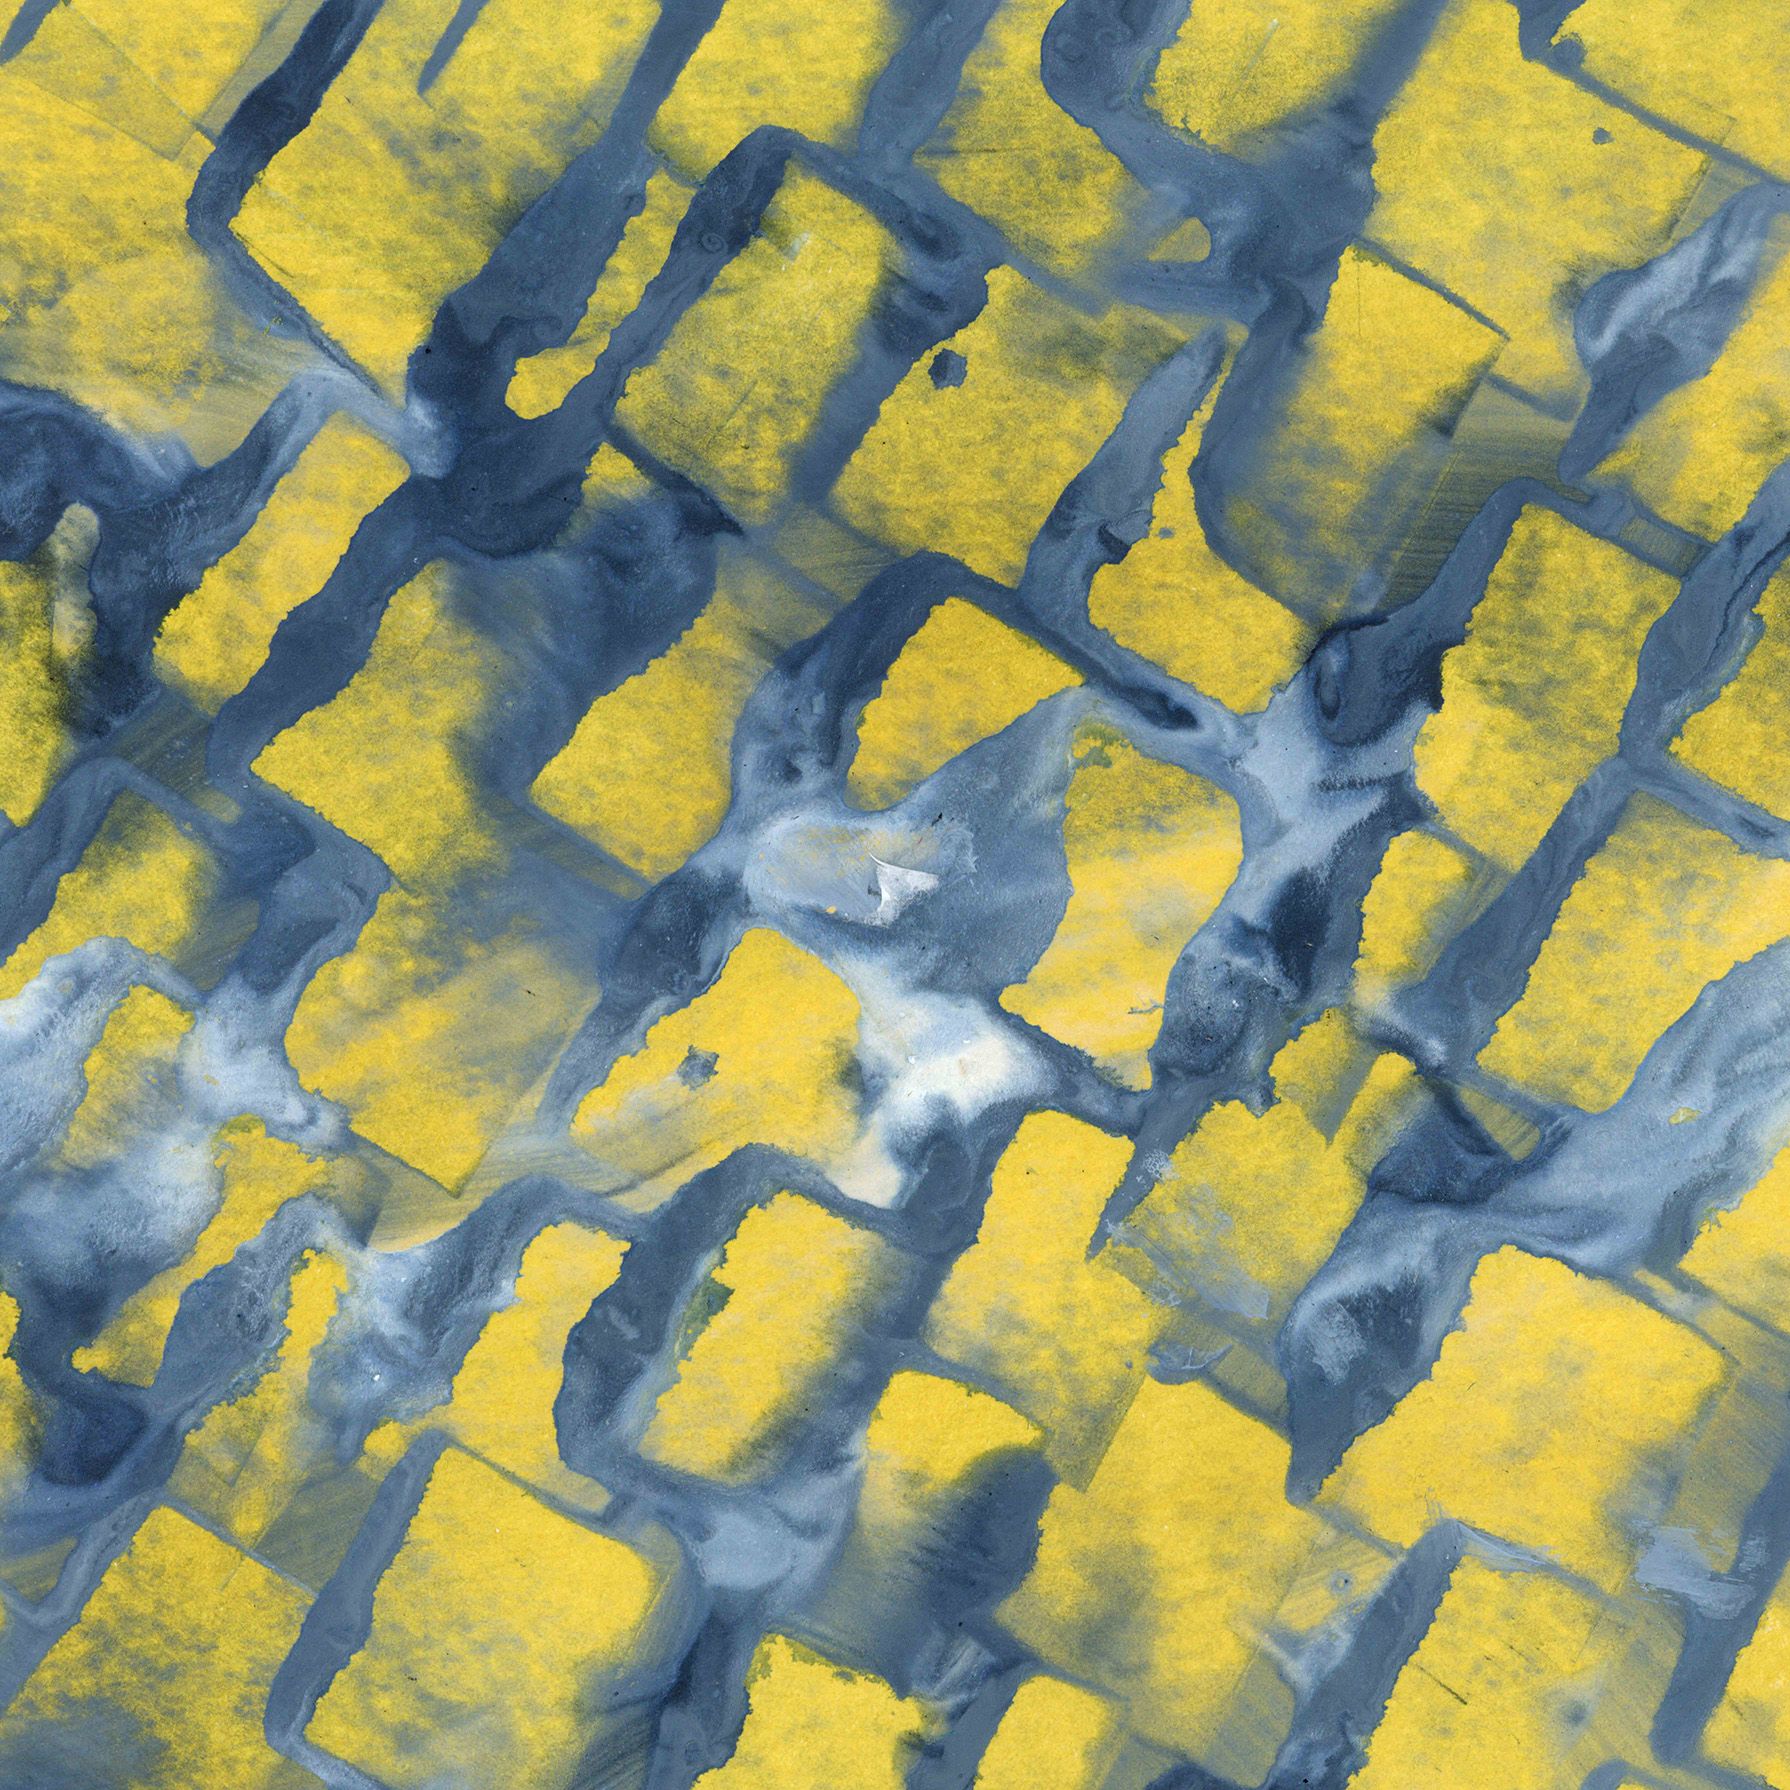
A few years ago, I spent a very happy evening playing around with paste paper and using all manner of kitchen utensils to see what patterns I could create in the paper. I haven't yet revisited the process so these patterns below were all made on that first evening and on my first attempt. However I long to revisit the process again and experiment with layering patterns and colours into the sheets. Spot the pattern below created with my potato masher!
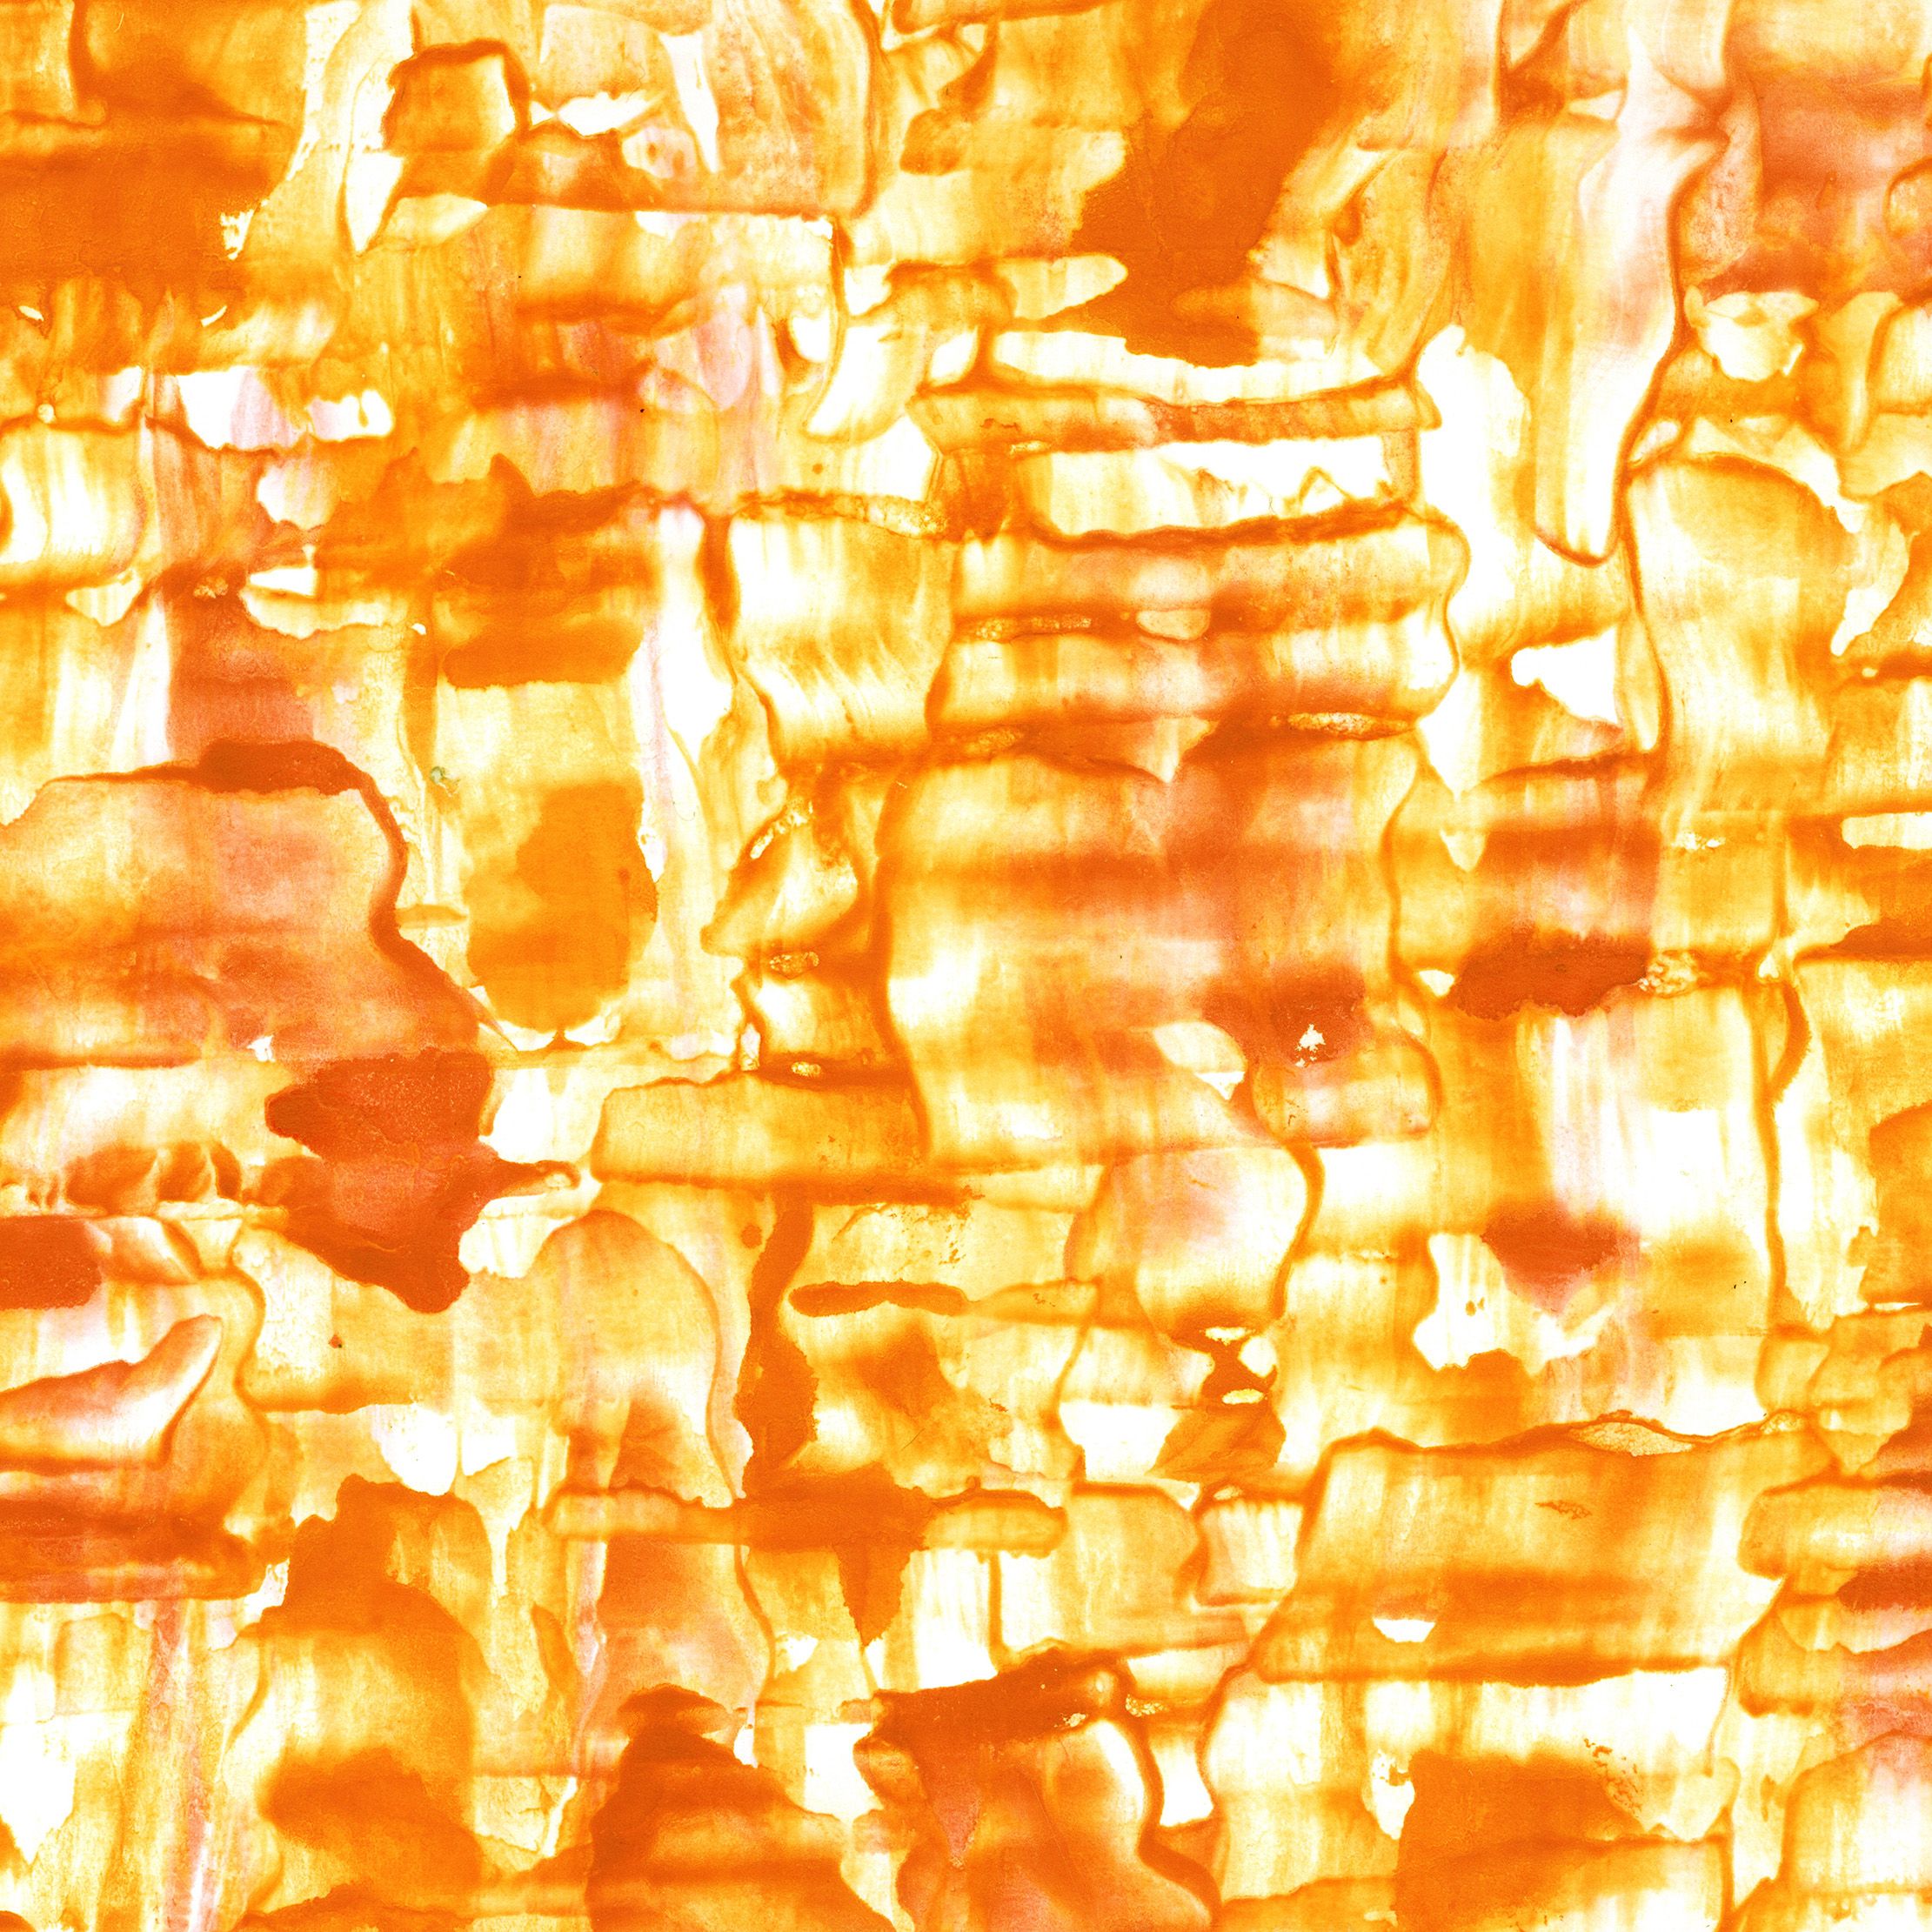
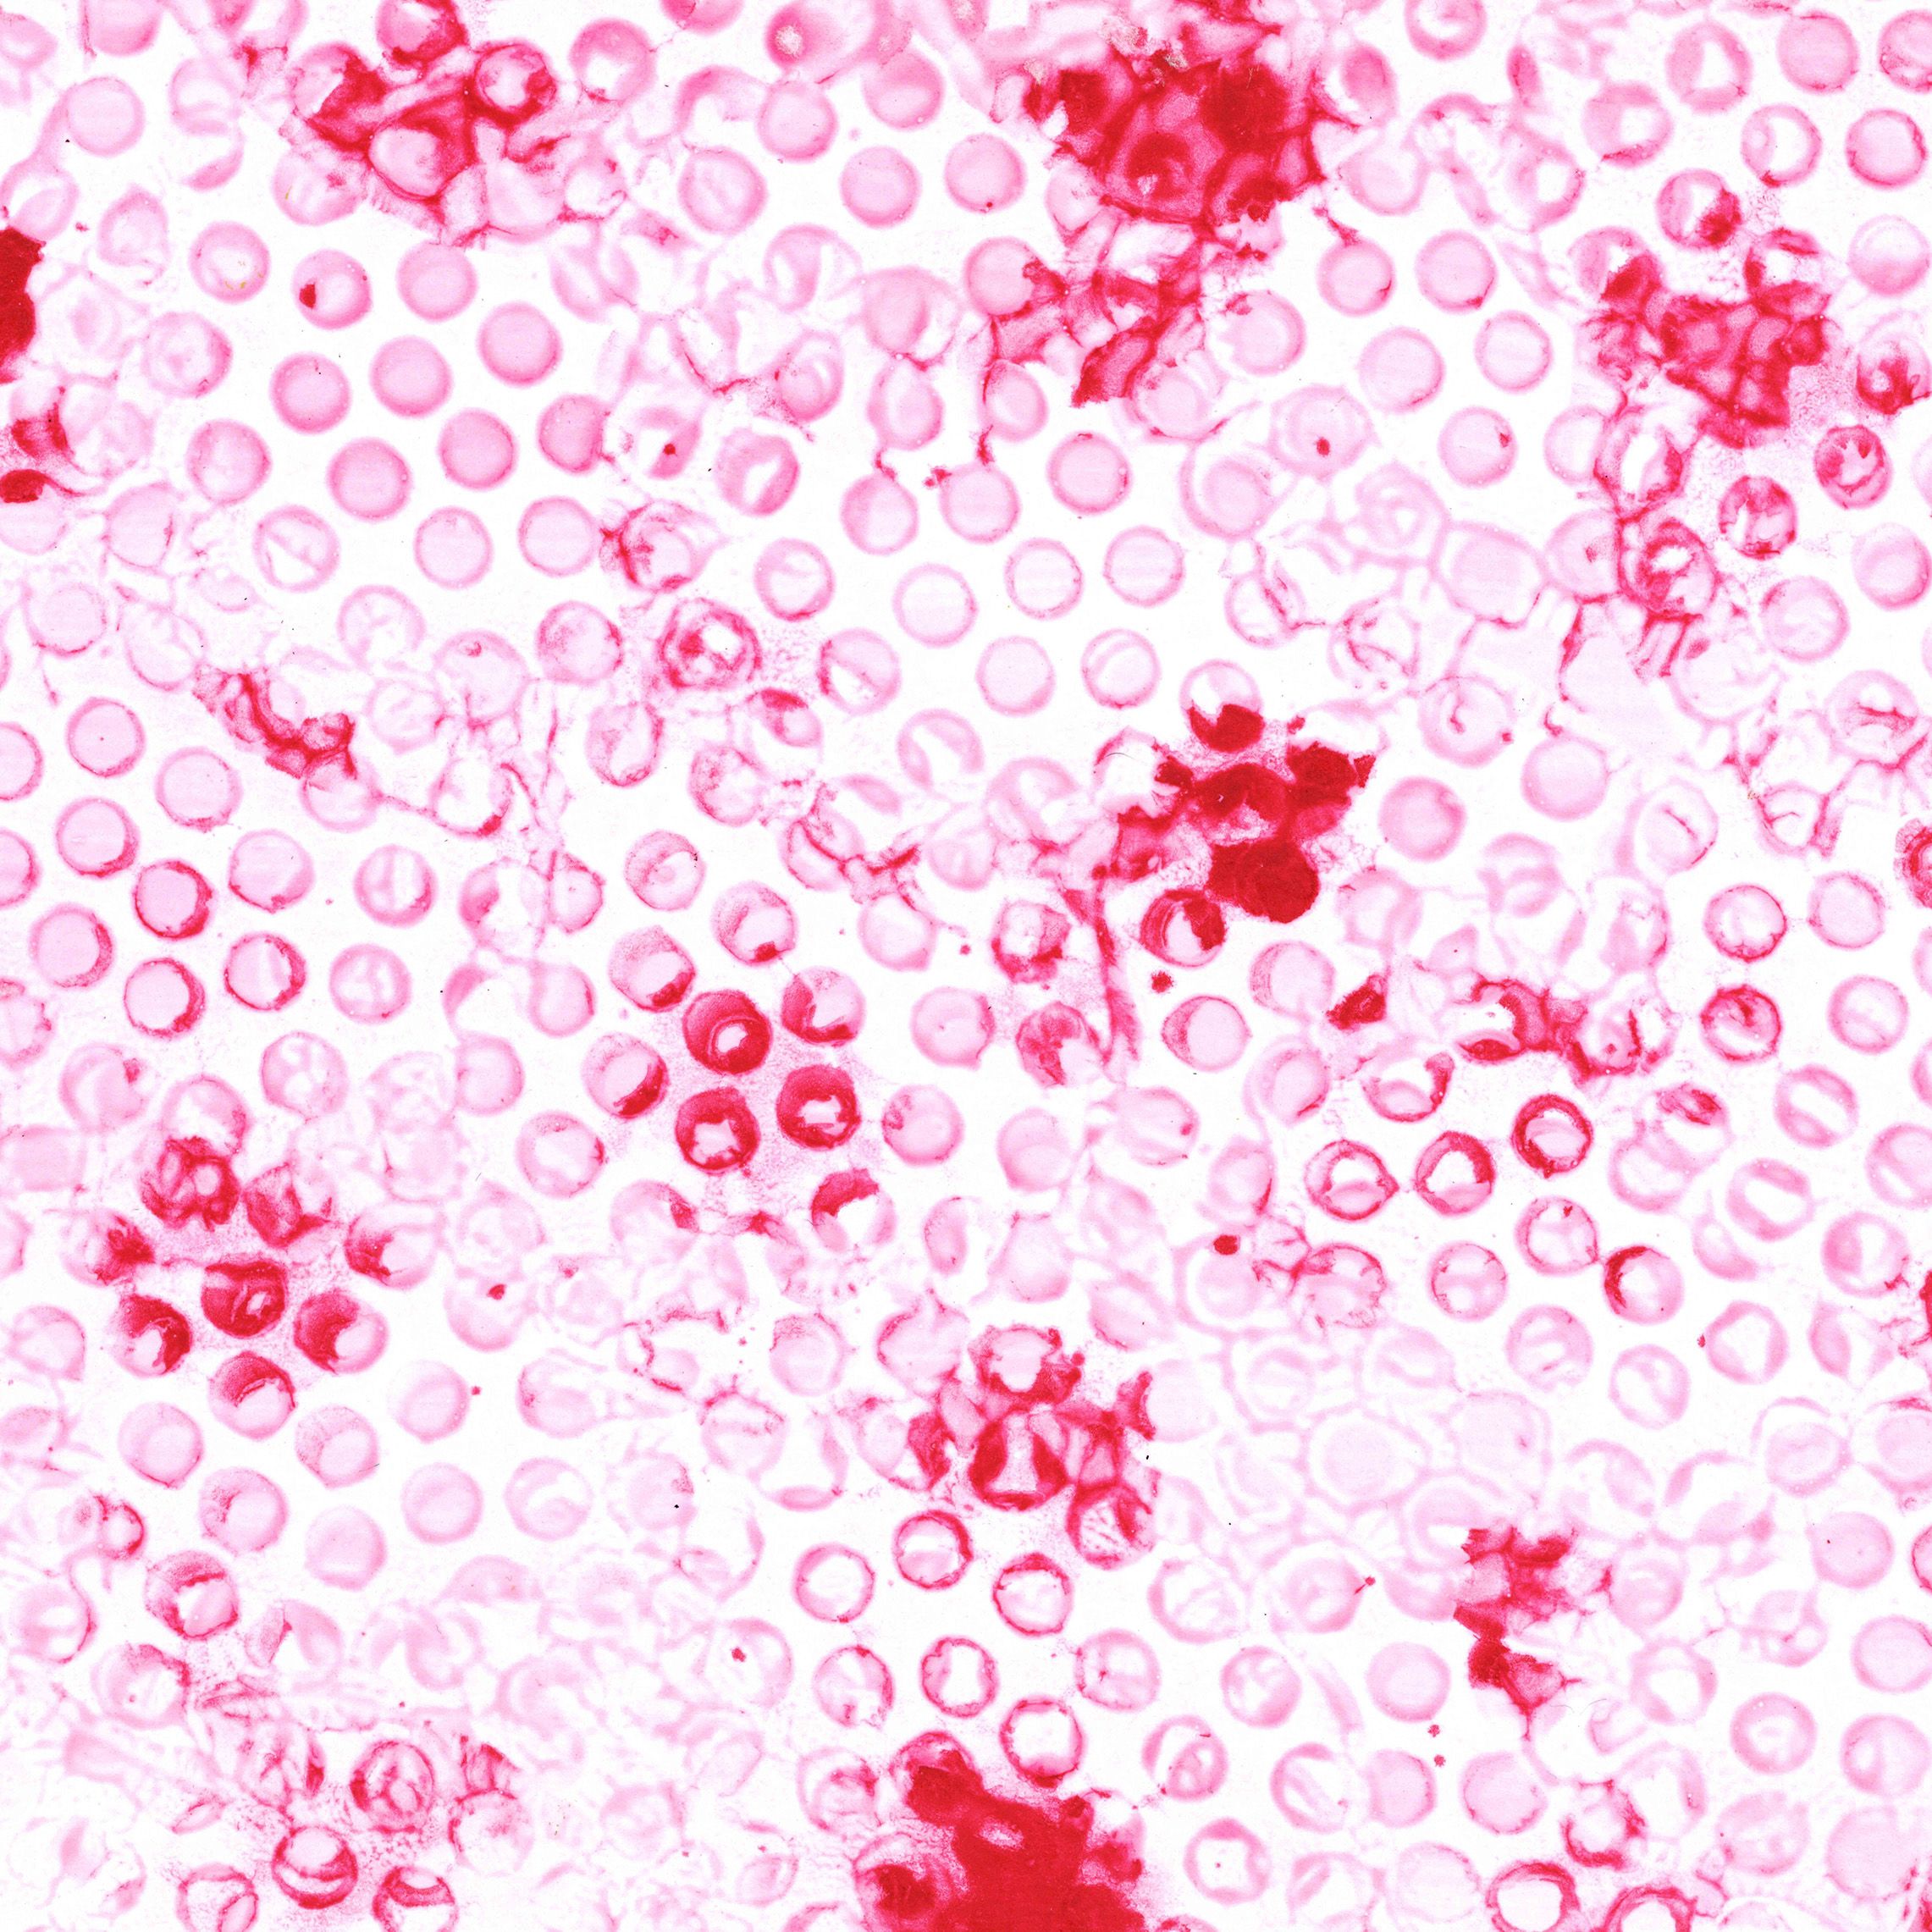
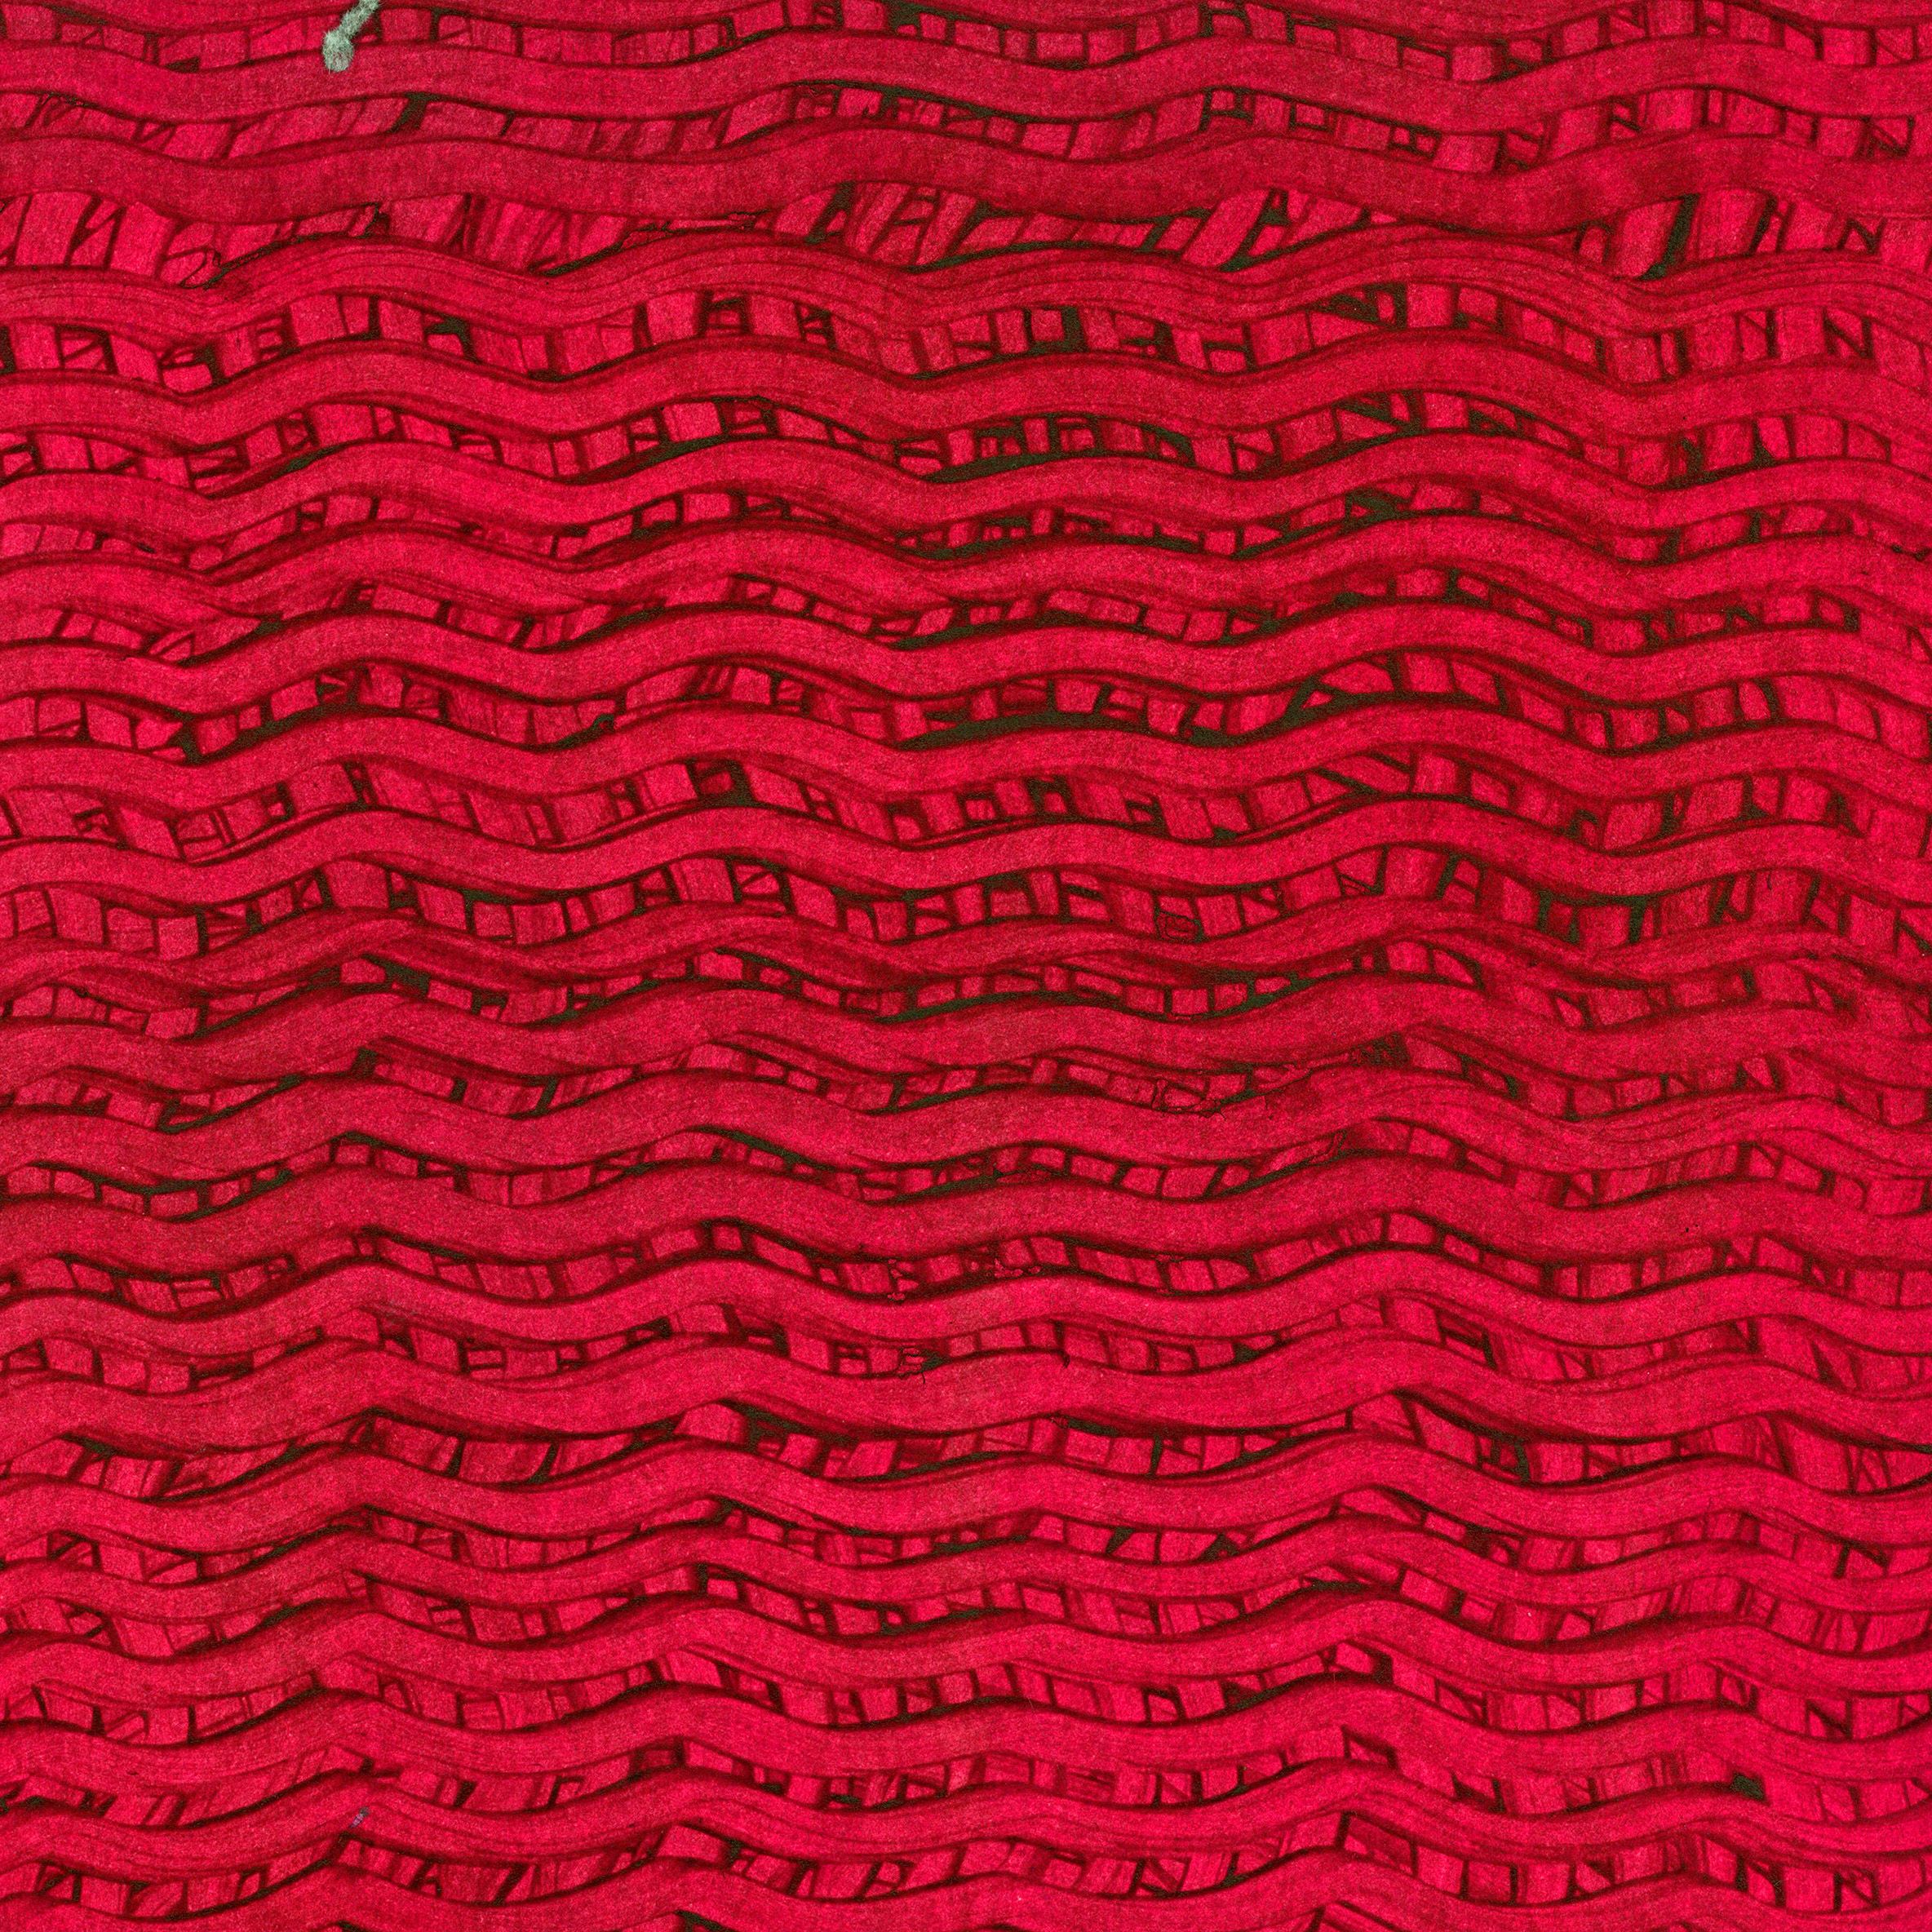

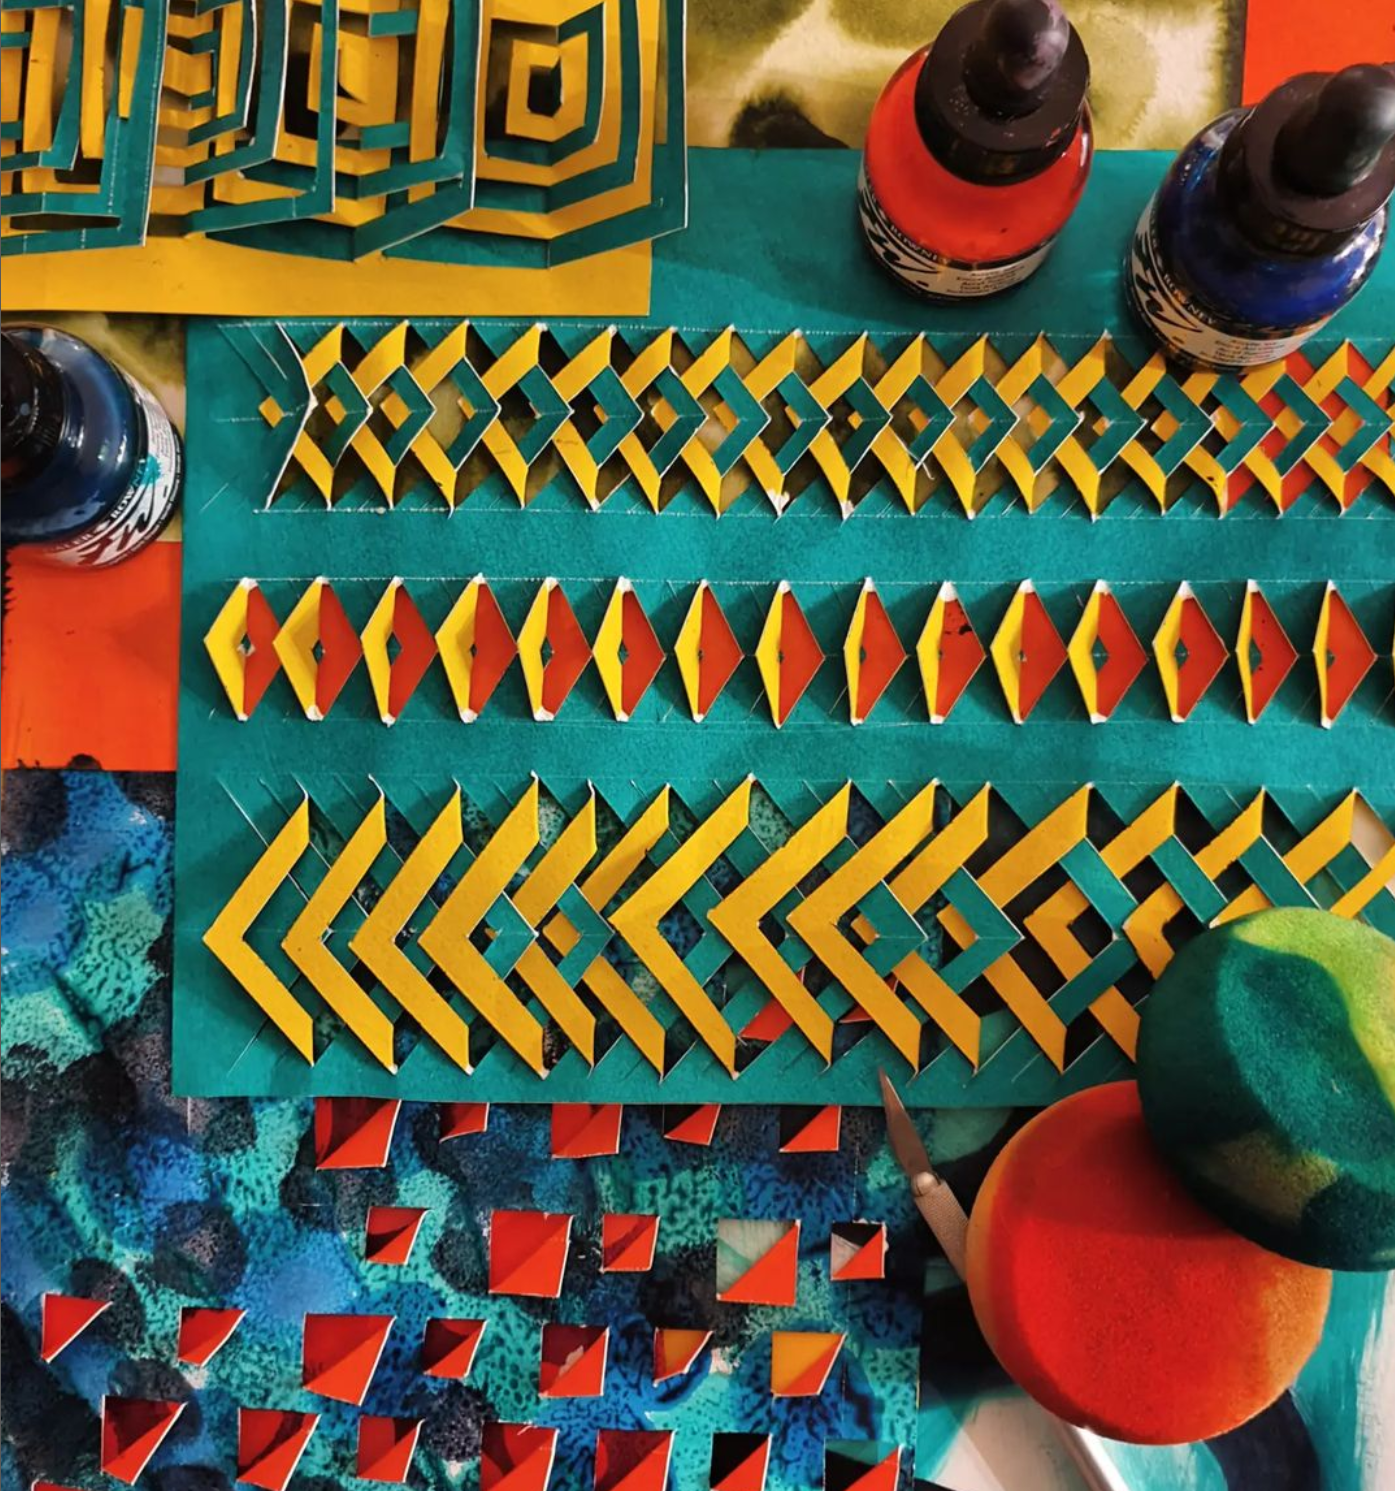
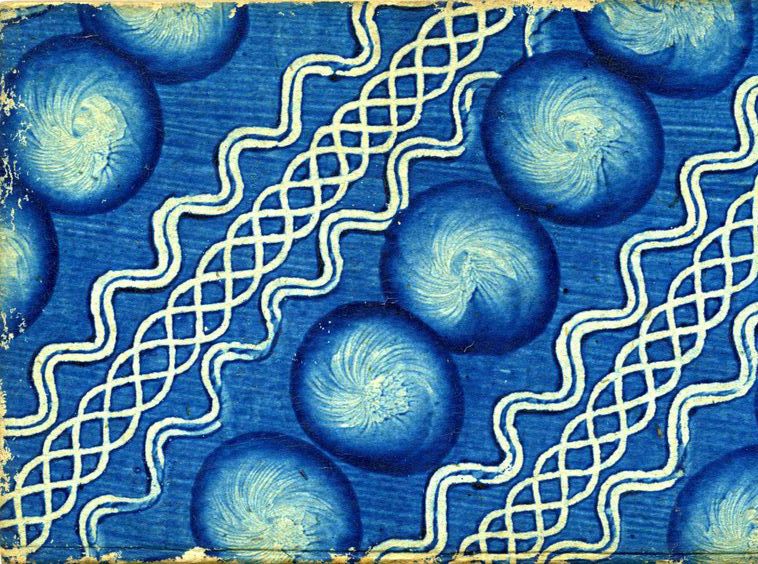
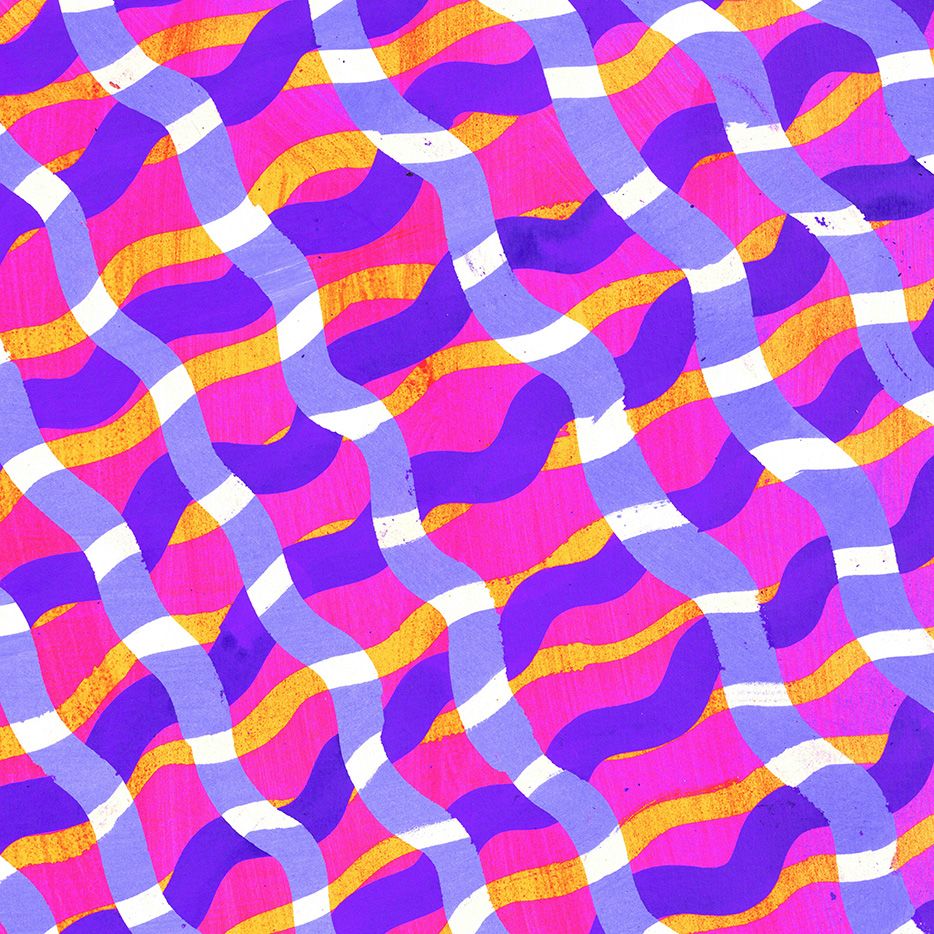
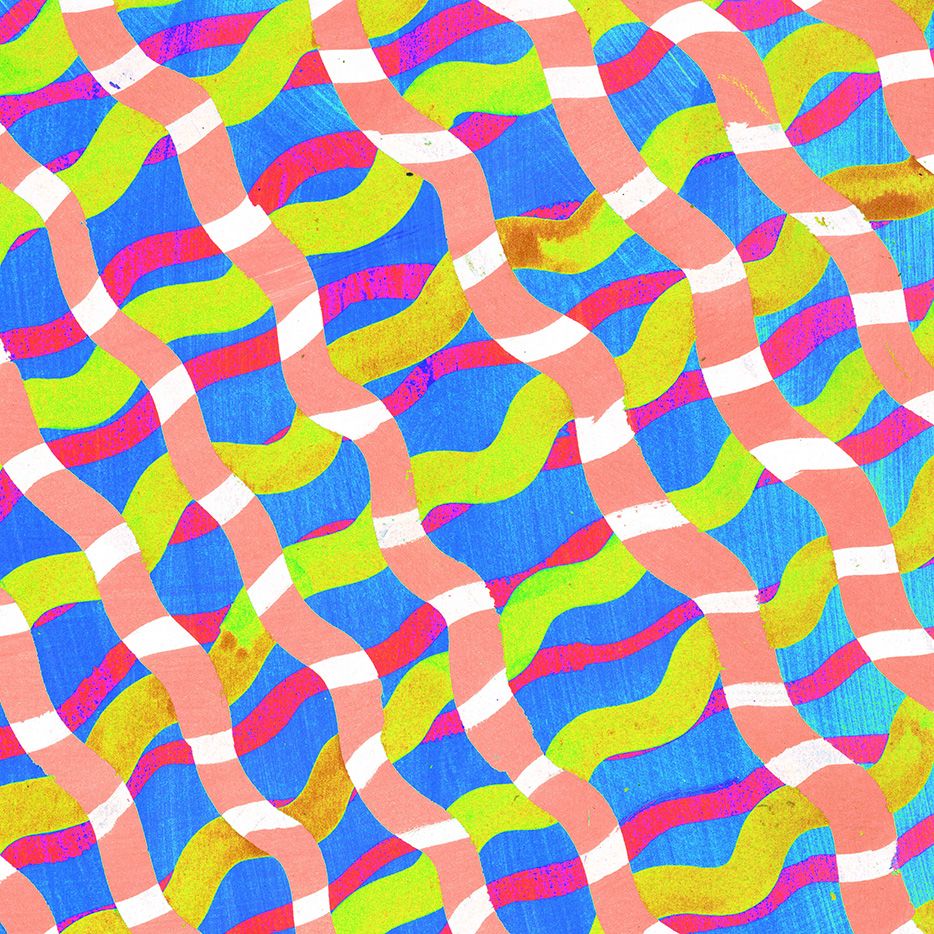
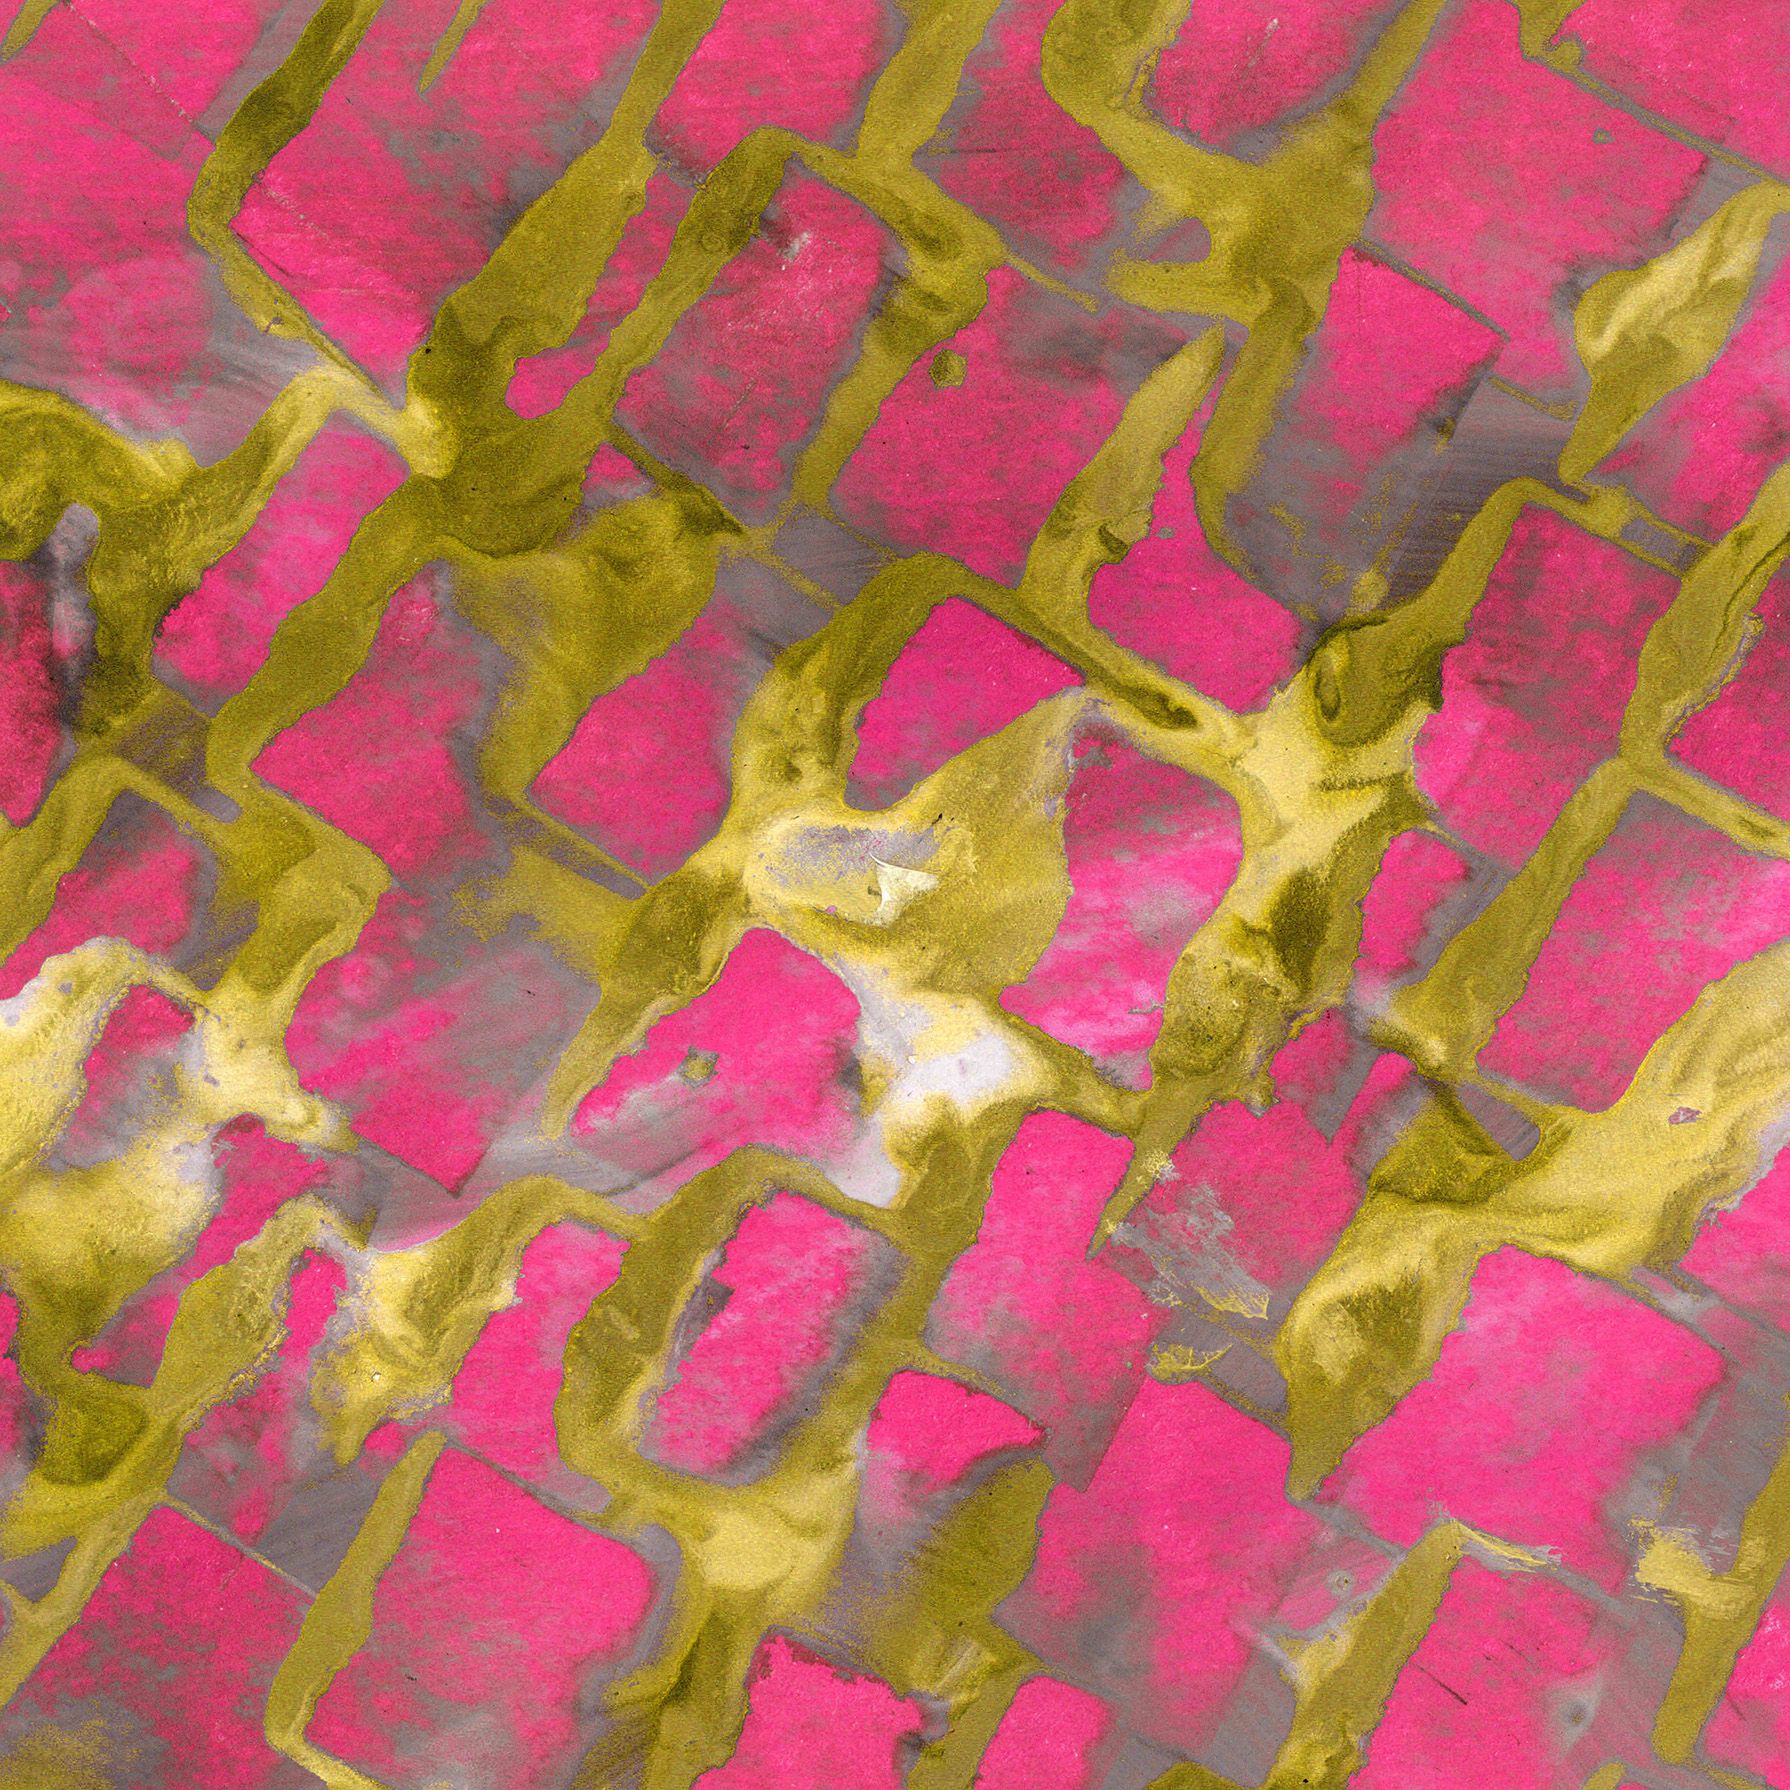
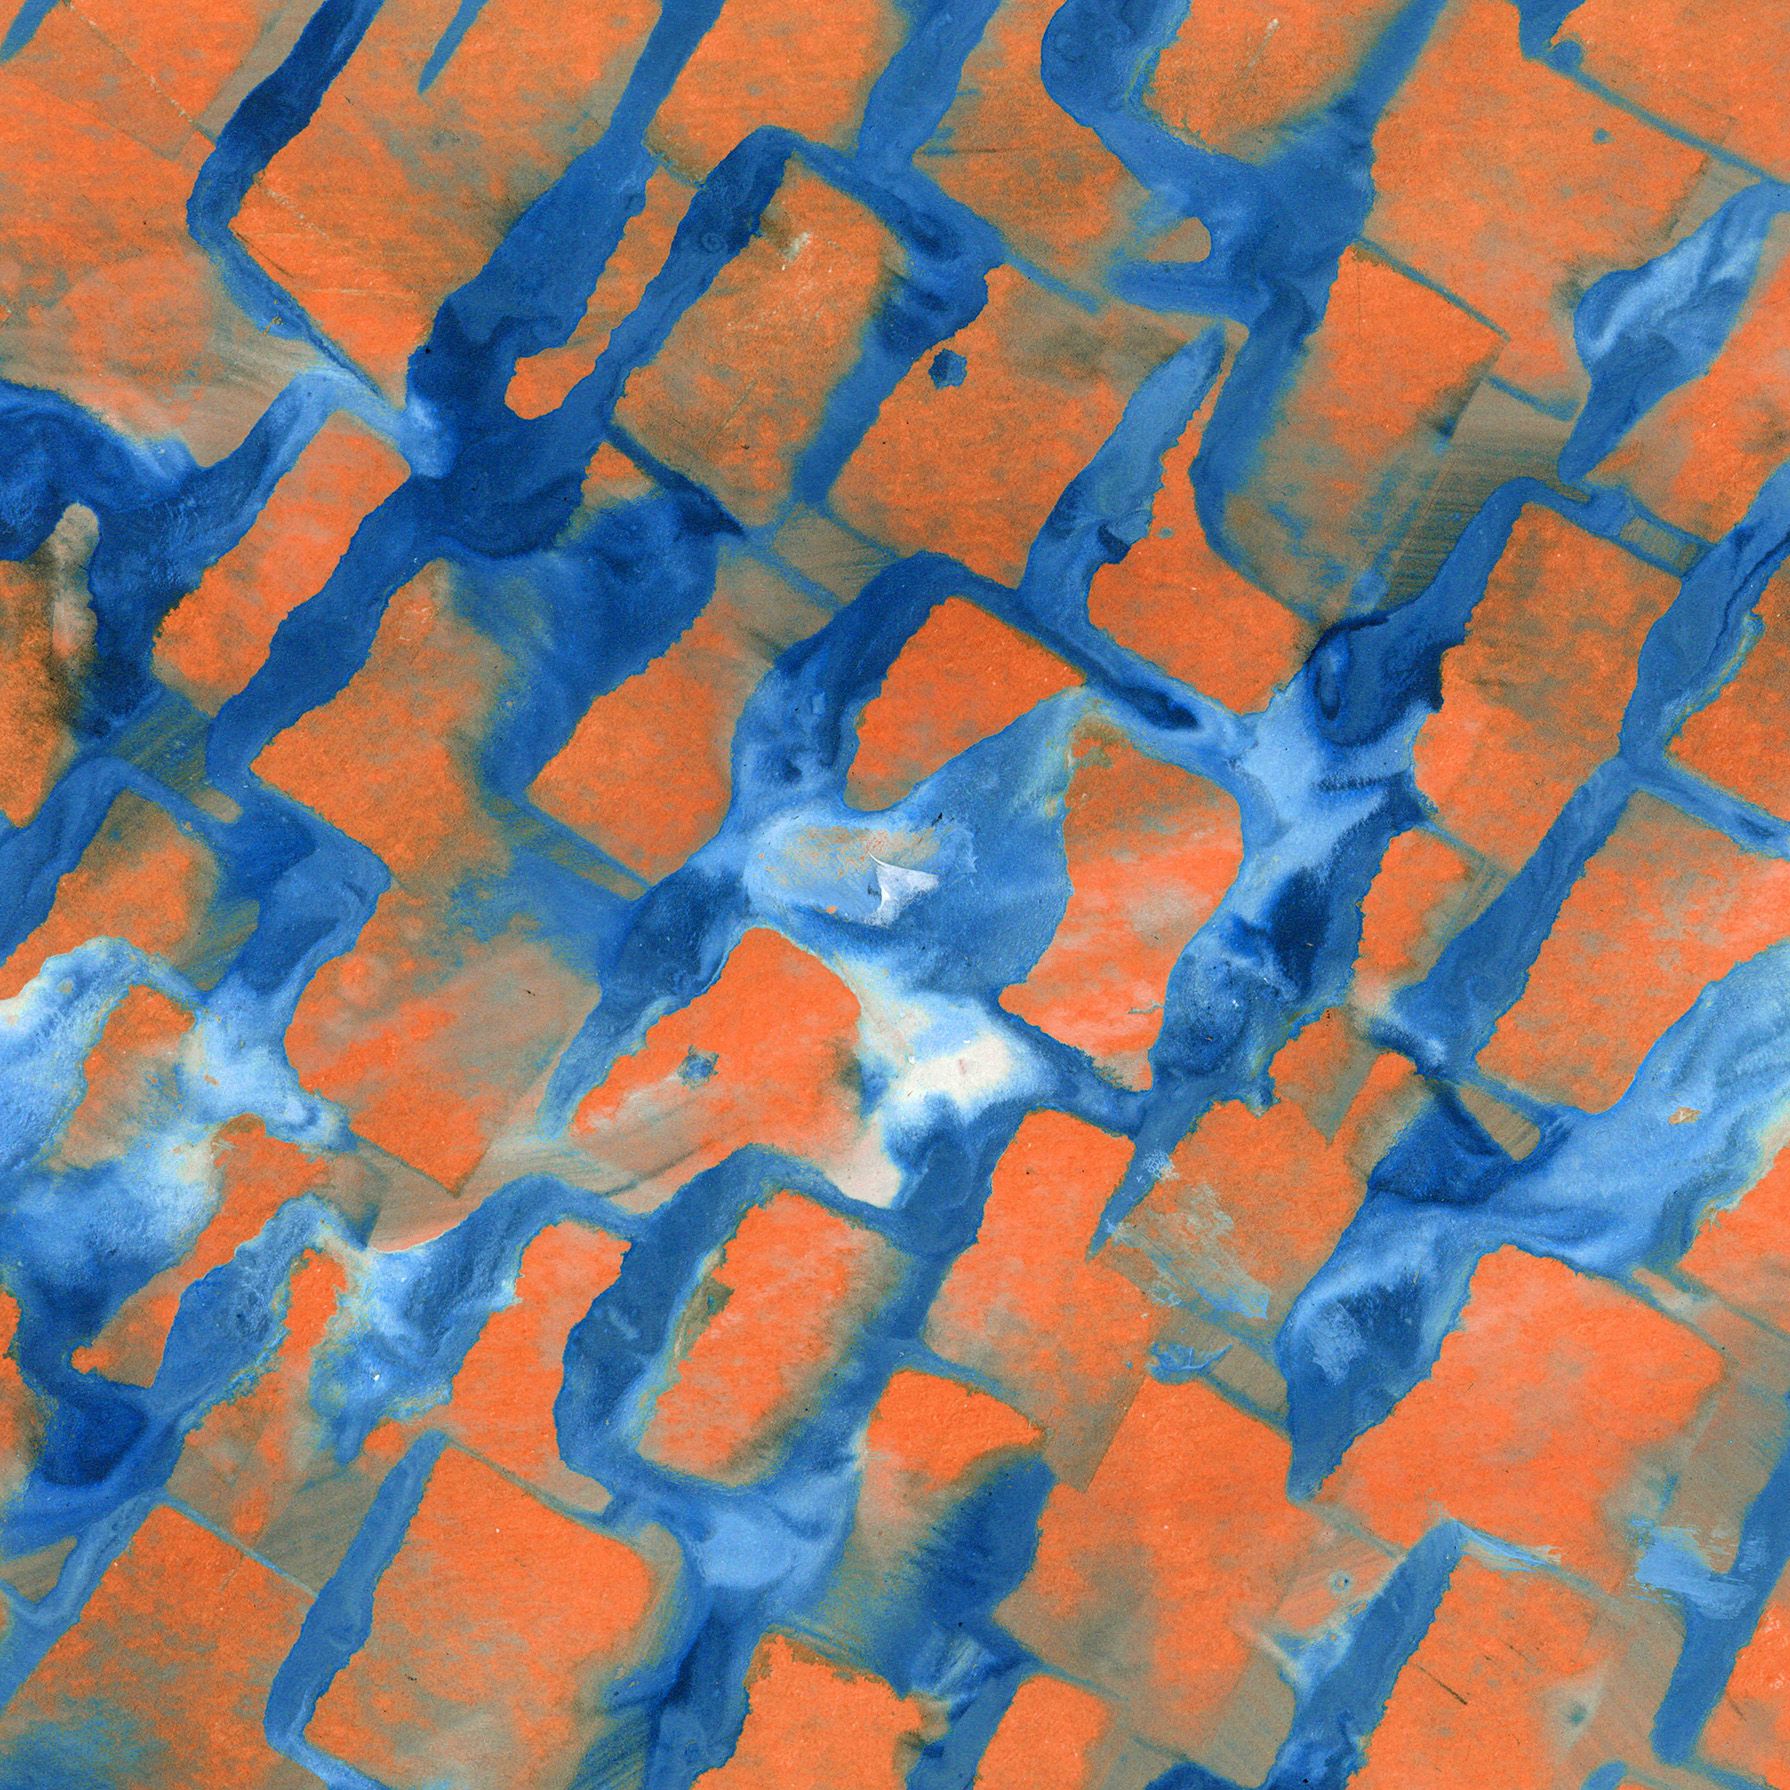
Method IV | Digitally Editing Patterns
For my early collage attempts, I just used the patterned paper I had created. Making patterned paper is very time consuming, particularly using my layered process detailed above. Not only is there a lot of drying time in the middle of the process, but the acrylic inks are quite expensive and I have found they can dry out if not properly stored. Often I found I created a pattern I loved but in colours which I didn't. This drove me to start exploring ways of using my paper but transforming the colours.
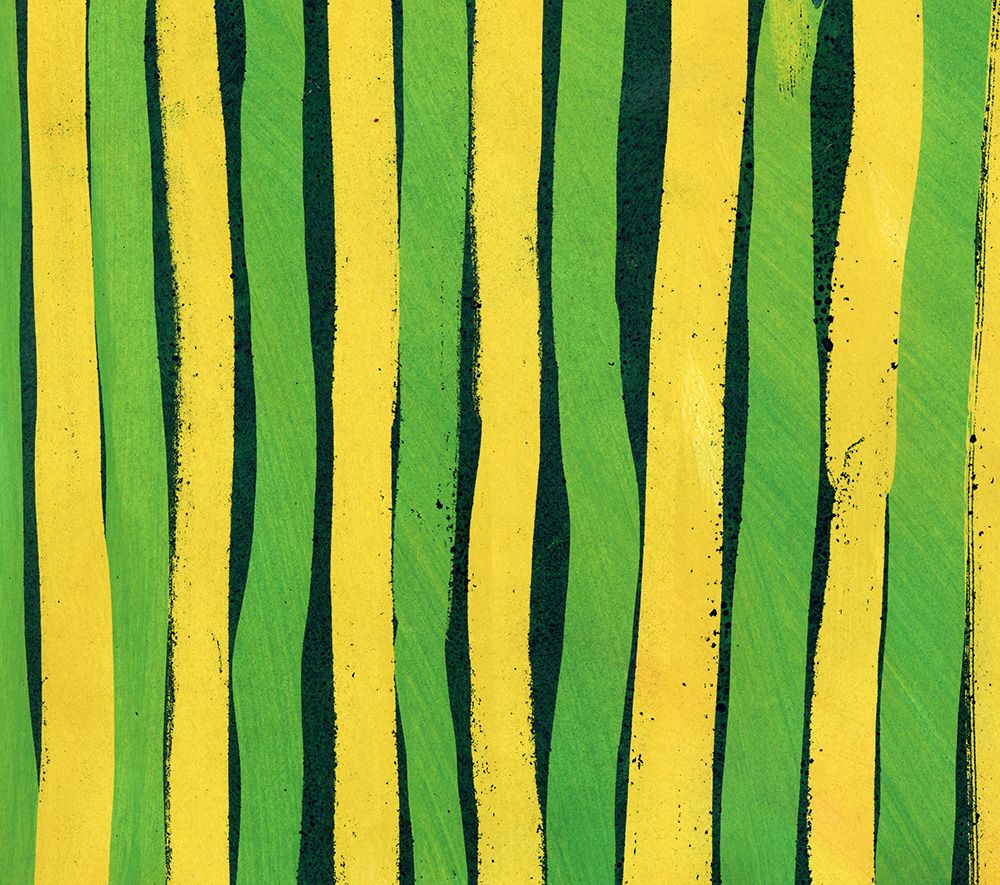
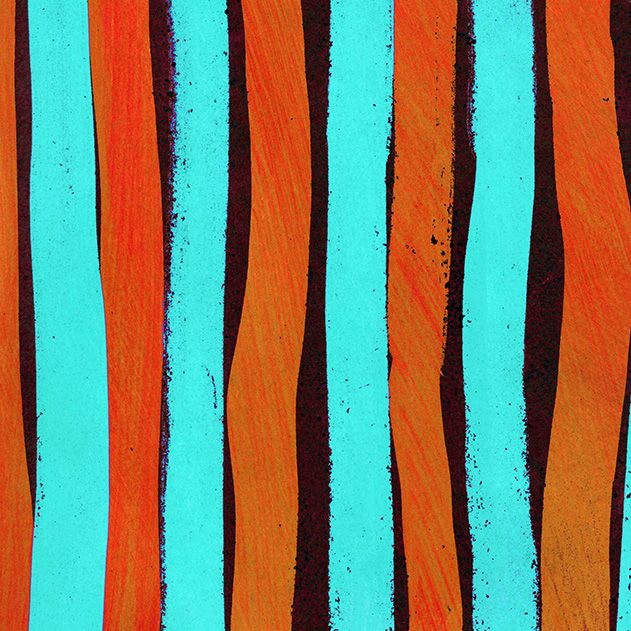

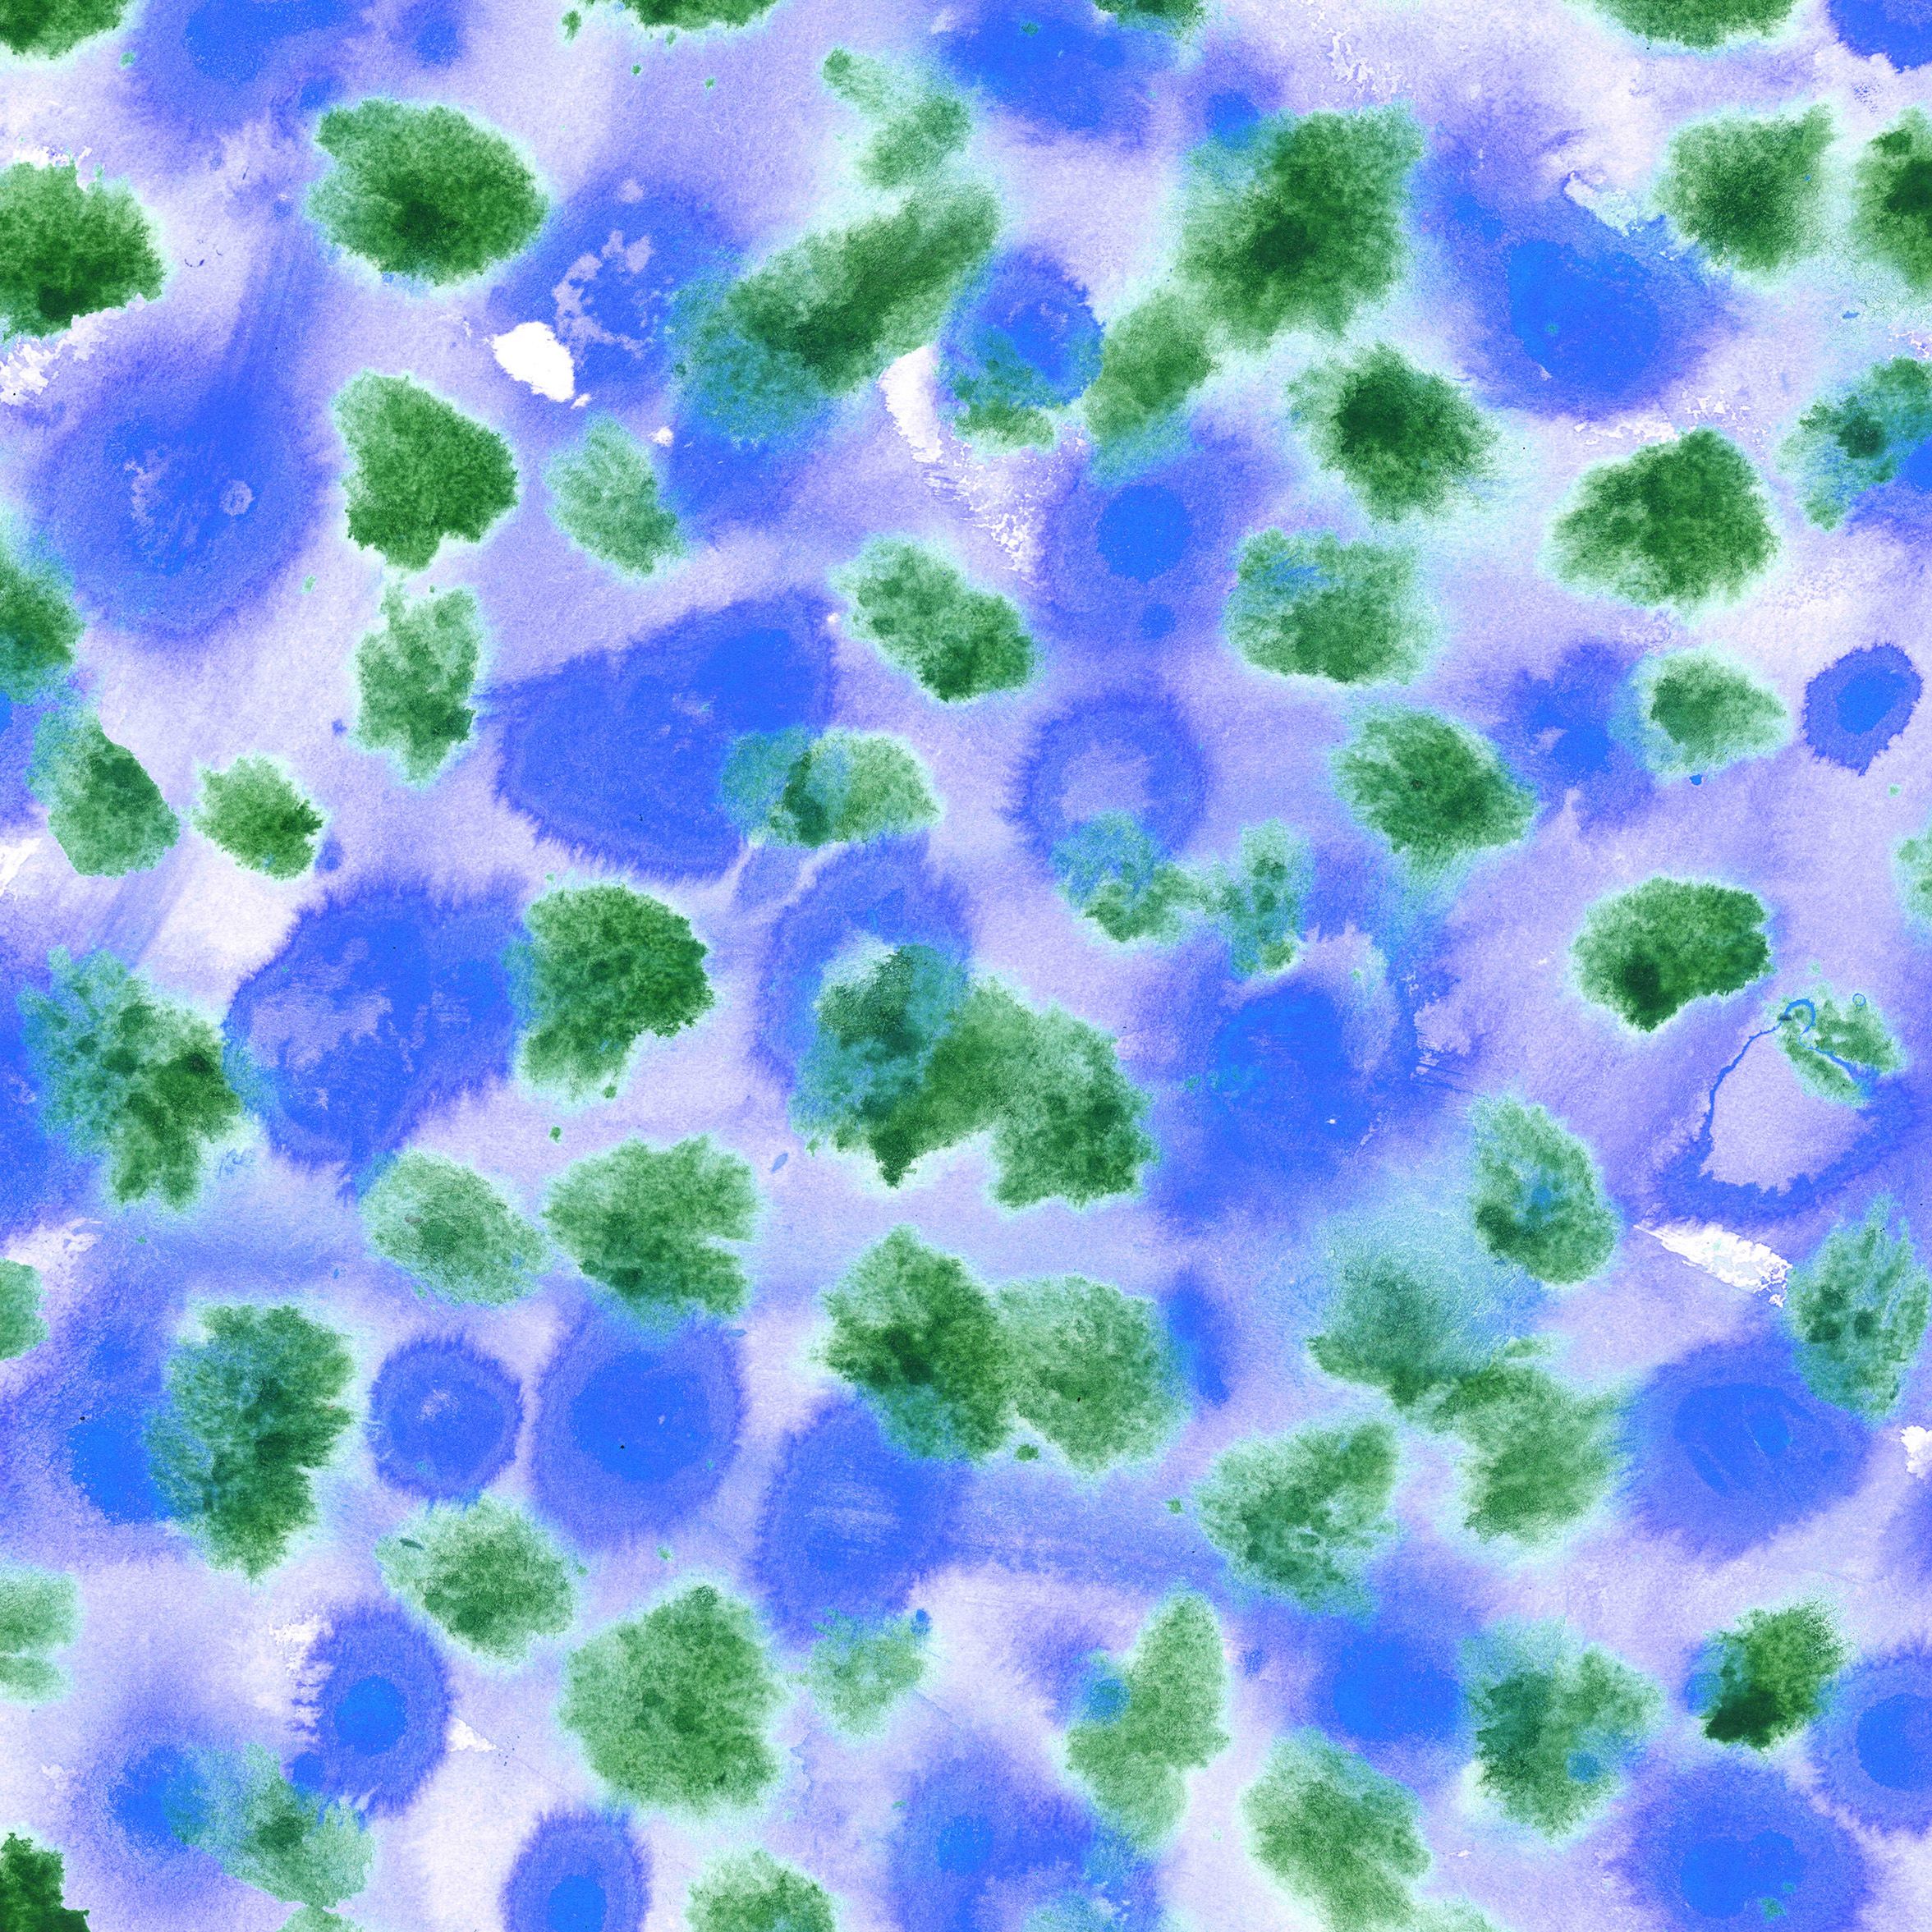
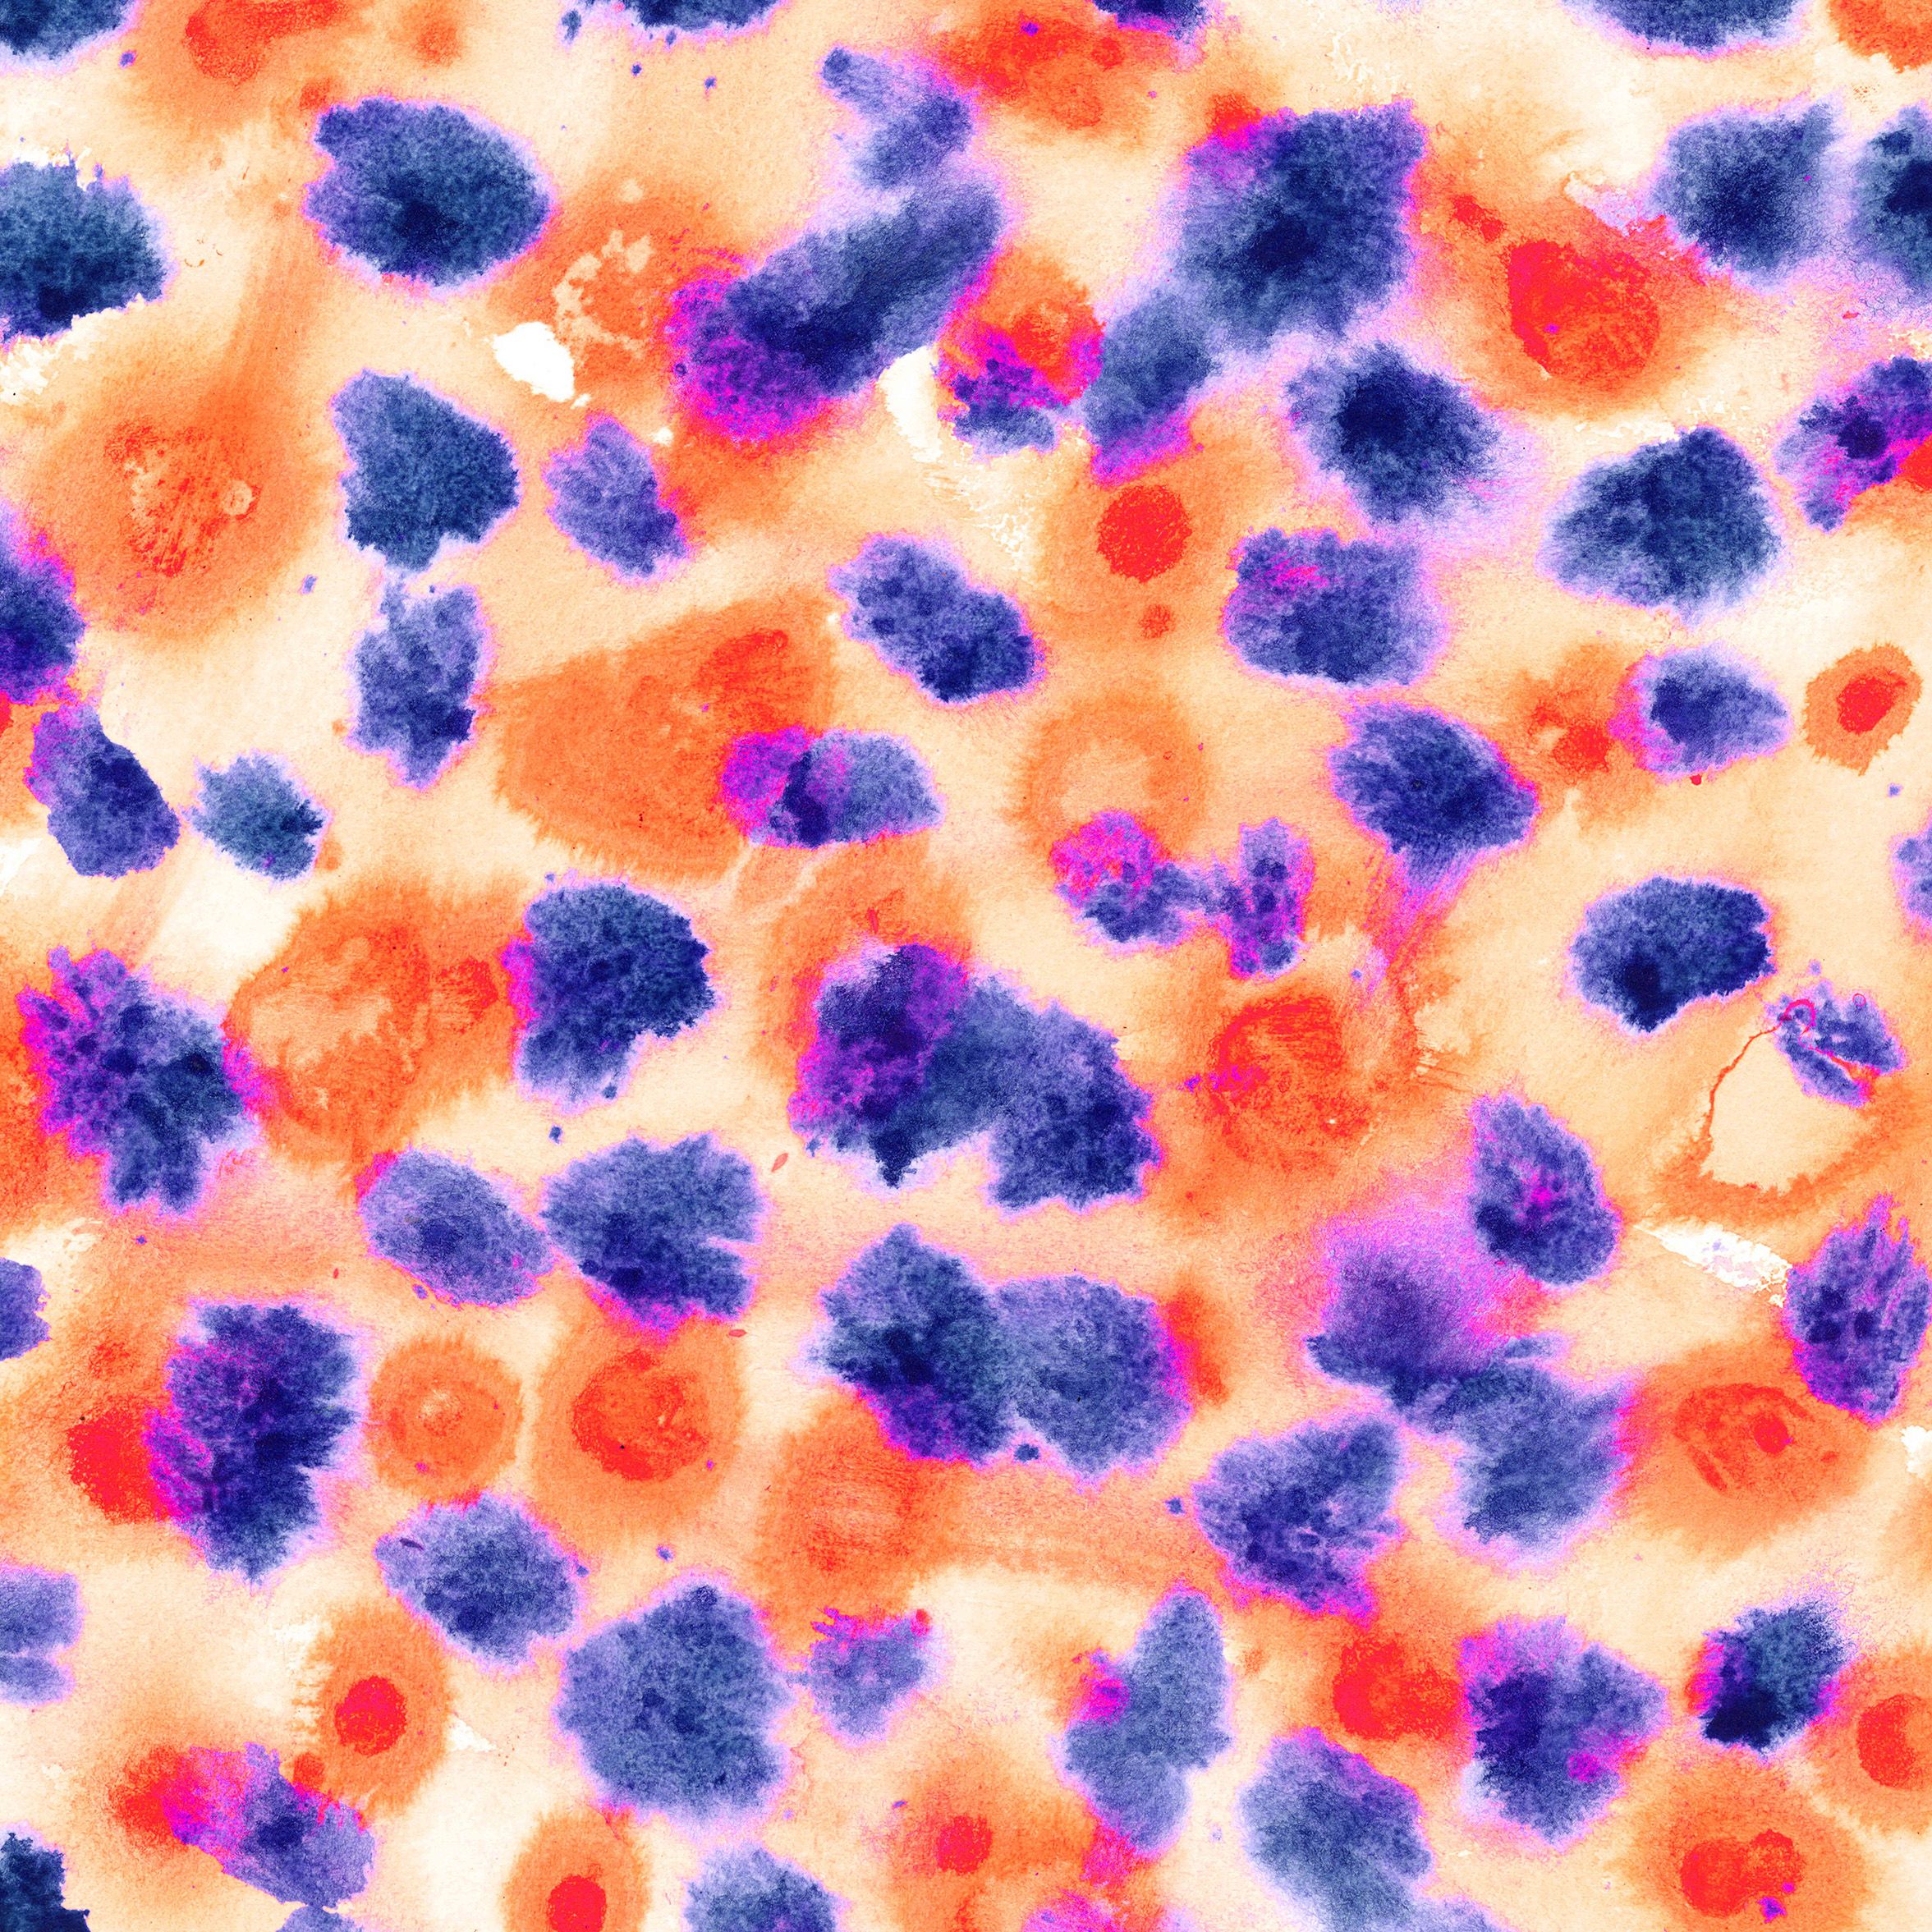
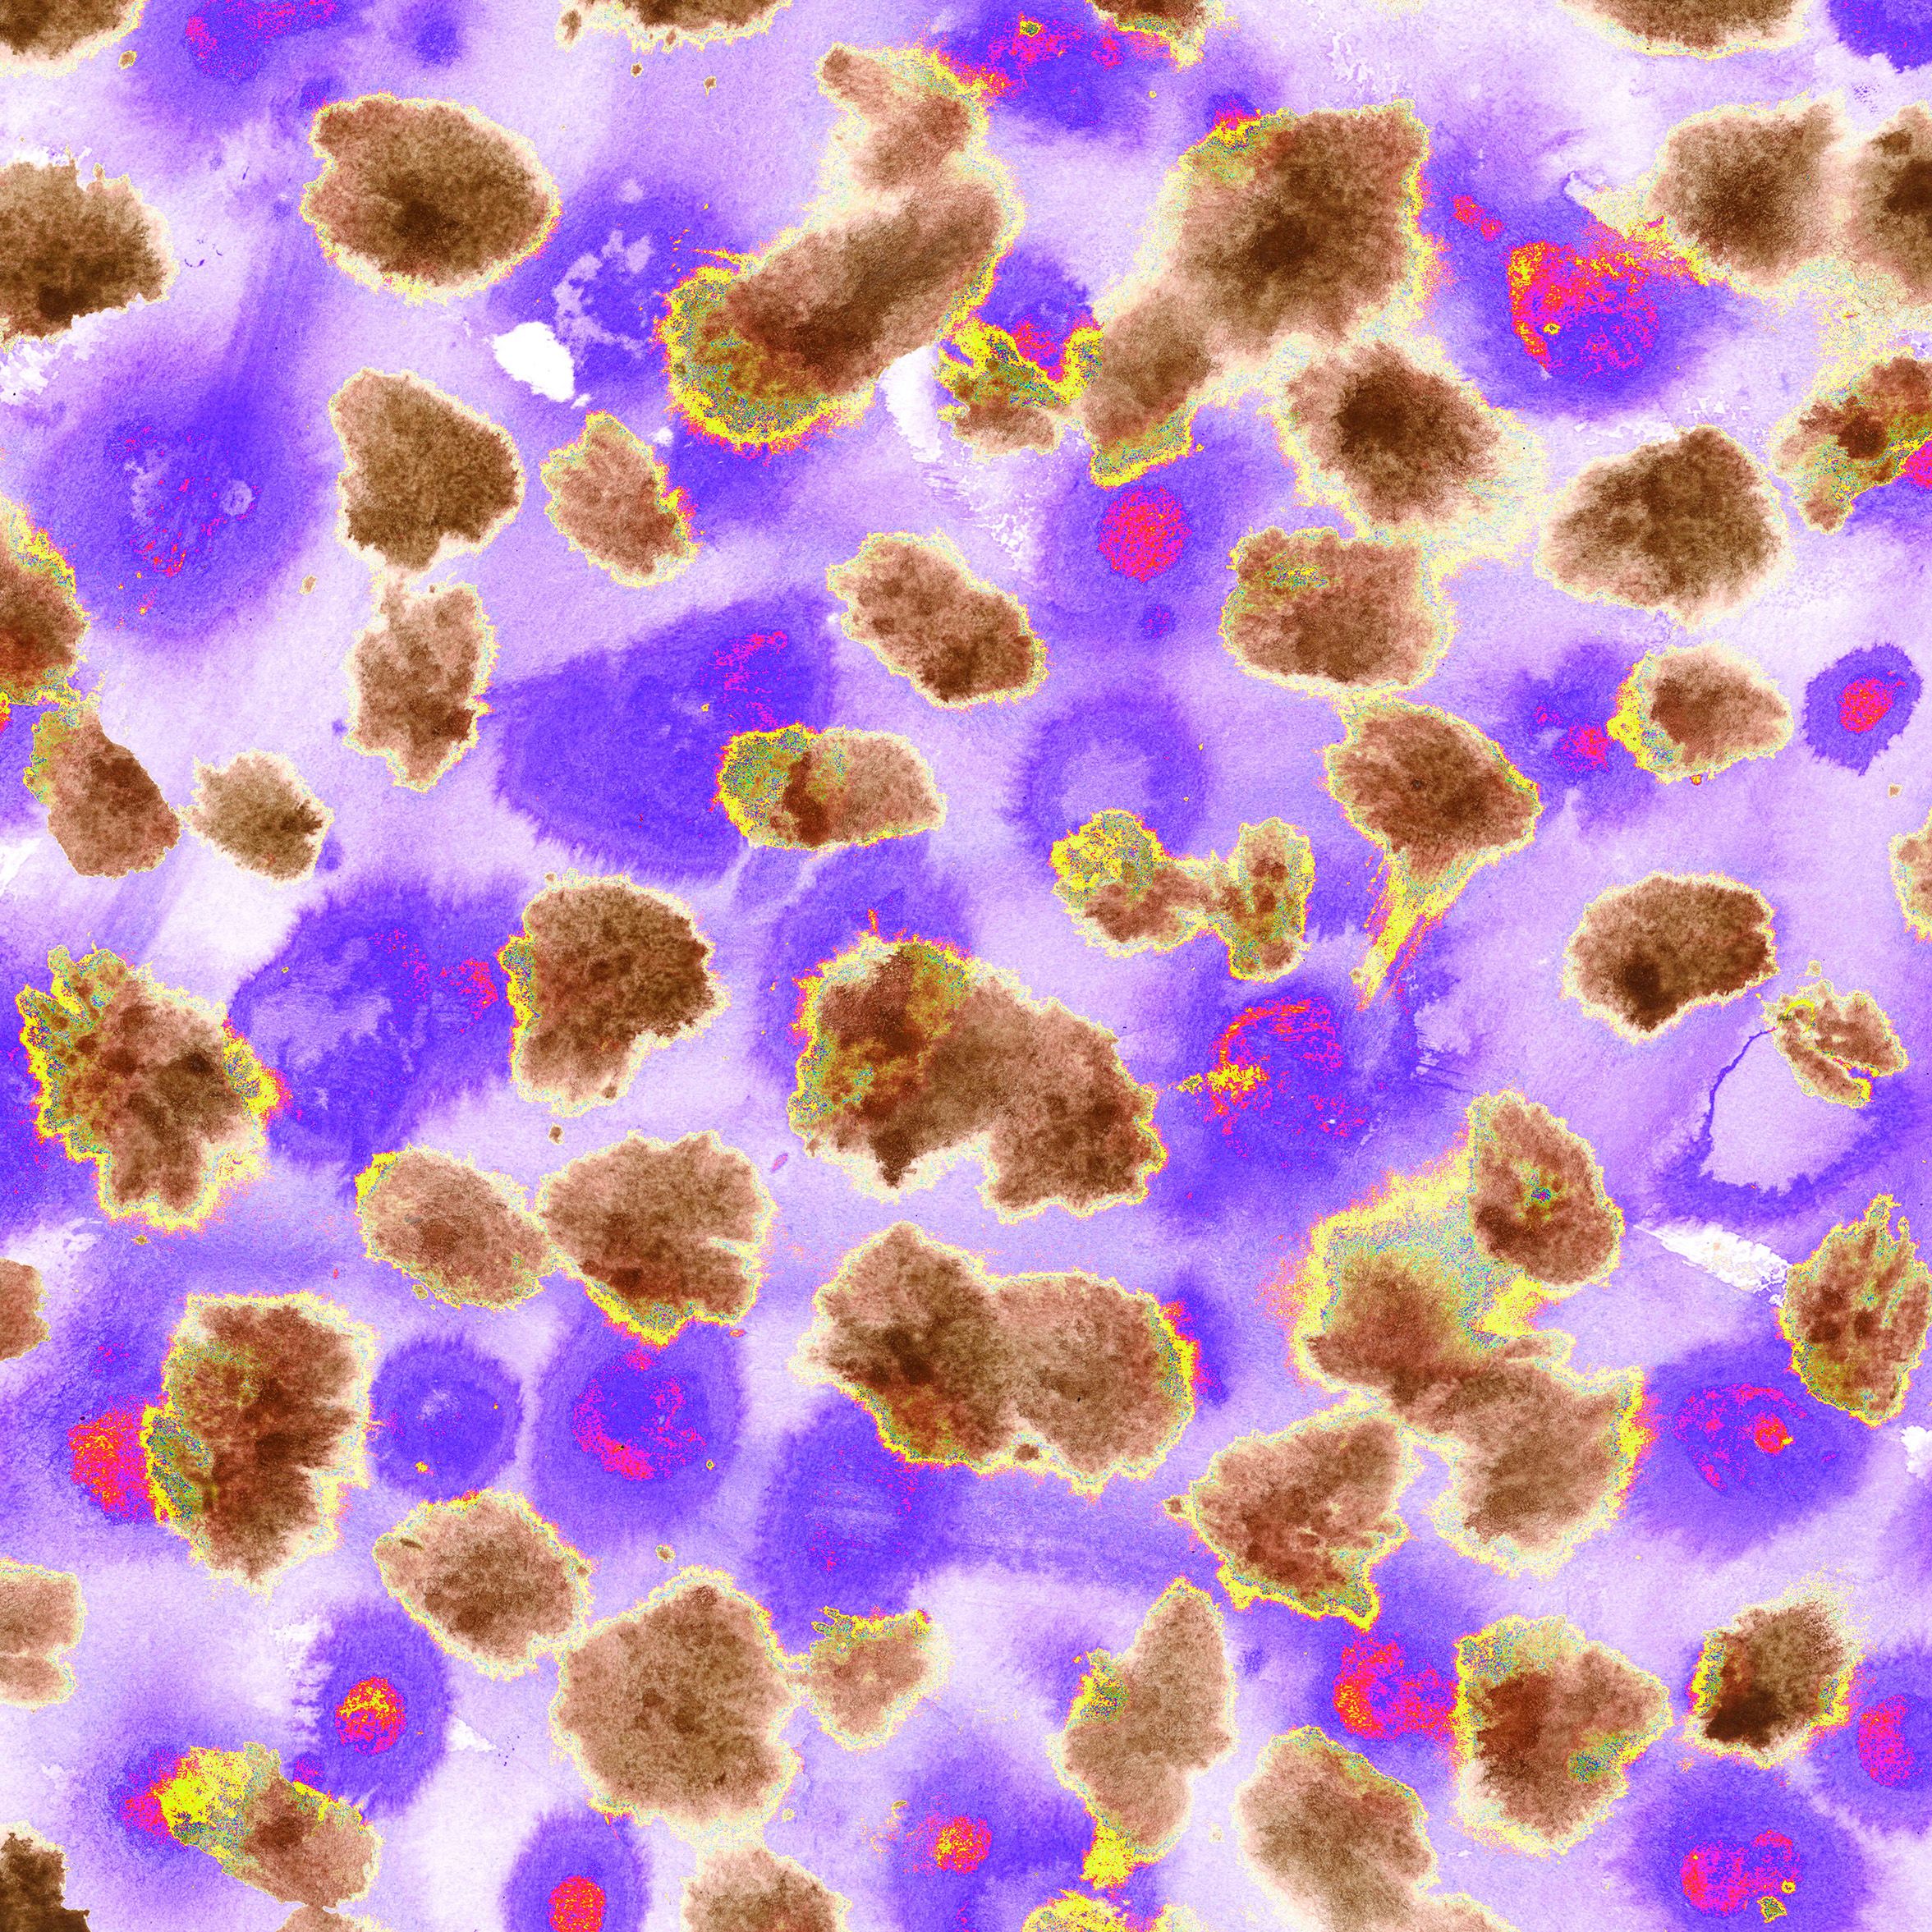
I used to be a bit of a luddite when it comes to the use of digital processes in art, however in recent years I have had a change of opinion, largely driven by appreciation for the iPad art created by David Hockney (briefly discussed in an article here) . Whilst the patterns below are based on scans of my handmade patterned paper, the colours have all been adjusted. Through these I have achieved colour combinations which either I didn't have the materials for, or with a saturation which would not be achievable. I love playing around with all the different combinations of colours, and as a rather impatient person, you get instant gratification from seeing new colours side by side. Also, as a particularly unskilled photoshop user, the colour editing process is unpredictable so as I adjust the hues on different areas of the colour palette, I get to discover new and unexpected colour combinations. This in turn has started informing some of the colour palettes I use within my embroideries. So if you ever feel like your playtime is wasted time, it is not! I am firm believer that every single bit of creative play ends up informing other more serious creative practices.

You may also like

How To Guide: Faux Marbled Paper
Read more
How To Guide: Cut Paper Baubles
Read more
Finding Inspiration in Paper: Three artists working in collage
Read more
How To Guide: Paper Stars
Read more
How To Guide: Layered Paper
Read more
The Studio Tour
Read more