
Crafts
My Patterned Paper Obsession: Part I

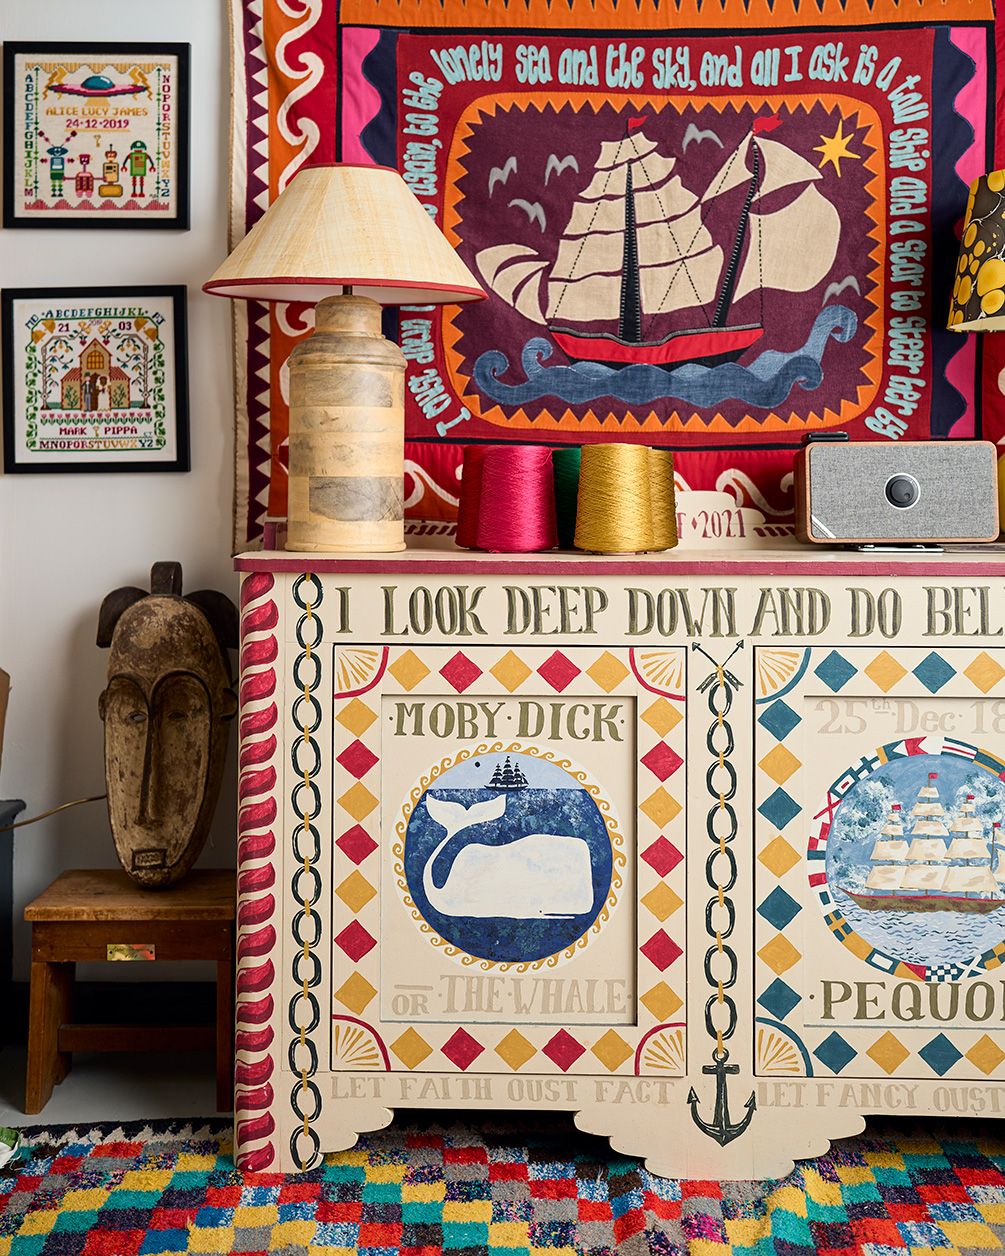
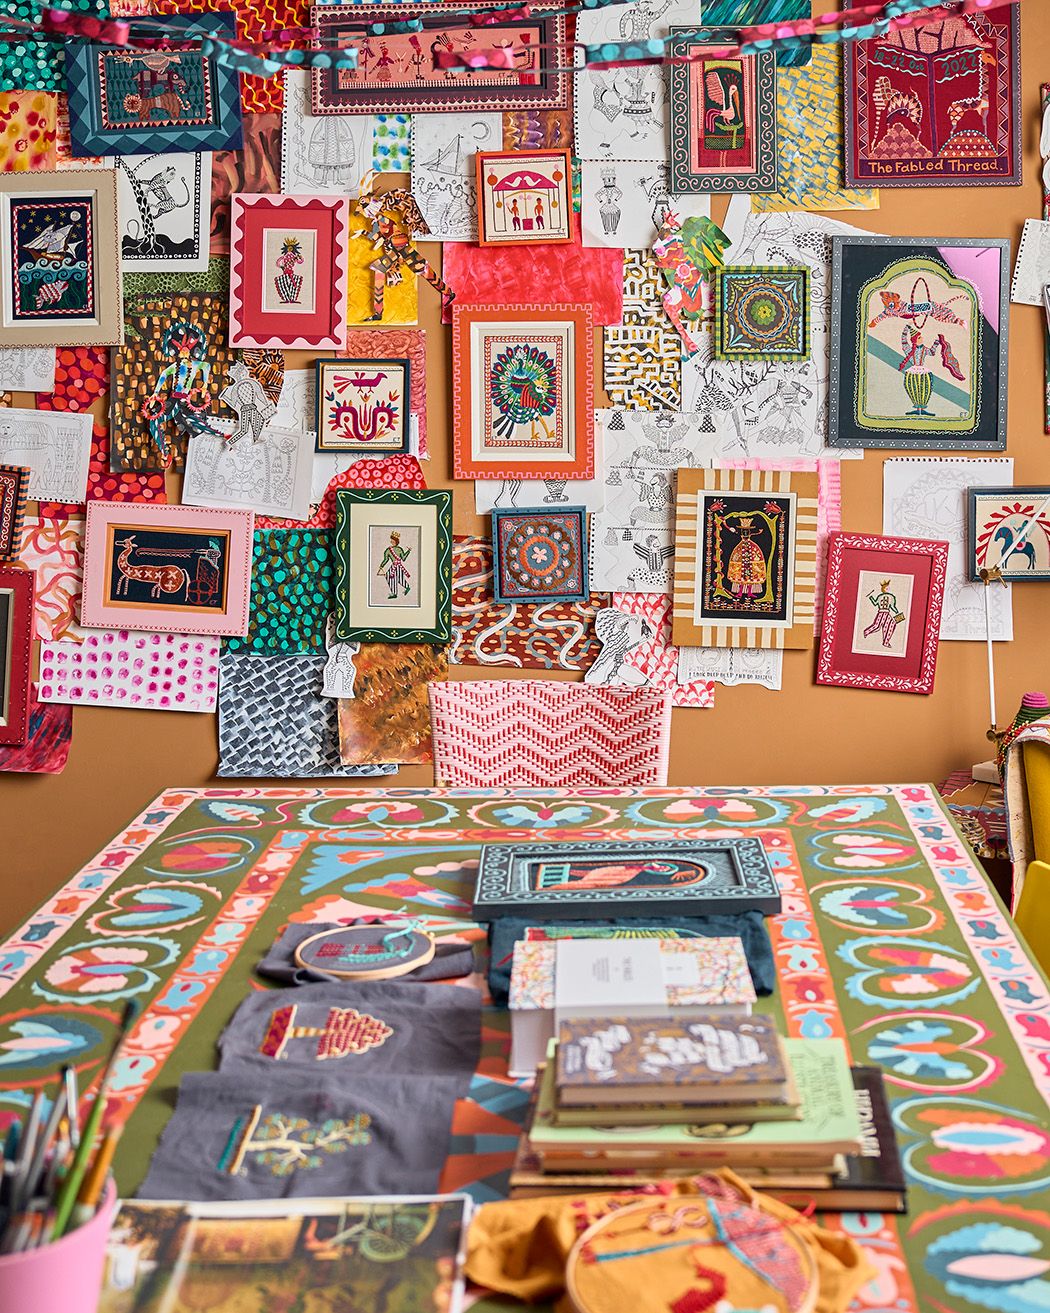
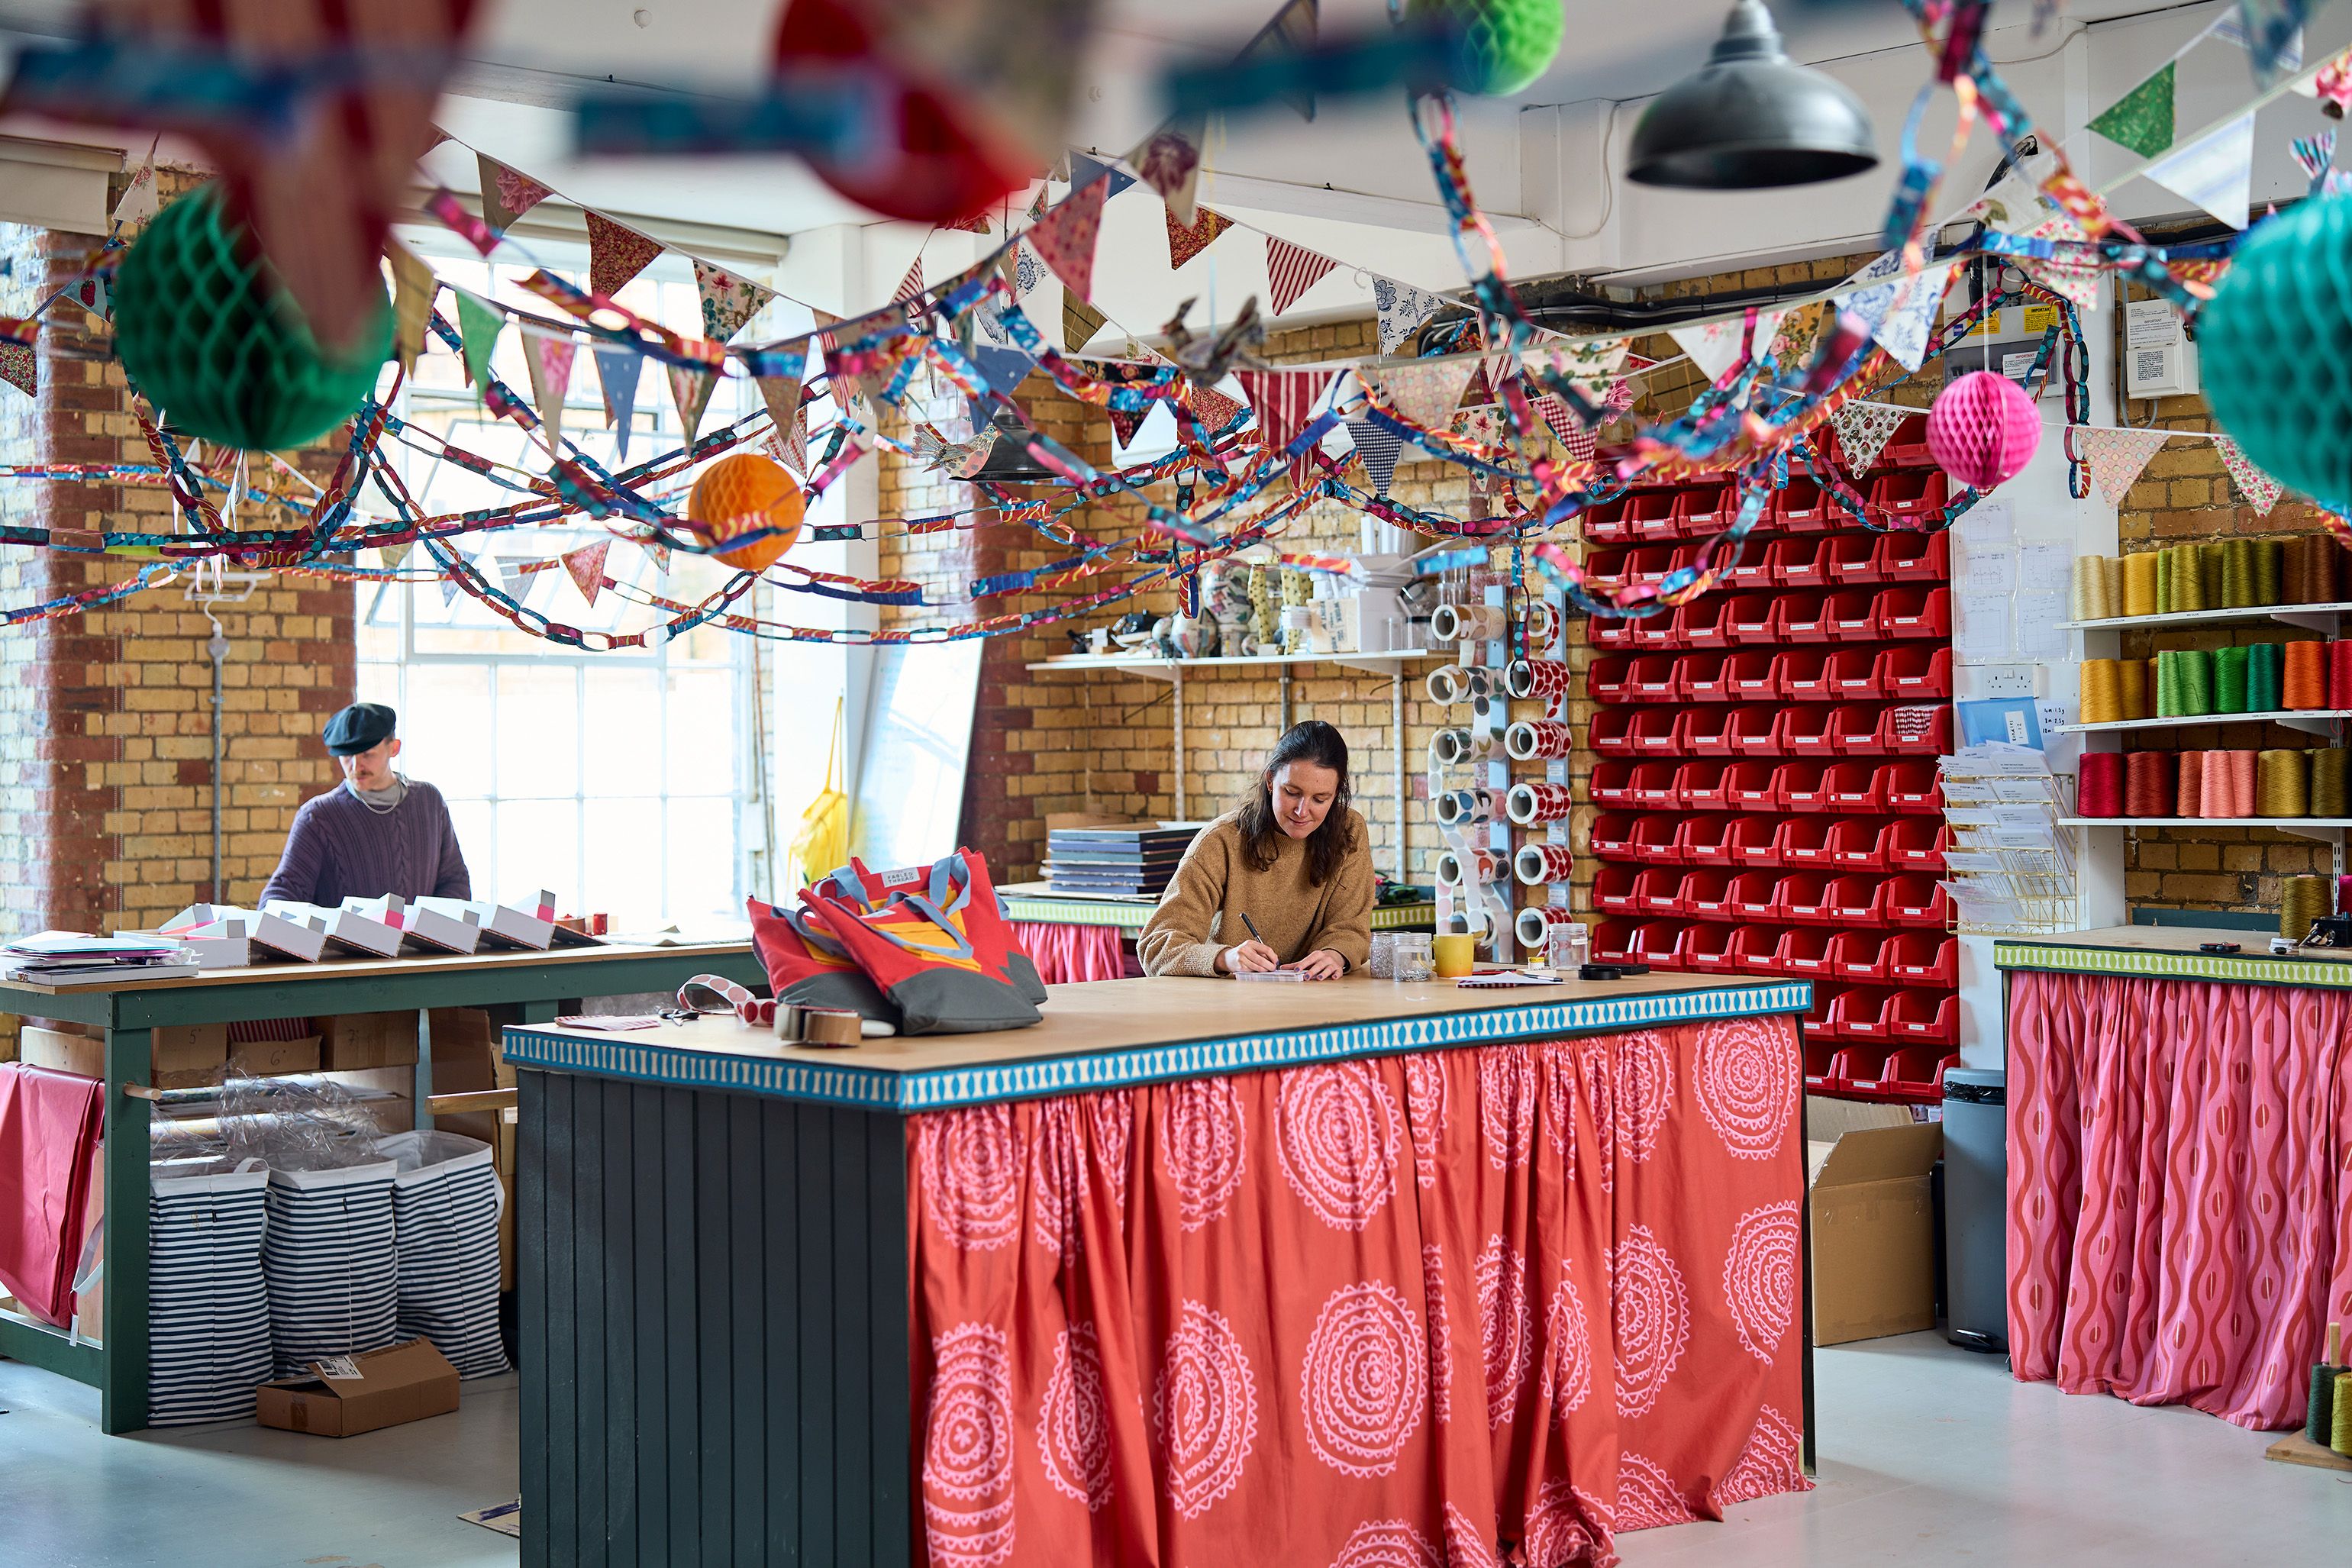
One brief glimpse around the studio will tell you my two great loves, colour and pattern!
Whilst of course I primarily use these in textiles, they are the core of one of my other great obsessions... patterned papers. I go into detail on why collage is a medium which I believe is closely aligned to textiles in this article here, however what I want to delve into here is some of my experiments and methods I have developed to create patterned paper.
I am a dabbler in all sorts of crafts. Whilst embroidery and needlepoint are the main medium I work in and the basis for The Fabled Thread, its fun to play with other slightly faster or less controllable processes. That's where patterned paper making comes in. Playing with colour combinations and patterns in such an immediate way, helps me form and test ideas before I put them into embroidery. So whilst this series of articles on patterned papers may at first seem quite random, there is method to my madness!
Firstly, I find the process of creating patterned paper a fun hobby and a cheaper alternative to buying papers, however there are lots of amazing paper companies out there if you are interested in collage or papercrafts but have the time or inclination to create your own paper. My favourite places to look for paper are Cambridge Imprint, Yately Papers, Payhembury Papers, Jemma Lewis Marbling, Choosing Keeping, and Shepherds London. Several years ago I also went to an afternoon marbling class with Florence Suamarez of INQ. If you are near Bath, I believe that she runs courses and I couldn't recommend it more!
Given that I enjoy creating the papers myself, in this series of articles I am going to introduce you to a few of the processes I have developed for making patterned paper. Whilst this isn't the how to guide, I hope it provides some inspiration for how you can use different mediums in your creative practice. For Studio Members, I have created detailed how to videos to accompany these two methods, which you will find linked in the article below. If you are wondering what to do with your papers, then I have further series of articles on ways to use patterned paper which will come out in November, and as you can imagine, will have a slightly festive twist.
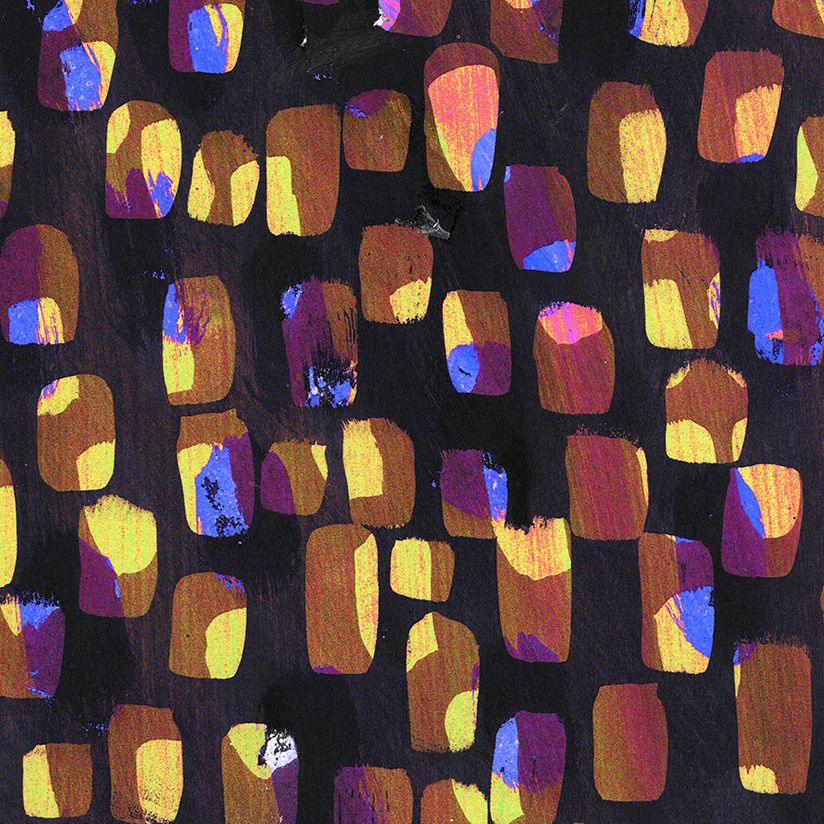
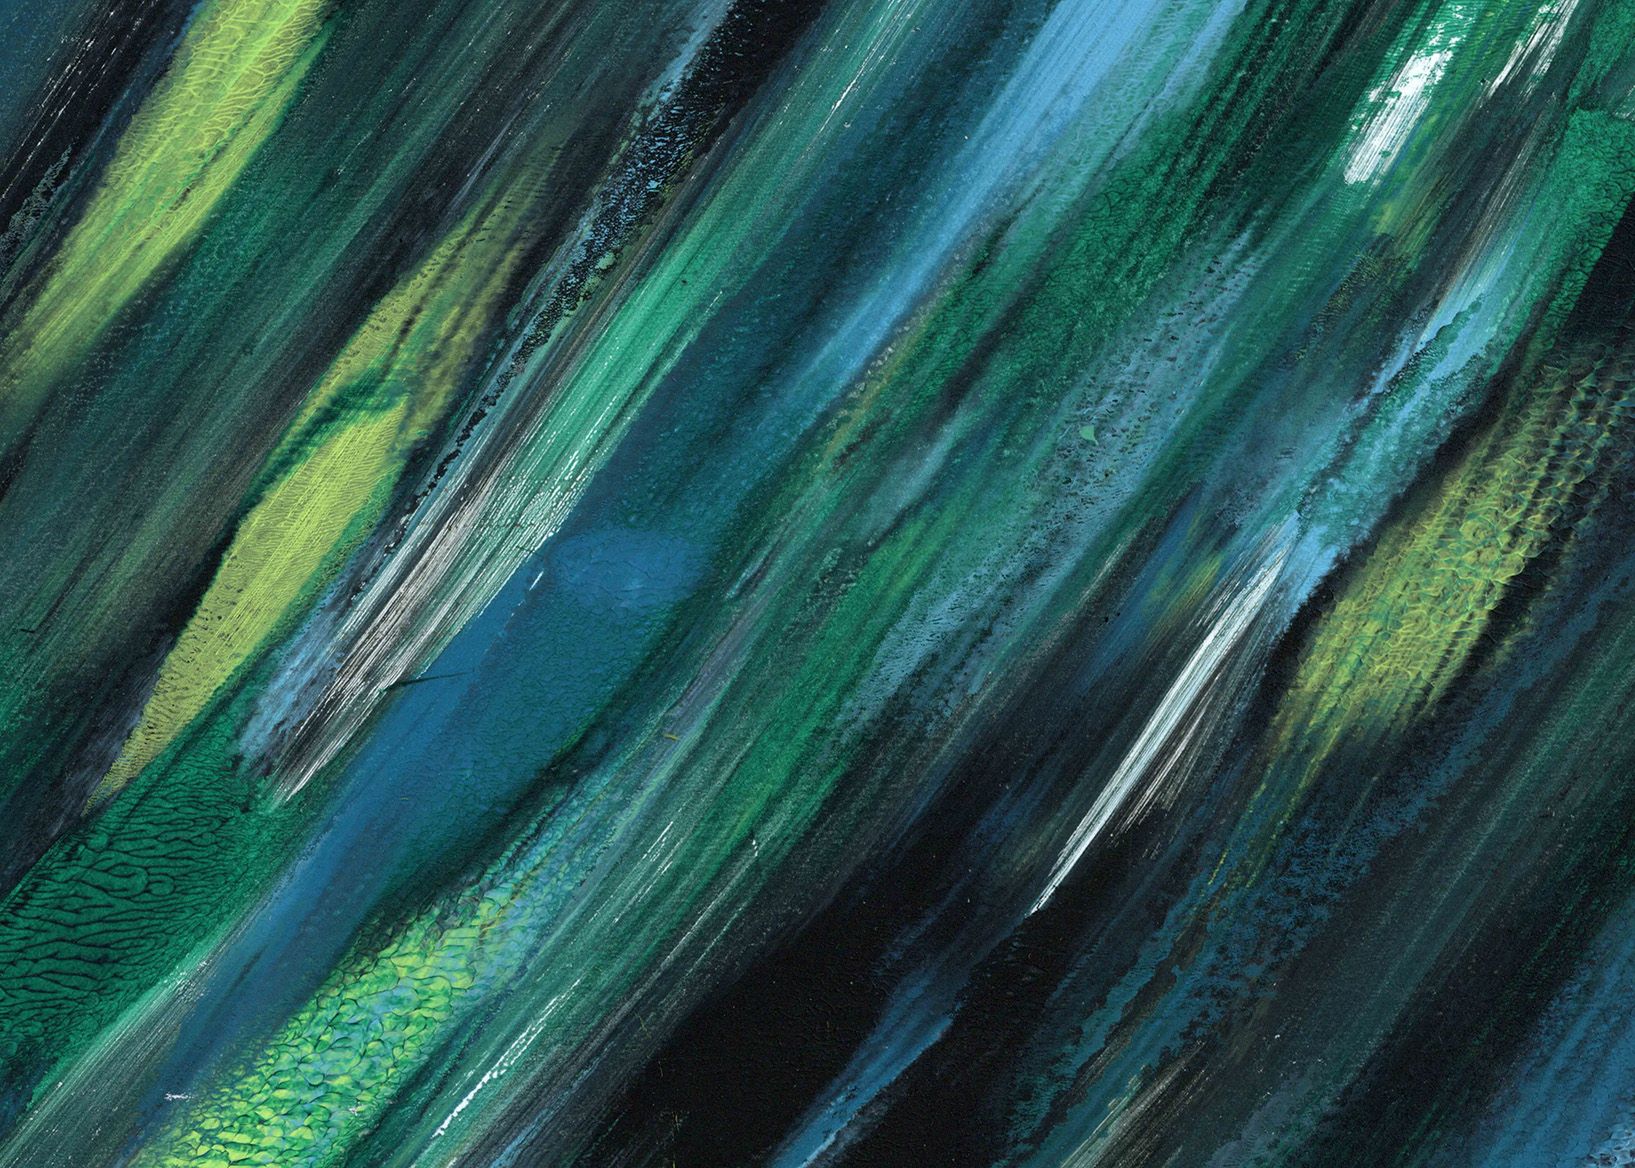
Layered Patterned Paper
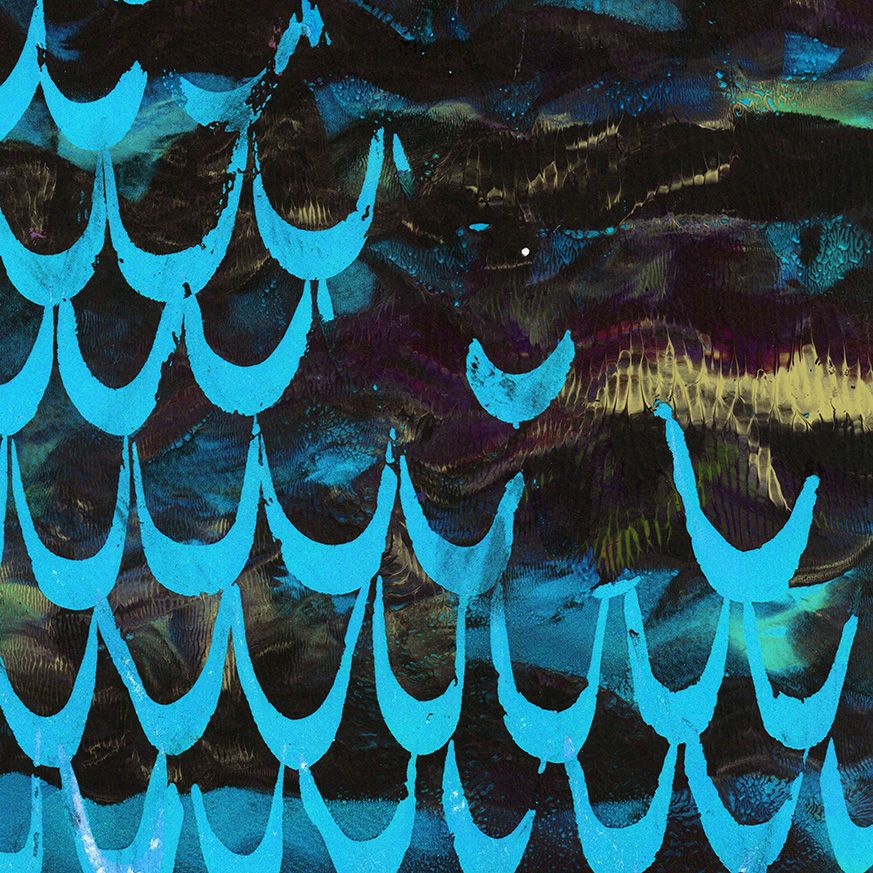
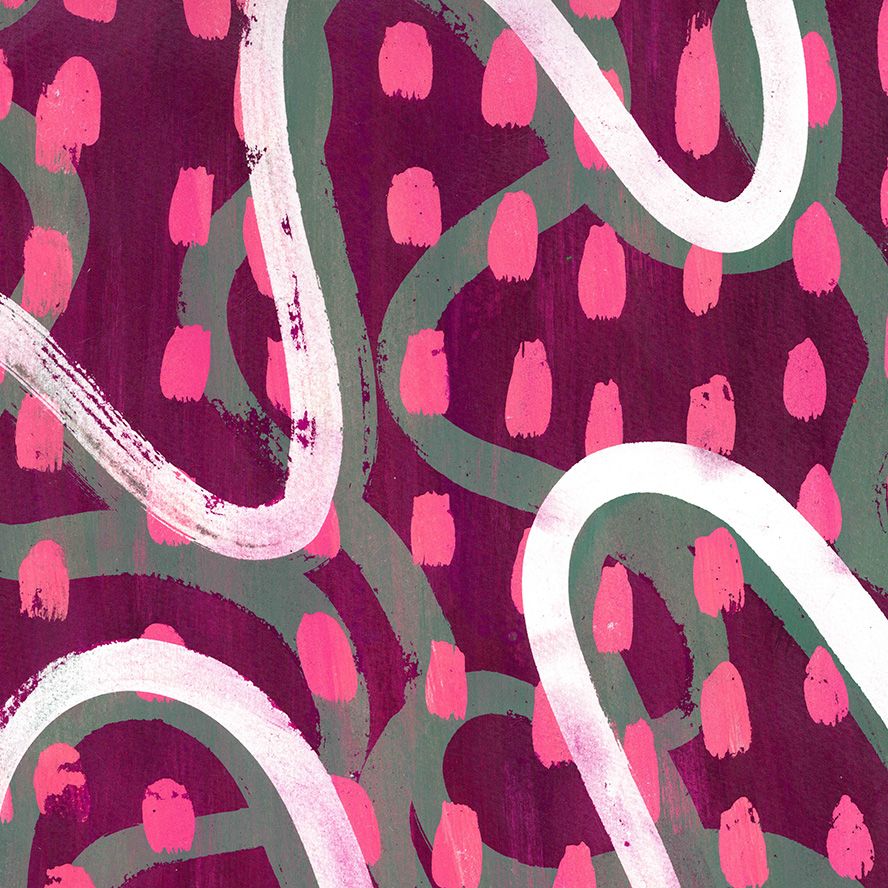
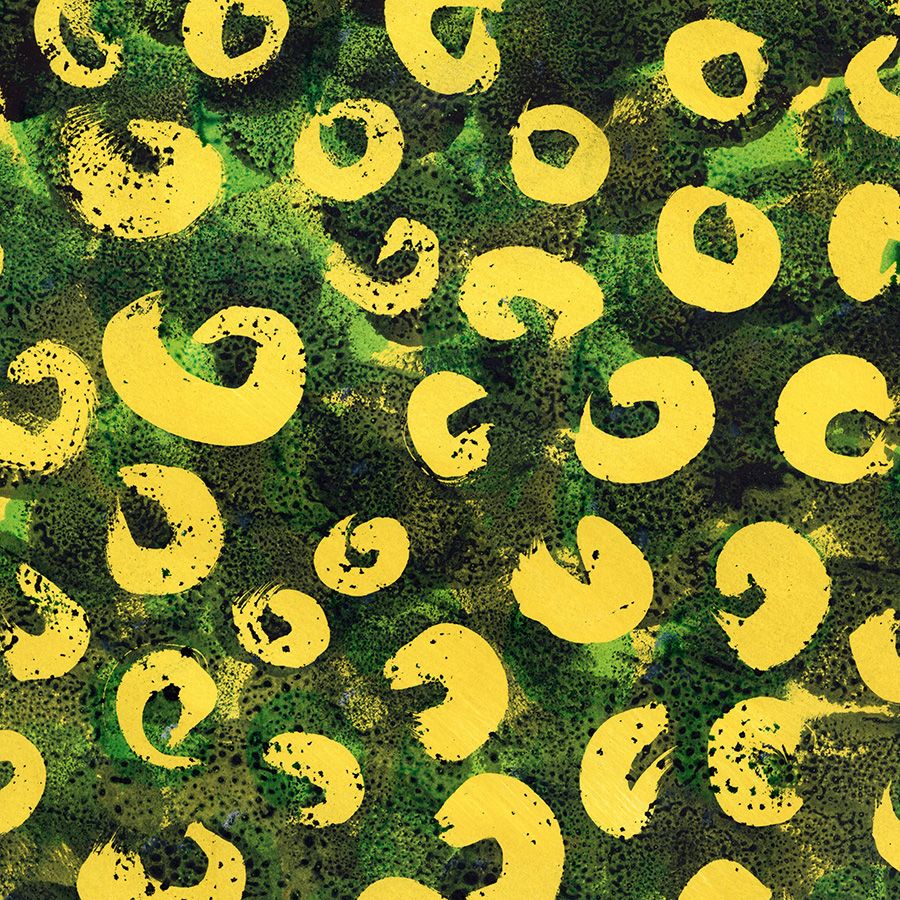
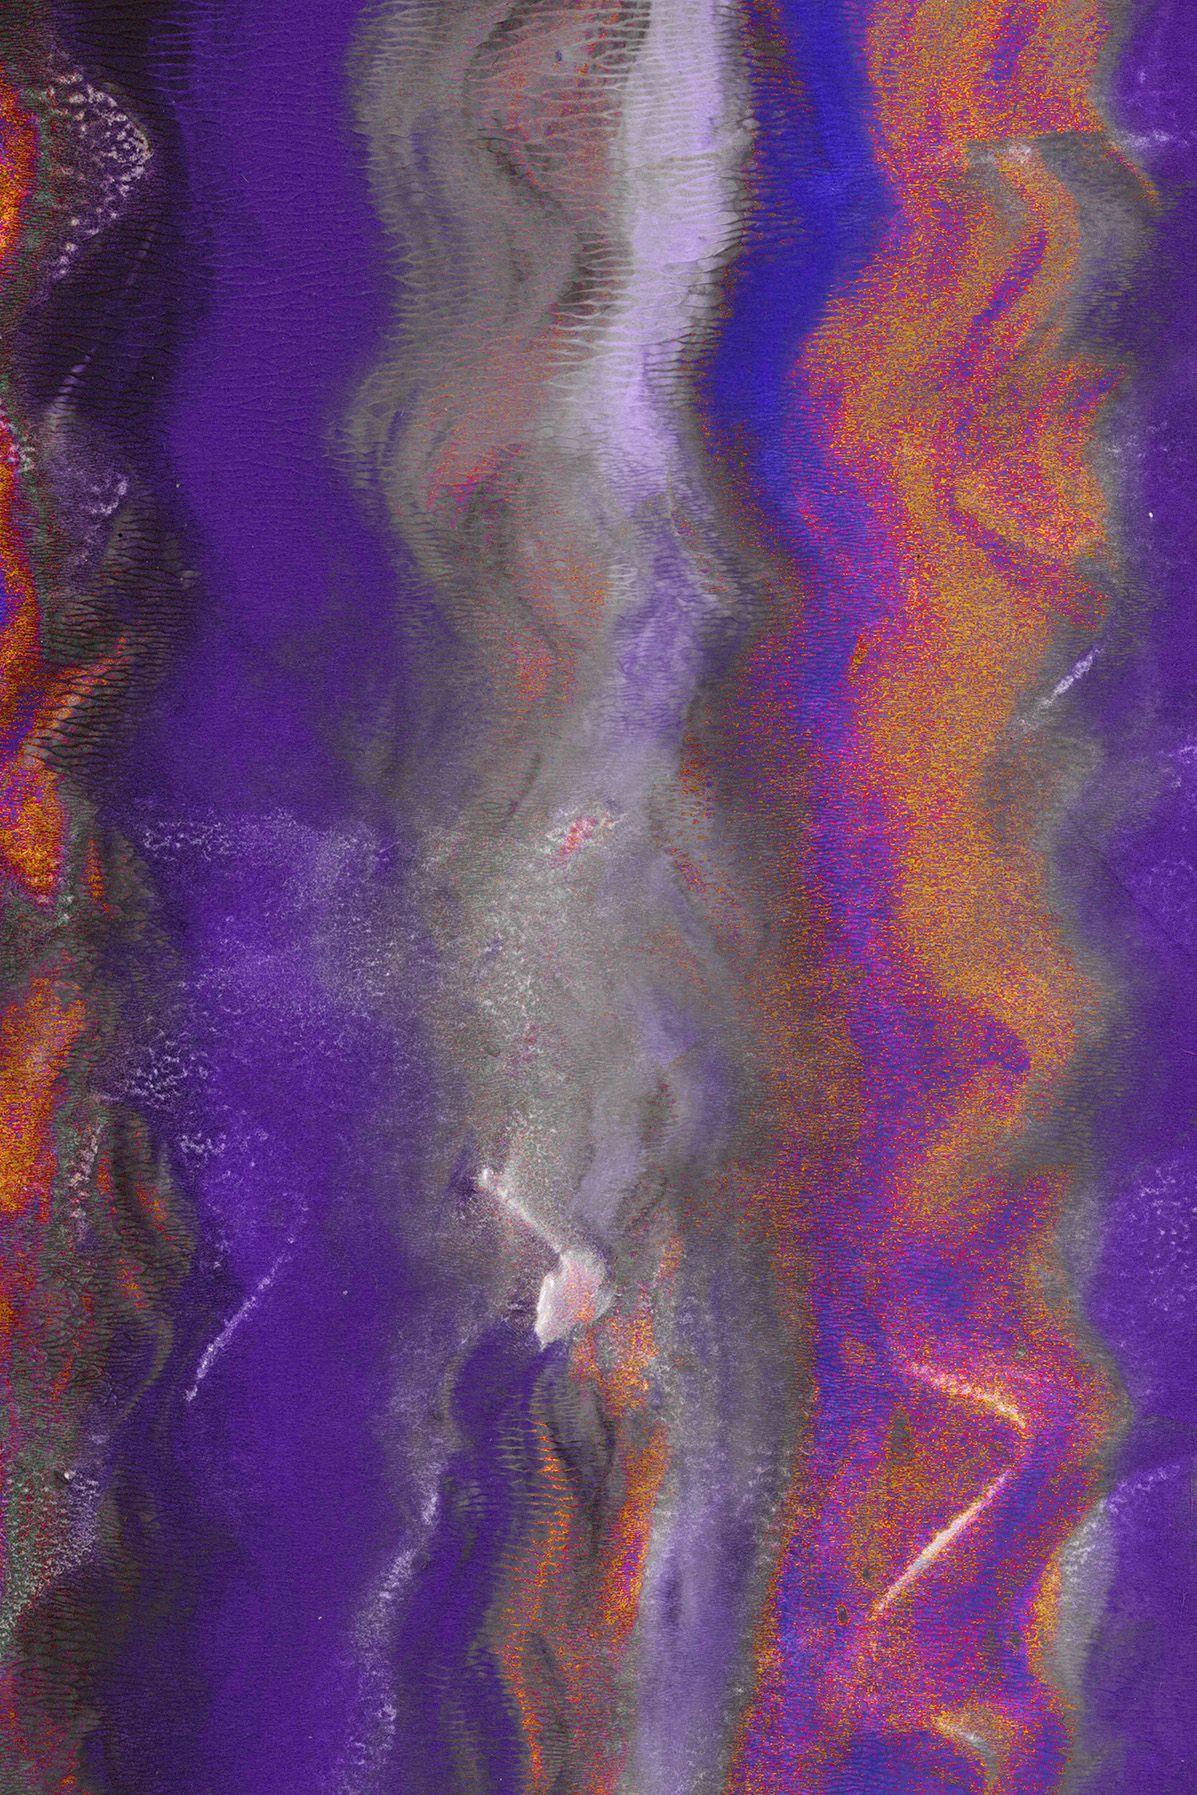
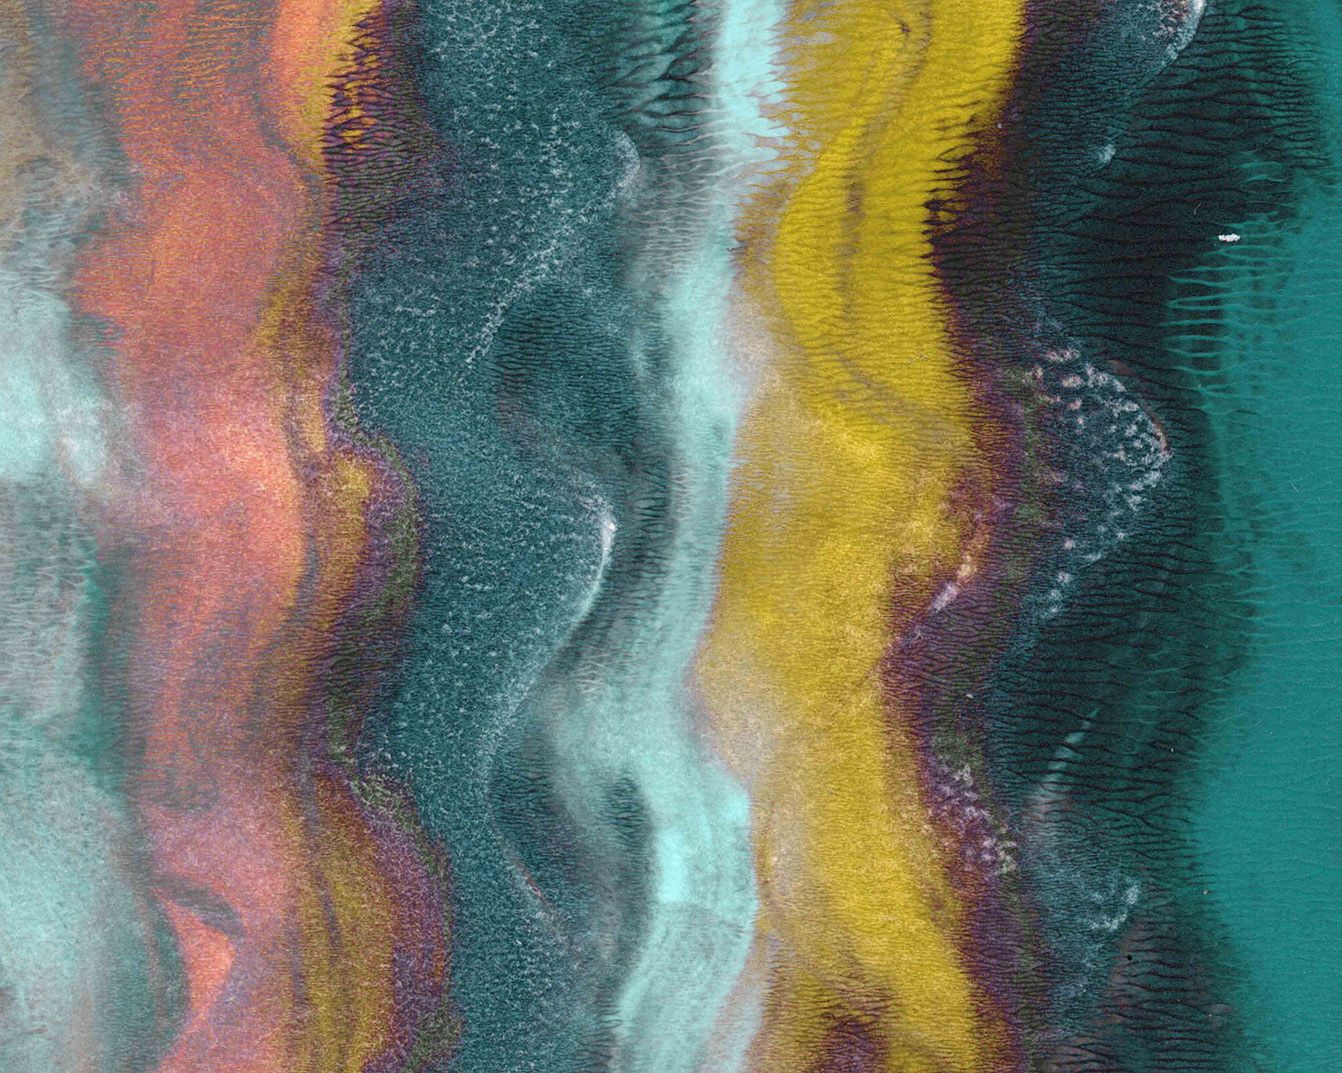
This method for creating patterned papers is one I have been experimenting with for several years. The process involved applying layers highly pigmented inks whilst masking certain areas using a watercolour resist medium. At the end when you remove the medium, you reveal all the layers of colour from interim stages of layering the inks. Its a wonderfully fun process. If you want to learn the full process we have a detailed video which is accessible to Studio Members.
Creating the layered paper designs is a process of trial and error. Whilst the simplest designs are made up of just 2 layers of colour and 1 layer of resist, the more complicated designs have up to 5 layers. With each layer, you have to allow the paper to fully dry meaning one sheet can take several hours to do from start to finish, albeit not working constantly through that time. However it is a very exciting process as you don't know what the finished appearance of the paper will be. It means that at the final stage, when you peel back all the resist medium, you have a wonderful design reveal. Below there is a series of images of different paper designs with some detailed captions to explain how many layers have gone into creating each.
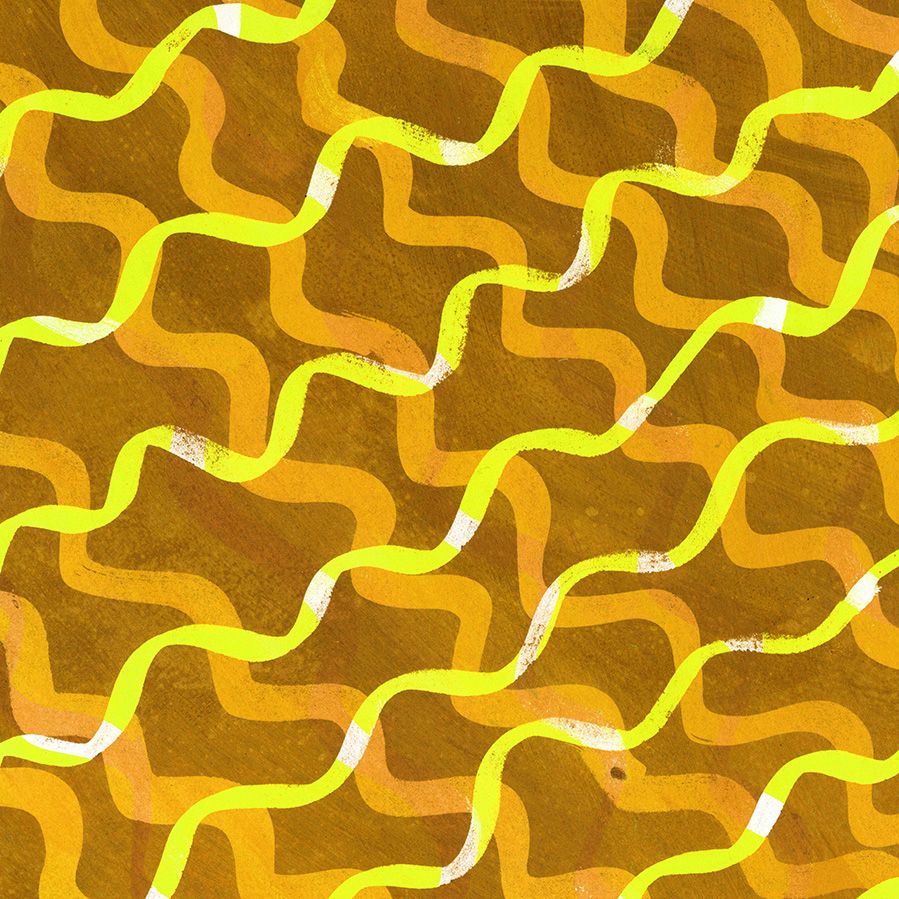
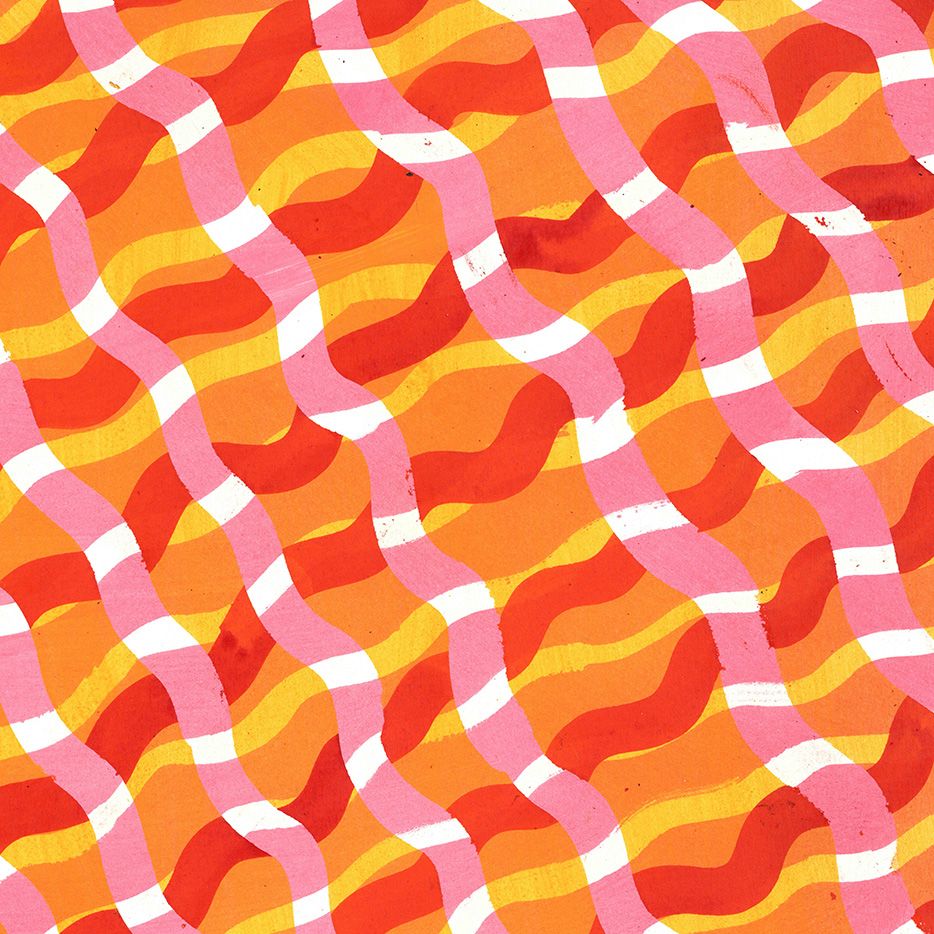
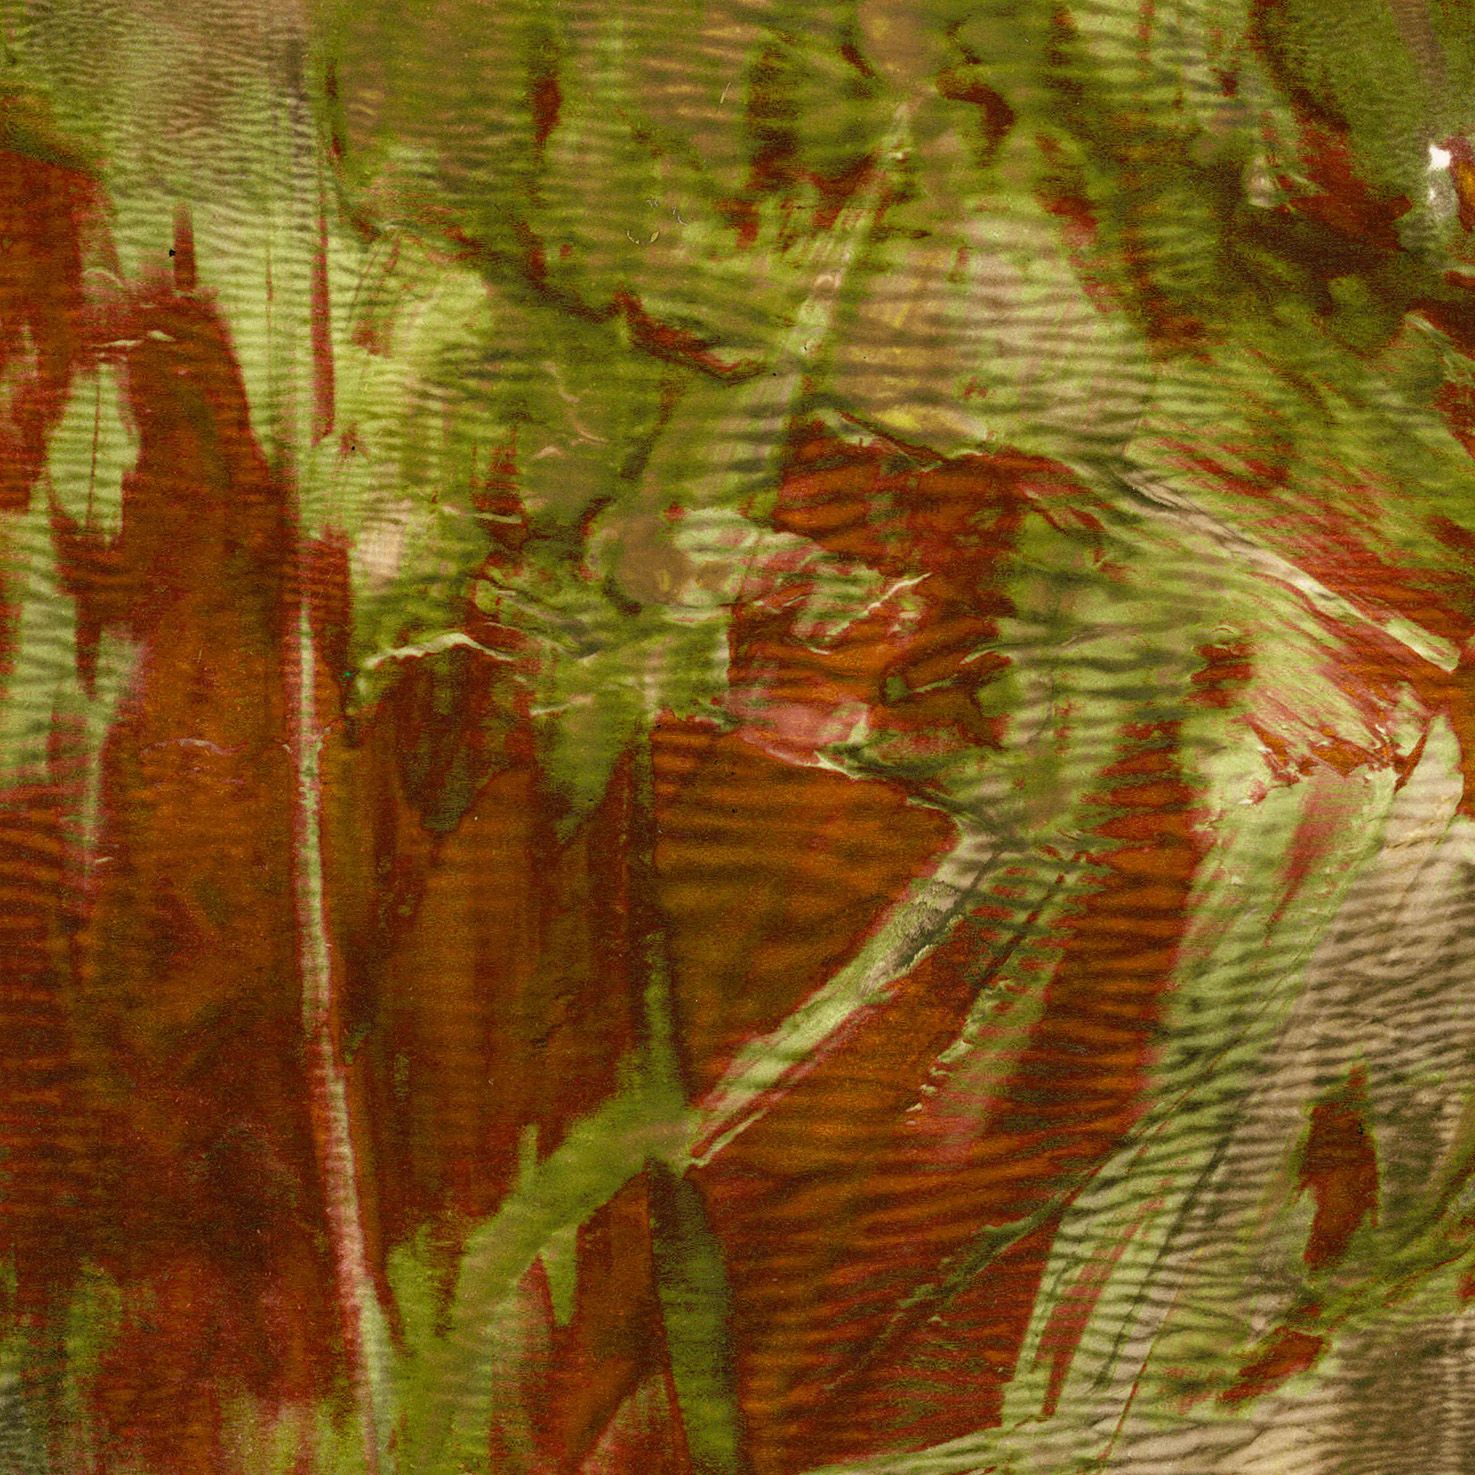
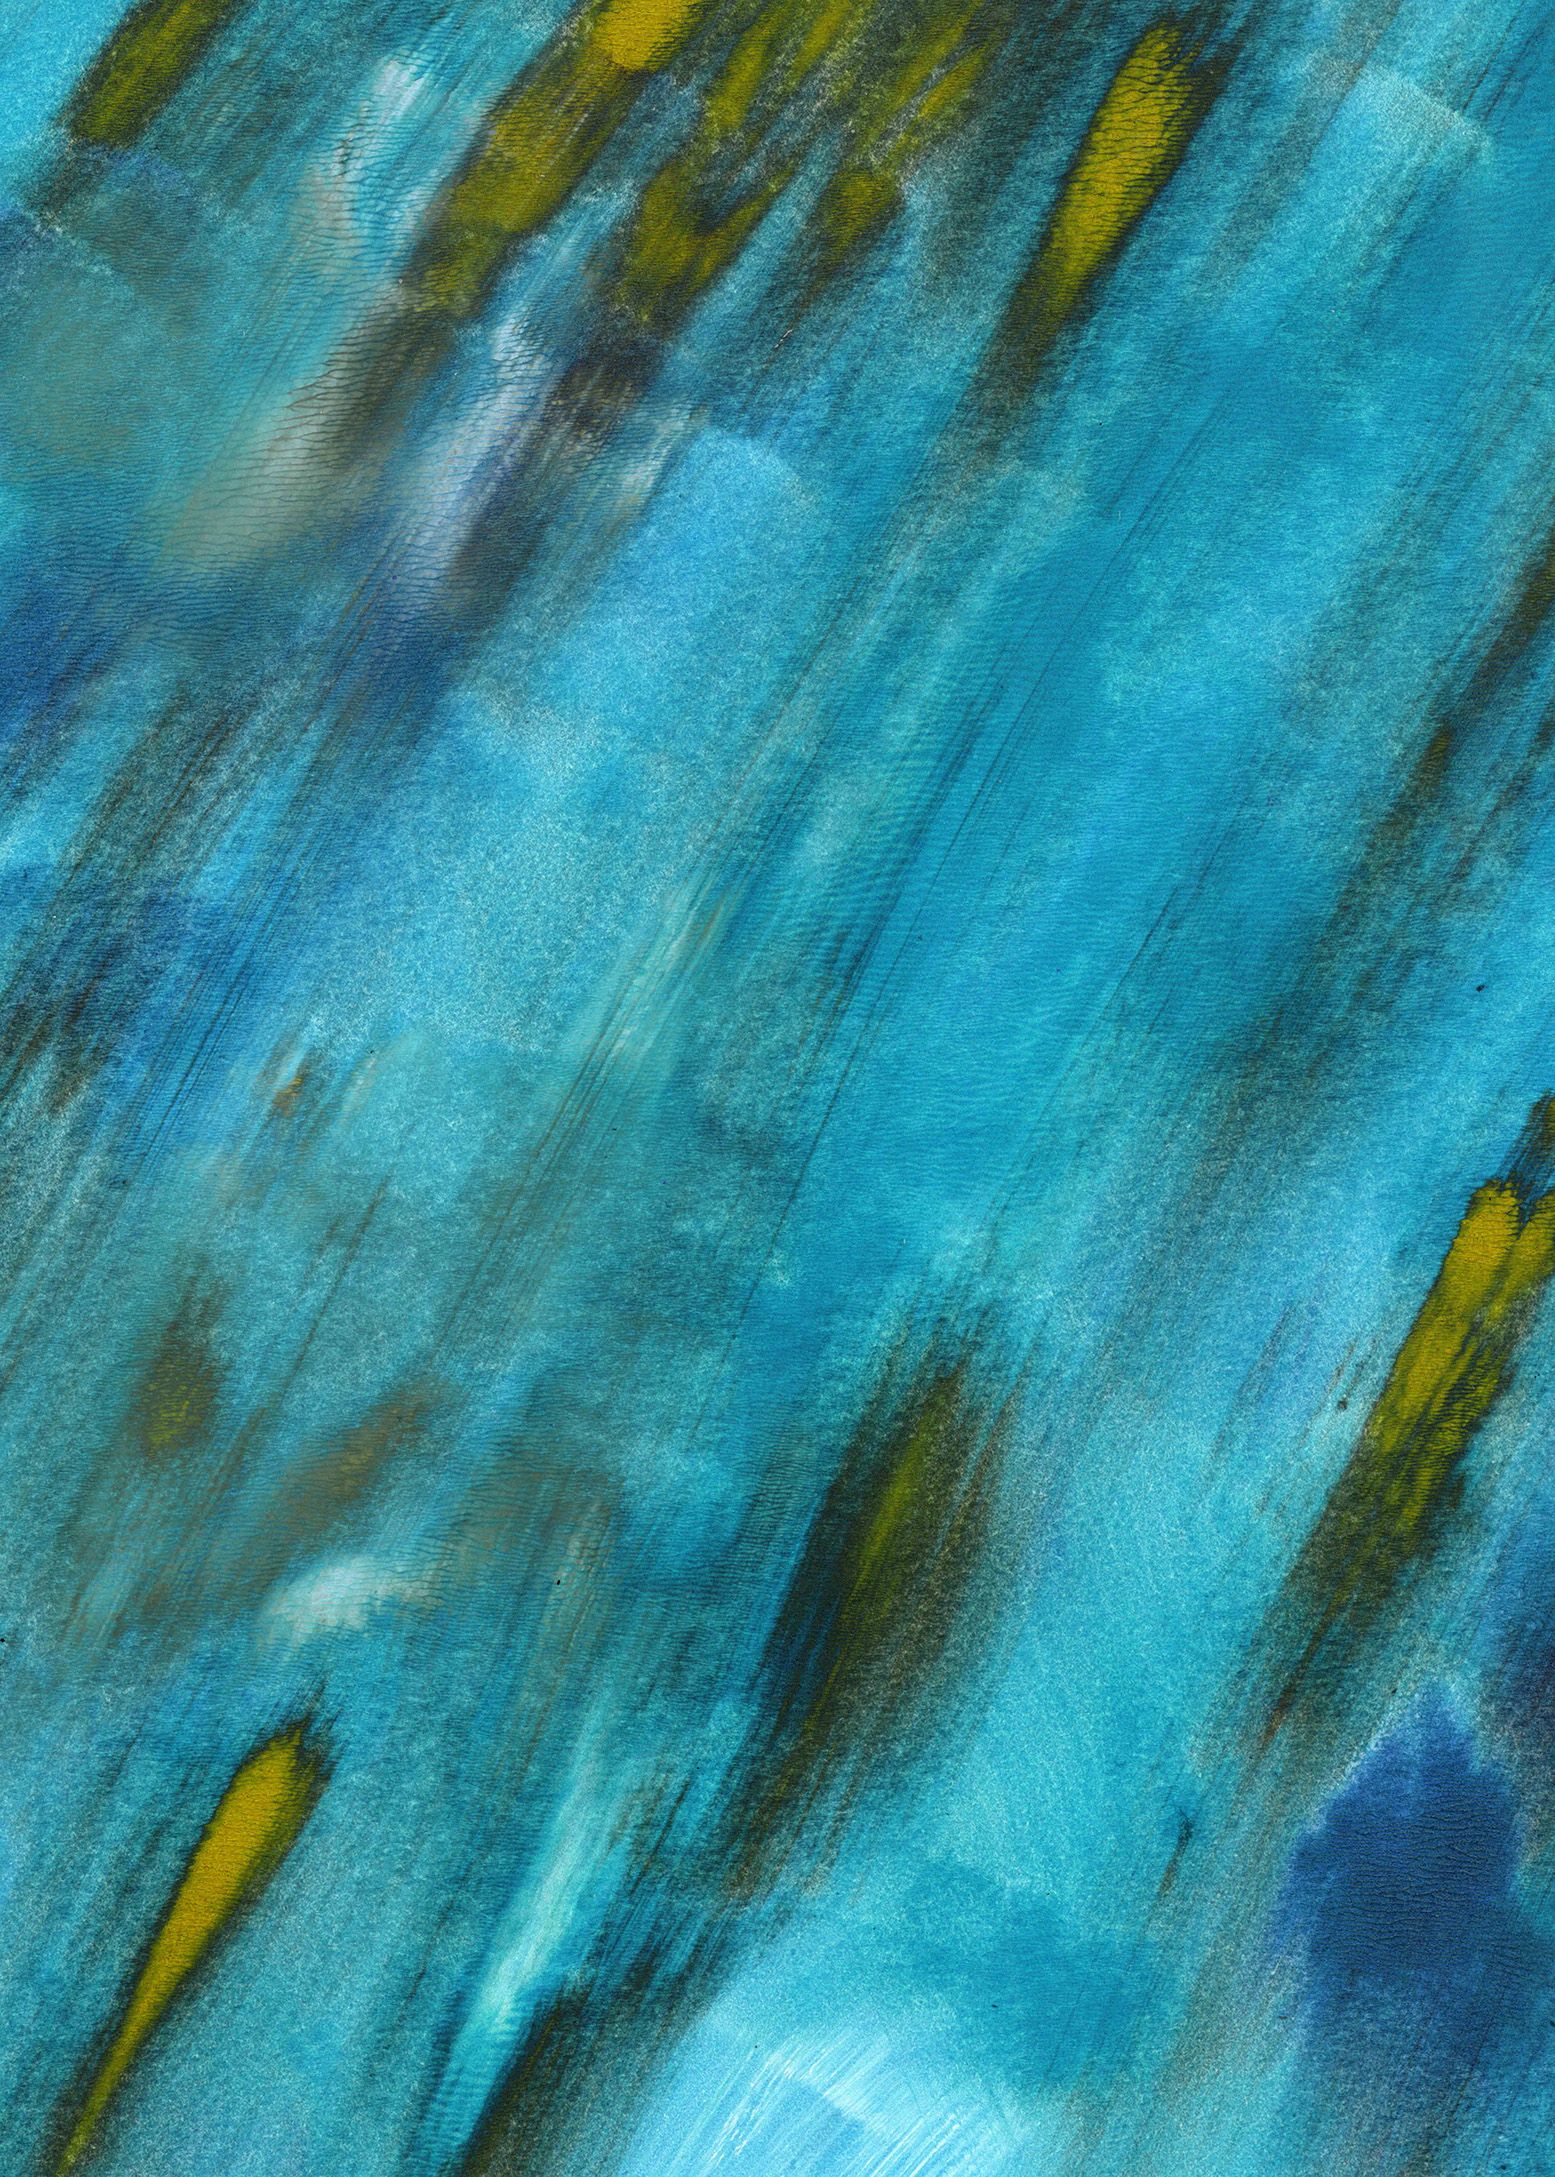
Faux Marble Paper
Whilst I am a firm believer of "more is more", when creating embroideries, I have found if too much of the design is heavily patterned then it can be hard to a viewer to interpret what they are looking at. However, at the same time, I often don't want large areas of single block colour because this not only can be boring to stitch but can becoming too flat and dominant. This is the same when it comes to combining patterned paper. Often I need to put a heavily patterned piece alongside a simpler design so the overall piece doesn't become confused.
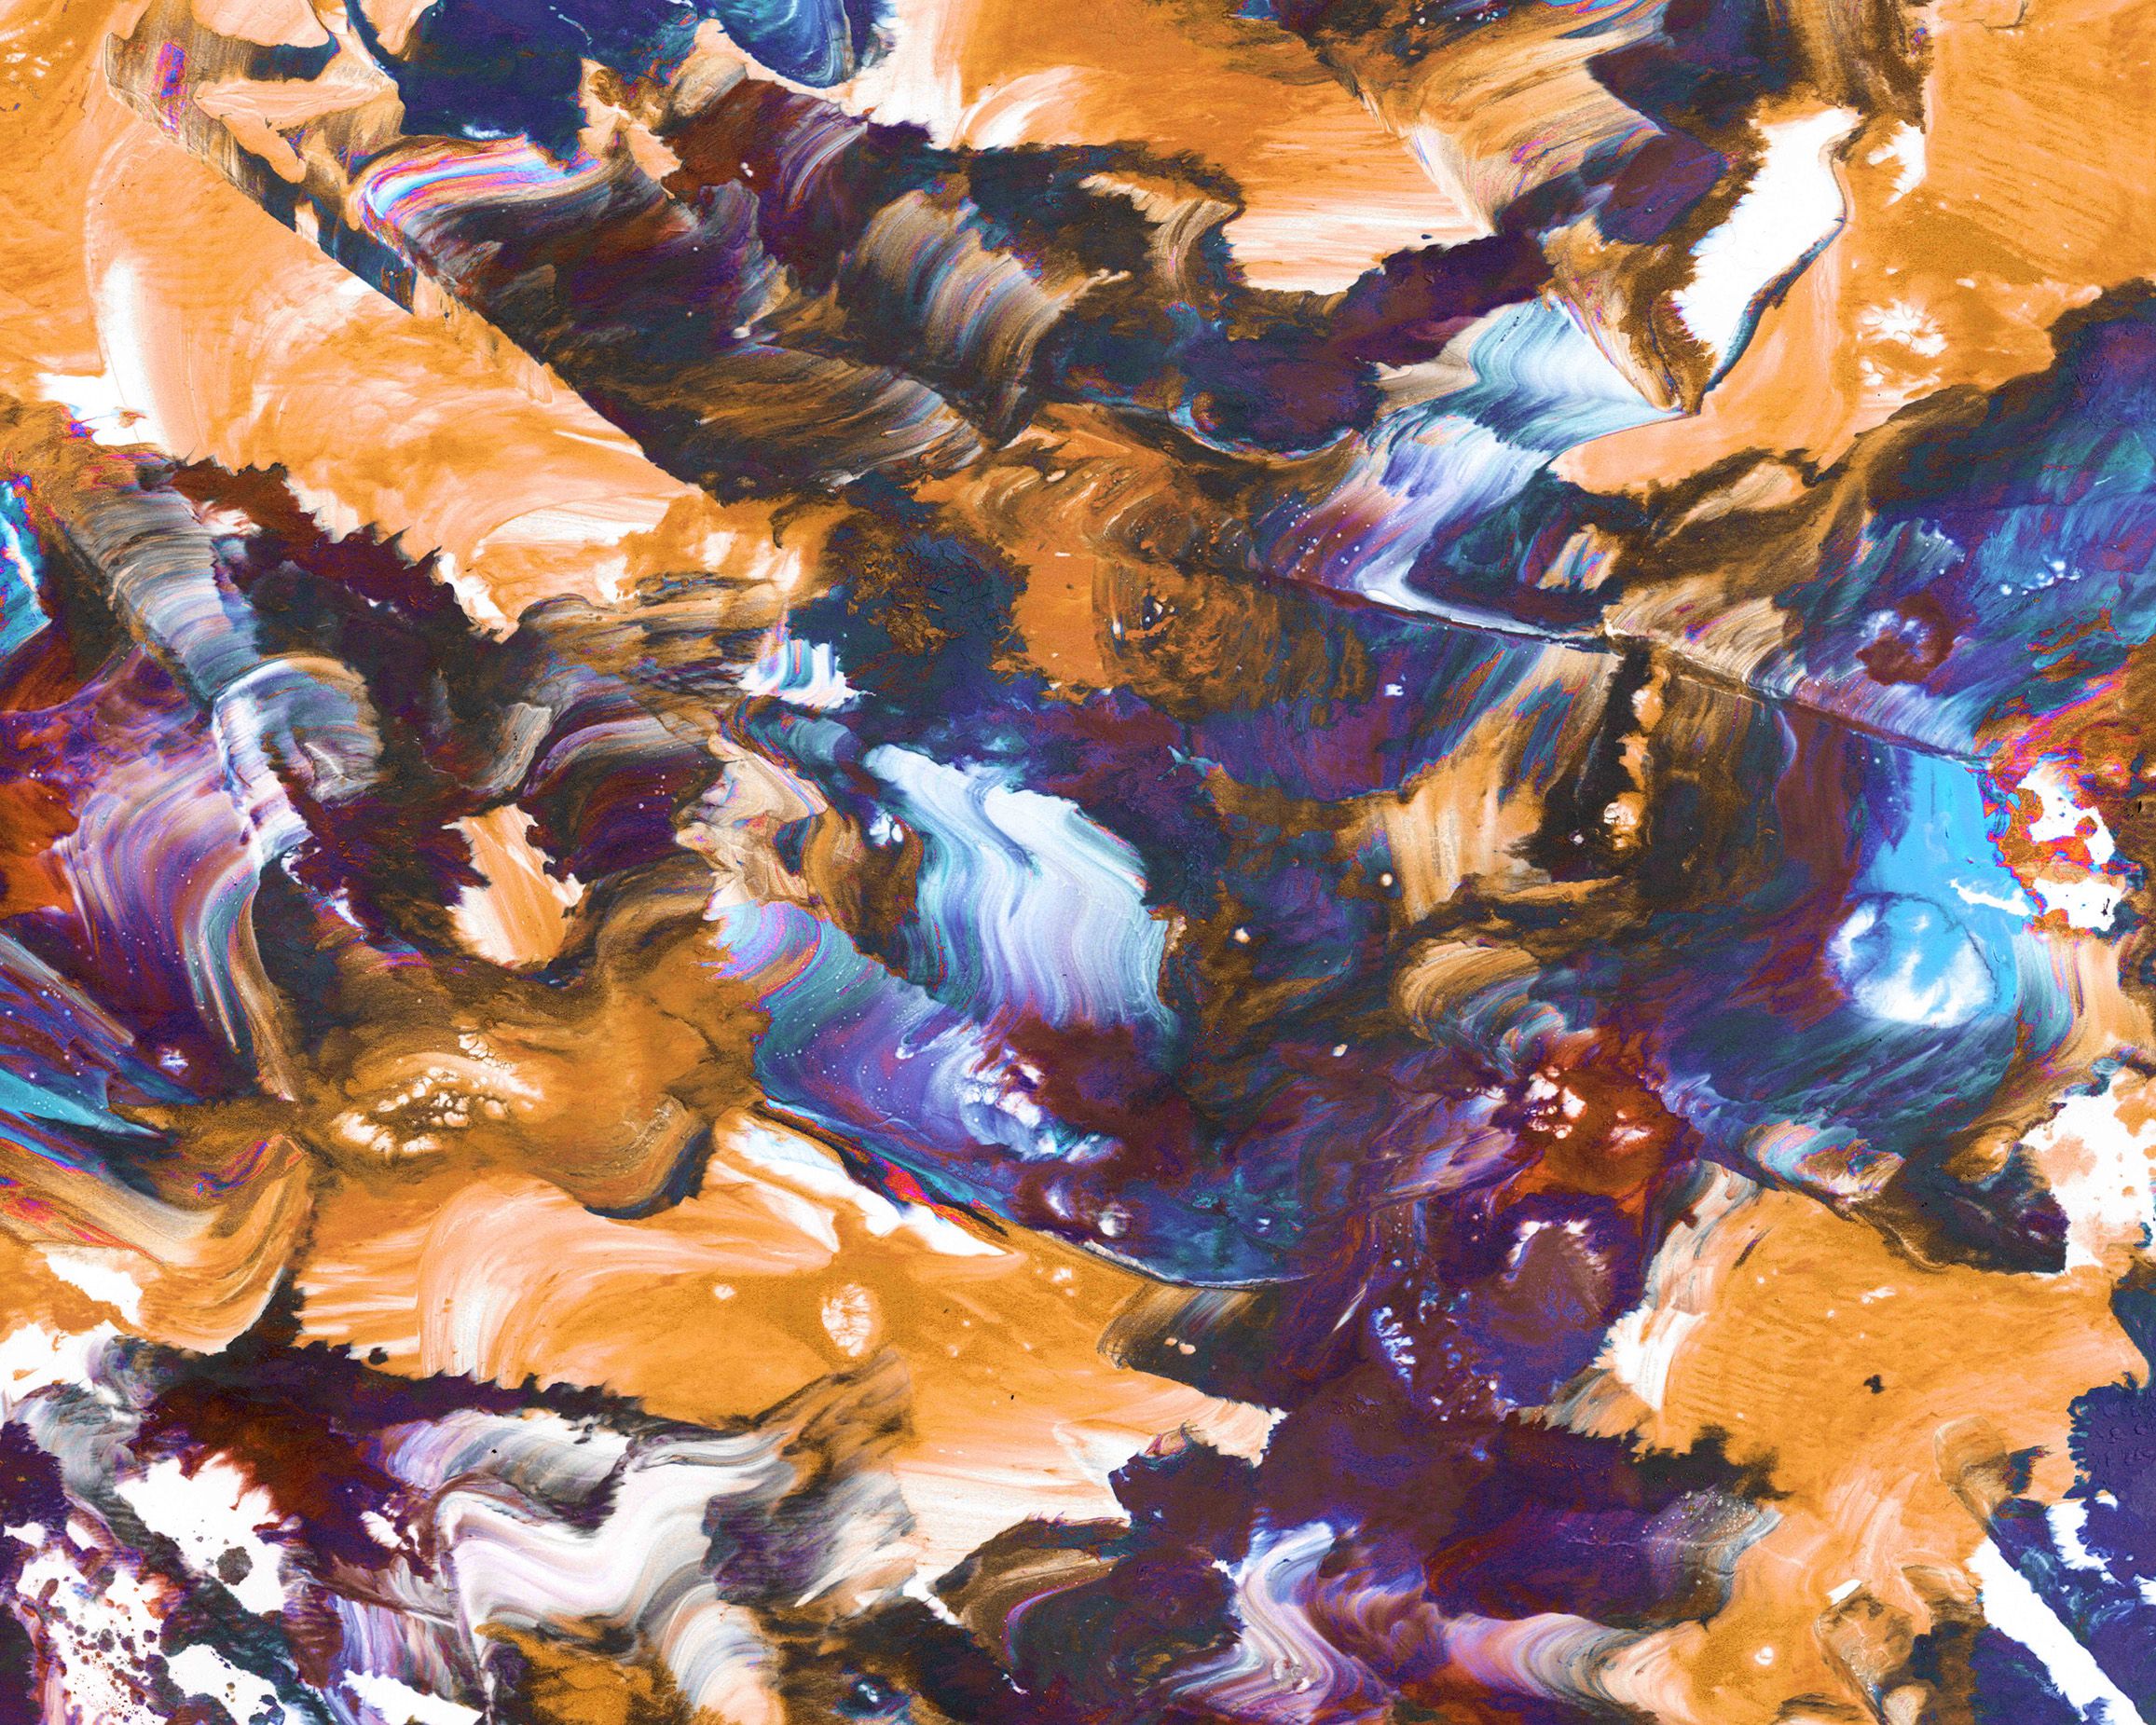
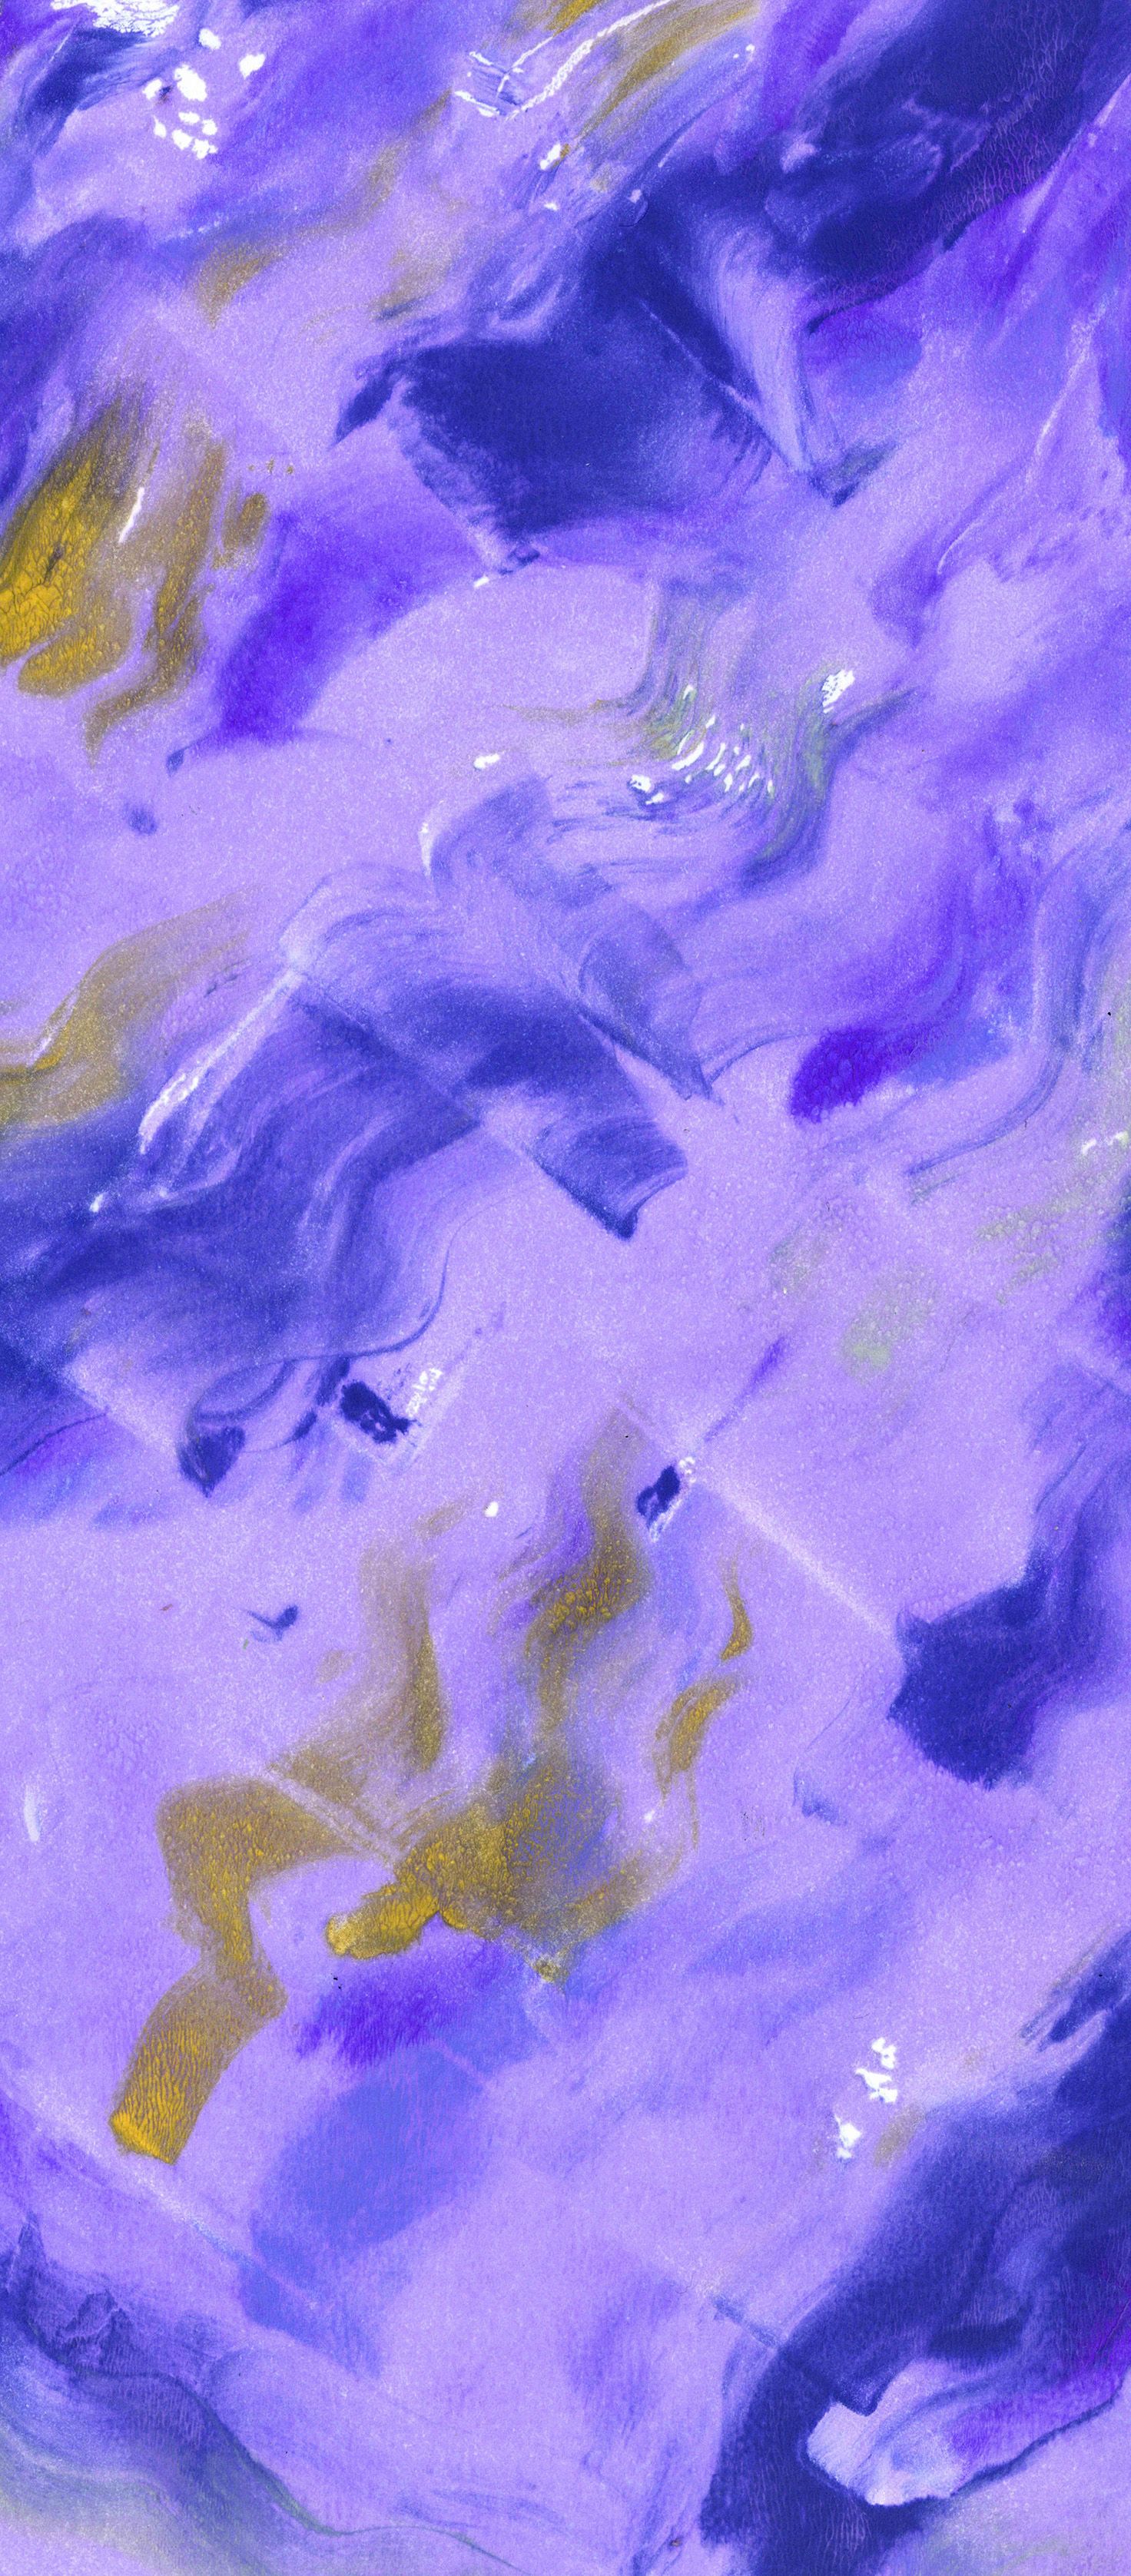
This desire to be able to make simpler, lightly textured paper led me down the route to creating my faux-marble method. To create these sheets, I layer acrylic paint with a slow drying medium on top of a printing plate (a gel press, or sheet of glass work well), then take monoprints. As the drying medium slowly evaporates, the paint flattens but leaves a wonderful texture. Below show examples of the papers created using this method. For Studio Members, I have recorded a detailed How To video to show you how to create patterned paper using this mono-printing method.

You may also like

How To Guide: Paper Stars
Read more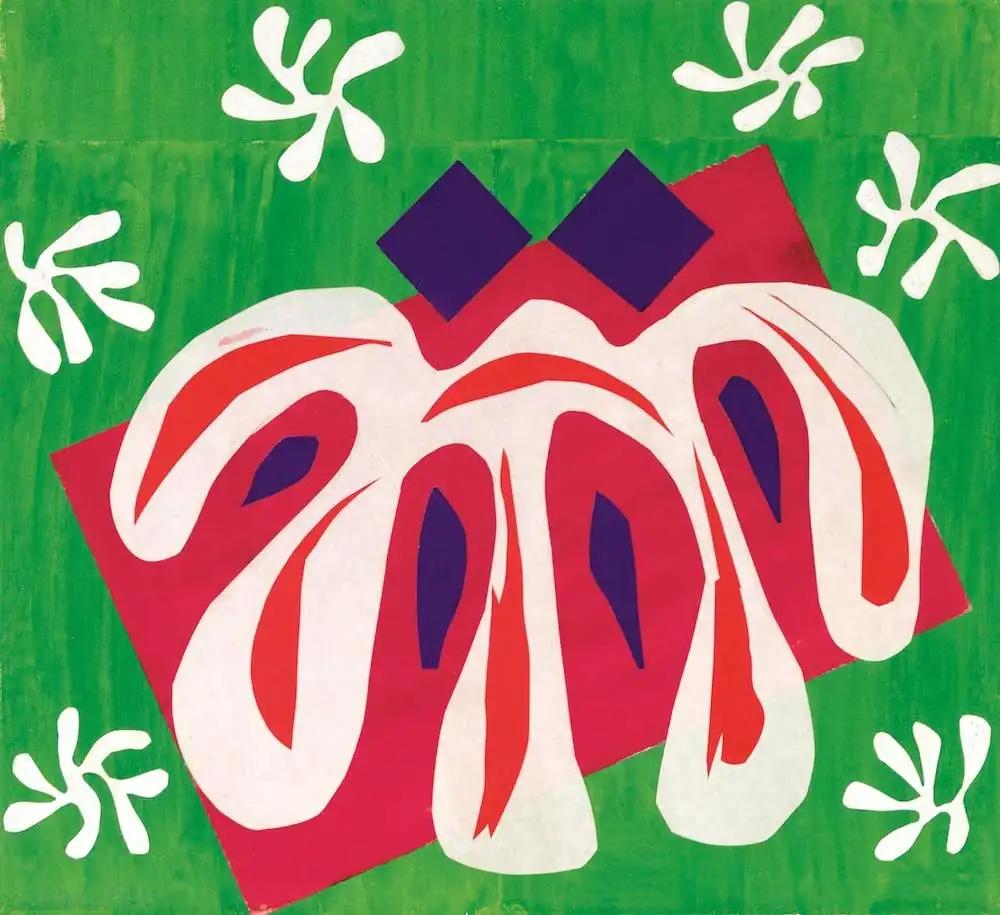
Cutting Colour: Drawing inspiration from Matisse’s cut outs
Read more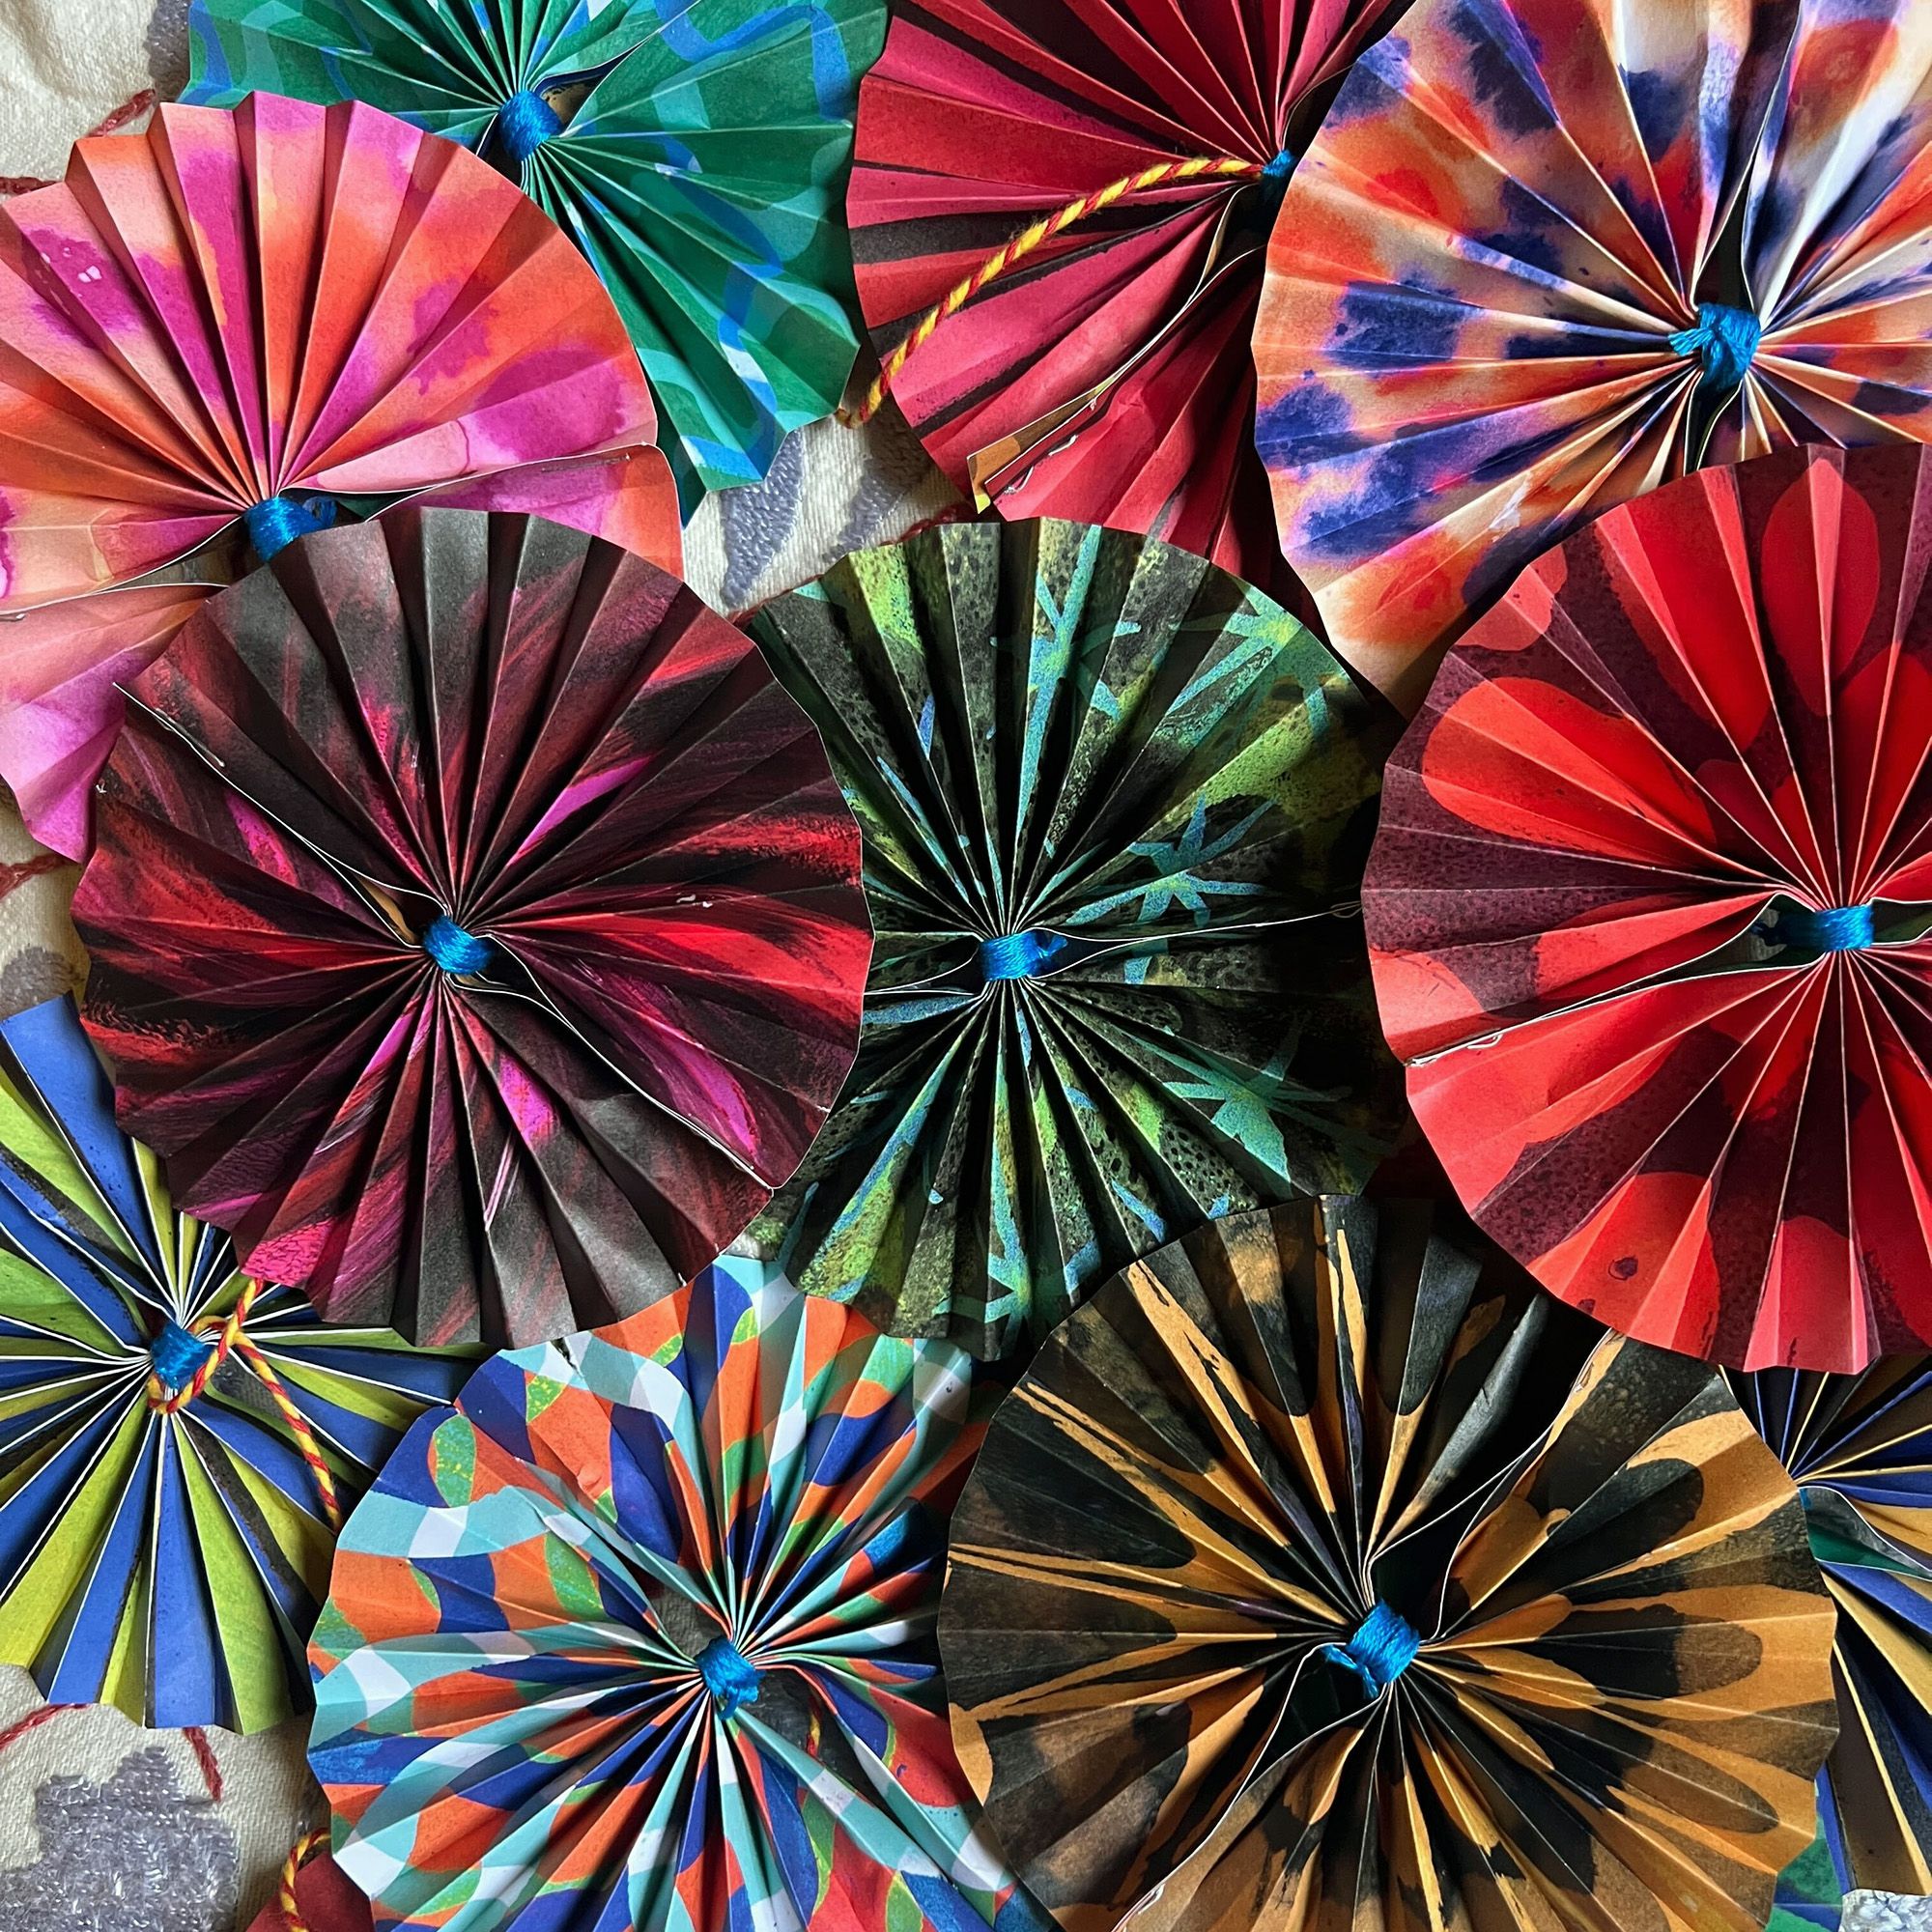
How To Guide: Paper Rosettes
Read more
Finding Inspiration in Paper: Three artists working in collage
Read more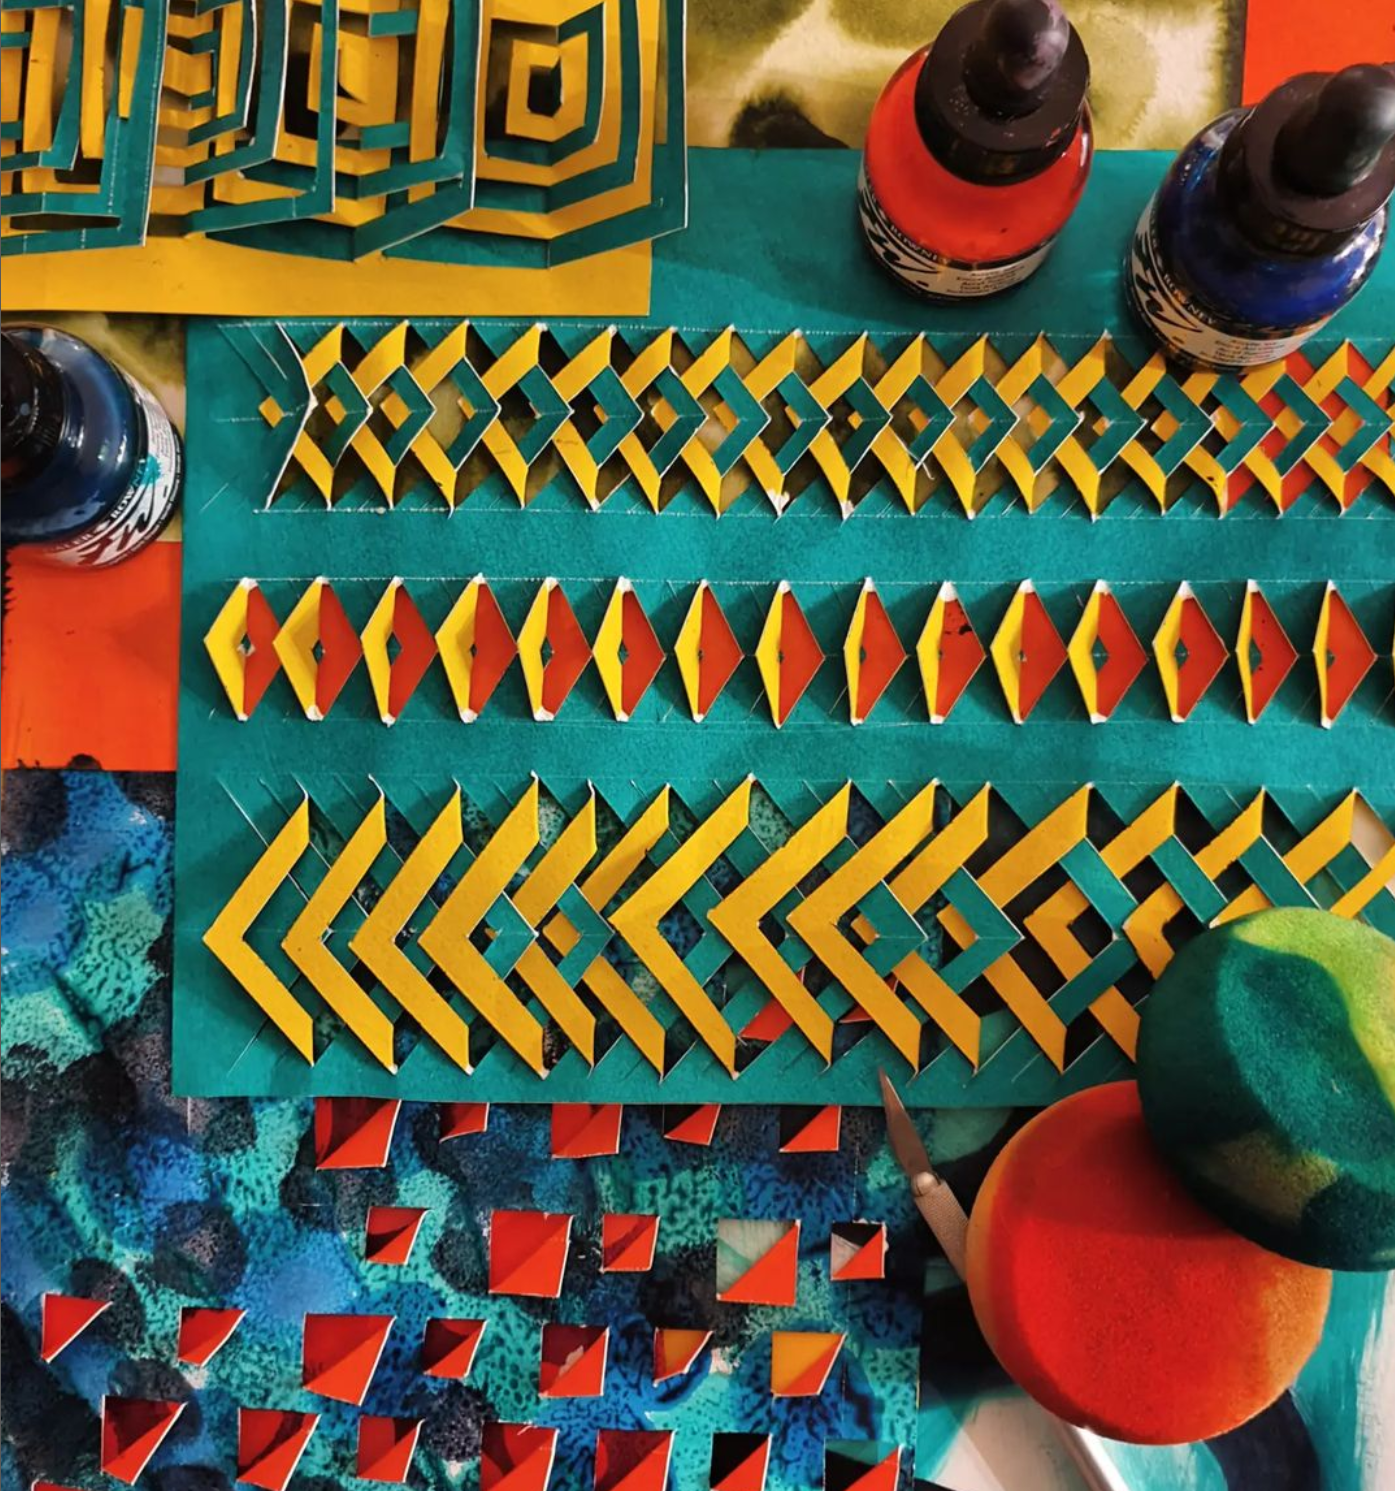
My Patterned Paper Obsession: Part 2
Read more
The whimsical wonder of Hans Christian Andersen’s paper cuts
Read moreHow To Guide: Faux Marbled Paper
Read more